
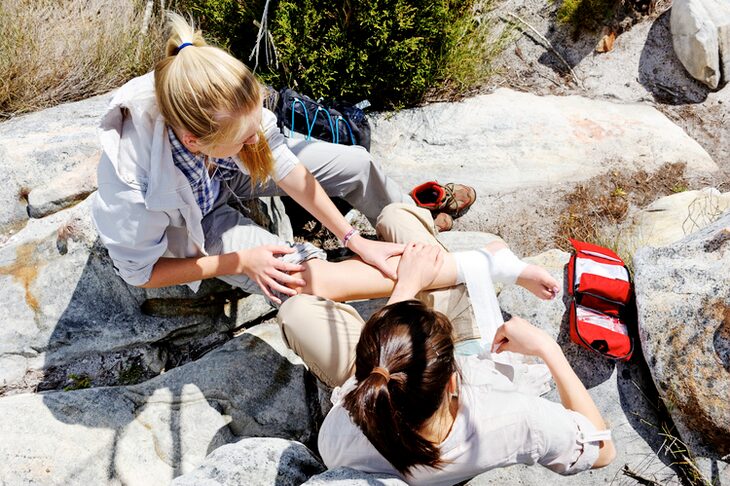
Do you hike with an emergency treatment kit? And if you take one along, have you taken stock of it recently? In case you are going outdoors, you need to always take along a homemade first aid kit or that you can make utilizing this content as a guide.
Figuring out how to utilize the things in a first aid kit is as imperative as having them, so you need to subject yourself to trainings before handling those items. This content is intentionally broad so as to keep in mind anything.
There are a lot of pre-packaged emergency kit out there, but, in this article, we are going to discuss some important gear that should go in many kits for most kinds of hikes. Remember that the lengthier the hiking trip, or the more the group, the more safety kit you should take along. Read on to know how you can create a great first aid kit for your hiking trip.
Why Do You Need to Carry a First Aid Kit?
A first aid kit is simply a collection of provisions, equipment and tools that are utilized in a first aid. These kits can either be purchased all set up together pre-arranged or made by hand, with every part purchased separately. Some early first aid kits incorporated items that help to expel the snake venom from snake bites and even merbromine, which is no longer utilized again because of its mercury content. Fortunately, first aid kits are significantly simpler nowadays and can have an extensive variety of equipment that can enable a common person to treat somebody in need.
First aid kits are a vital gear that every home should have. First aid kits are vital so you can treat wounds or ailments that occur at home or on the hike. From the minor injuries to the more intense one, a first aid kit can help diminish the danger of infection or the seriousness of the injury. It may serve as an advantage to you and your family members to be properly trained in order to know how to use every one of the provisions in a first aid treatment kit.
Another great place to have a first aid treatment kit is the point at which you go outdoors with your family and friends. You can keep it in your car so if something bad occurs when you are in the outdoors, you can begin treating the issue with immediate effect.
First aid kits incorporate an assortment of things that will help in treating cuts, wounds, scrapes, including burns, sprains and supplies for various common ailments. In the event that you make your own first aid treatment kit yourself, ensure that you place it in a place that is quite easy to get so that anybody can get to the kit if any injury occurs. Likewise, ensure that the first aid kit is simple for everybody to open so when a crisis happens, it is not about the whereabouts of the kit but rather that it can be utilized for the circumstance.
First aid kits are vital for each family regardless of the age of who abides in the home. Ailments’ can occur at anywhere and at any point in time. When you have a first aid treatment kit in your care, you will guarantee the well being of everybody.
First aid treatment can lessen contaminations from open injuries and wounds. It can likewise diminish the rigor of an injury. You can’t always shield your family and friends or hiking groups from getting hurt, but rather, you can treat them with a first aid kit when any of them get injured.
What to put in a first aid kit
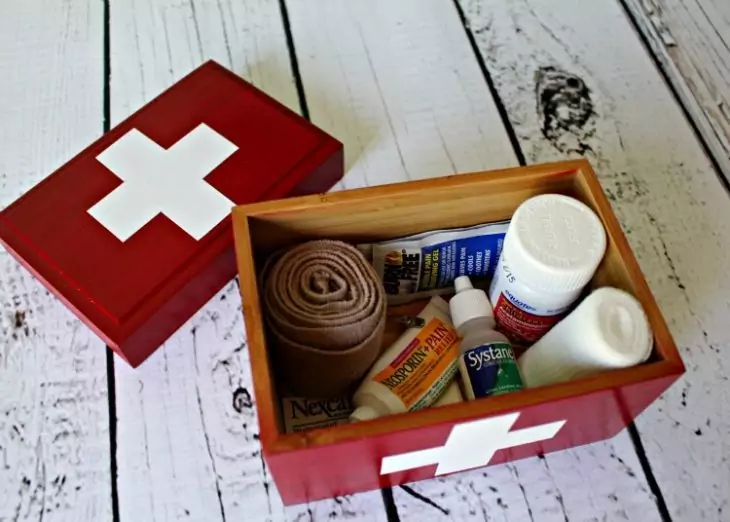
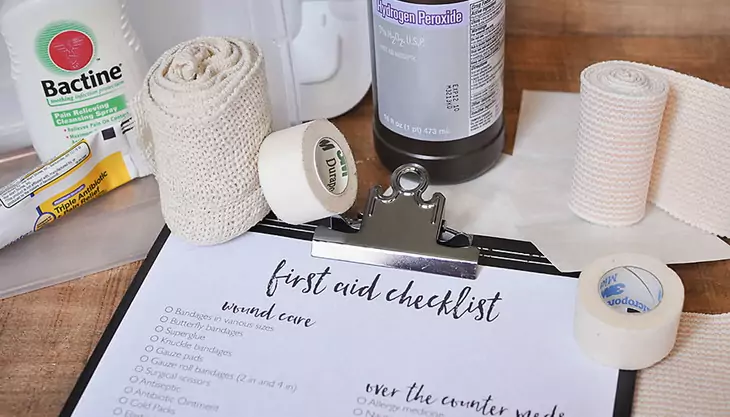
Here is a checklist of items that are required to be in a first aid treatment kit:
- First aid books: just like any piece of gear you ever possess, if you do not know how to utilize the items in your first kit, they get to be useless. The disparity here is, improper use of the things on this checklist could, either directly or indirectly lead to death. Make use of the first aid book, read it, learn it, and practice it routinely.
- Wraps: Various sizes for little cuts, rankles, and so forth.
- 4-inch closure strips: This is used for closing large injuries. 4-inch strips are pretty much effective compared to butterfly closures.
- 4-inch by 4-inch sterile dressing cushions: This is used to apply weight to an injury and stop the bleeding
- Non-adherent sterile dressing: This or Second Skin is used to cover rankles, gashes or burns.
- Gauze rolls: This is used to hold injuring dressing in place.
- Little roll of 1-inch sticky tape: This is also used to hold injury dressings in place.
- Multi-use apparatus or a knife: This should include scissors, knife. A blade and scalpel are likewise helpful for first aid treatment.
- Tweezers or forceps: This is used for evacuating ticks, splinters and expelling trash from injuries.
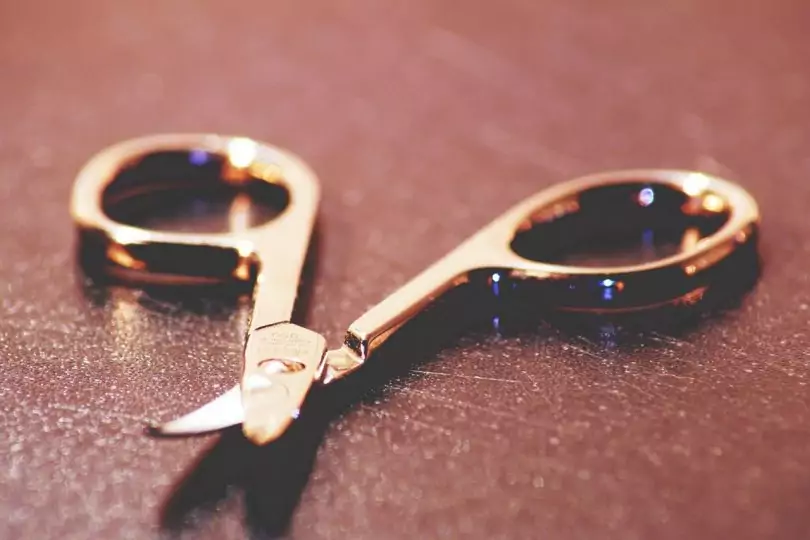
- Scissors: These are trauma scissors which possess a blunt end to safeguard the injured person. It can be utilized for removing dress from the wound, cutting treatment tape, and so on.
- Thermometer: The digital type is typically more exact, yet batteries do deteriorate.
- Moldable splint: This includes lightweight froth-covered aluminum, for example, a SAM brace.
- Irrigation syringe (35 cc): This is usually used to flush and clean injuries.
- Suction syringe (65 cc): This is used to clear the mouth of liquids when giving CPR (cardiac resuscitation)
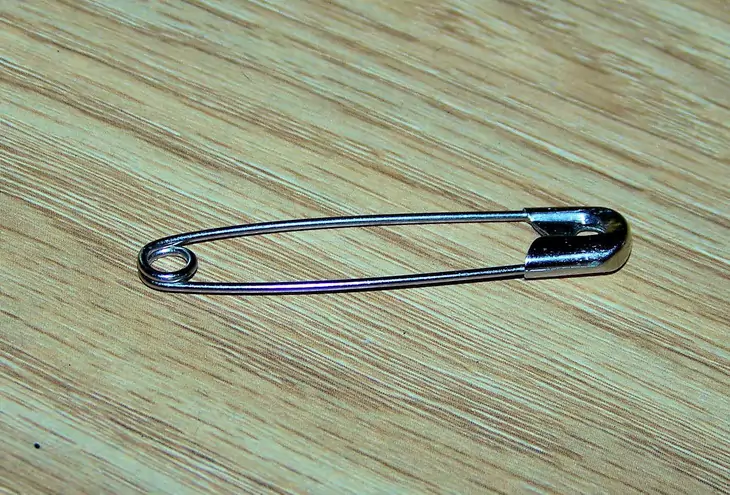
- Safety pins: This can help expel splinters, affix arm sling, or make an opening in a plastic pack for ad-libbed injury irrigation.
- Cotton-tip swabs: This is used for evacuating foreign articles from eye, or putting anti-microbial balm.
- Resealable plastic bags: This has numerous uses, such as icing a swollen joint or making injury irrigation system.
- Coban, ACE or other rubber-treated gauze: This can be utilized as external wrap on braces, injury dressings or bolster for joint wounds. Be mindful so as not to wrap too firmly.
- Germ-free towlettes: This is used for cleaning little injuries.
- Purifying pads with lidocaine: This is used for cleaning wounds and it Incorporates a topical analgesic for scraped spots, stings, and so on.
- Topical anti-microbial balm: This can be applied to wounds. Normal Vaseline can likewise be utilized in dressing an injury.
- Moleskin: This is used to prevent rankles. Slice and put a part on your foot, when you find an injured area Duct tape additionally works for this reason.
- Povidone Iodine USP 10%, 1 oz.: This is used for anticipating contamination. Packaged PVD iodine 10% solvent should be reduced in concentration to a proportion of 1 percent or less than that so as to flush injuries.
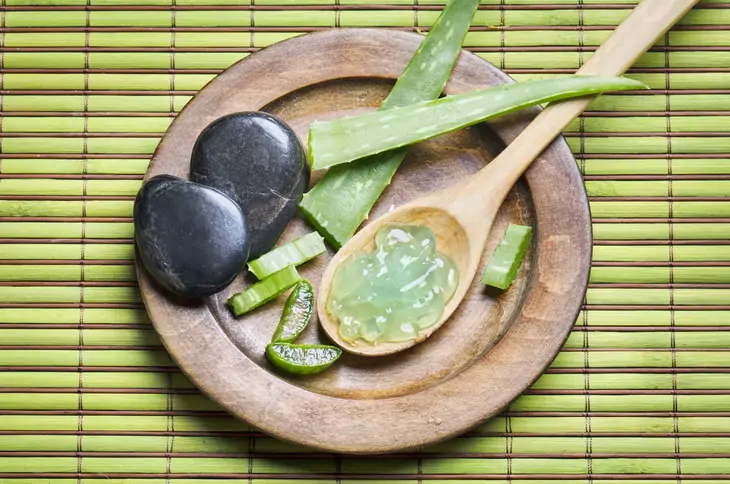
- Aloe Vera gel: This can be found in packets or little bottles for alleviation of small burns.
- Pain relievers such as Ibuprofen and aspirin: This provides alleviation for minor pains and aches, diminishes fever, lessens irritation of sprains and other wounds.
- Antihistamines: This is used for alleviation of pollen allergies, or to decrease reaction to stings and bites.
- Immodium 2 mg tablets or capsules: This is used to reduce intestinal infections through the relief from general diarrhea.
- Antiacid tablets or Pepto Bismol: This can be used for the alleviation from abdominal upset, general diarrhea.
- hydrocortisone cream USP 1%: This is used to relieve skin infections from bites, stings, poison oak or hypersensitive reactions.
- Latex or Nitrile gloves: This helps to protect against blood-borne maladies and disease.
- CPR micro-shield cover: This is a smaller flexible hindrance with a restricted valve for safe breathing, which shields the user from blood, regurgitation or spit.
- Oral rehydration salts: These include packet of glucose and electrolyte salt for treatment of lack of hydration, warmth weariness, or loss of liquids from spewing or diarrhea.
- Space blanket/bag: This is a lightweight exigency shelter, which is used for treating hypothermia casualties.
- Paper and pencil: This can be used for recording therapeutic data, for example, body temperature, heartbeat, symptoms time and date, wounds, drug prescriptions, and so forth. Most first aid kits incorporate accident report forms.

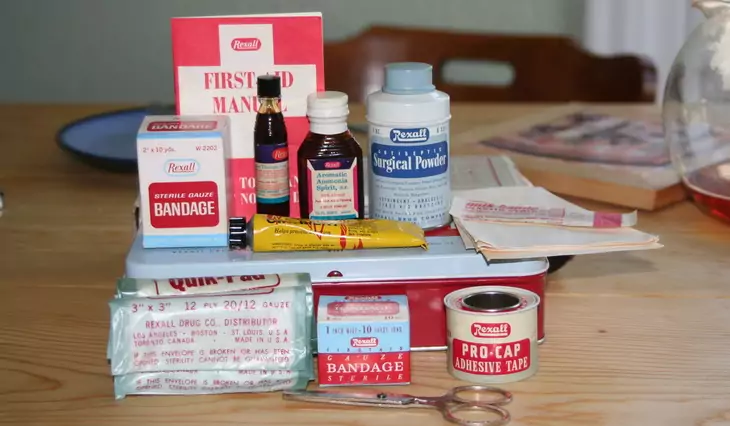
Guidelines for Stocking Your Kit
Here are the steps to follow when stocking your first aid kit:
Step one
Include a variety of bandages/wraps. One of the fundamentals when treating minor cuts and scratches, is an assortment of sizes and sorts of bandaging or wrapping materials.
Having numerous choices from which to pick will simplify your first aid treatment effort. Put every one of your bandages in a cleaned-up, zip-close sack clearly named in indelible marker. Include:
- 25 glue swathes of different sizes
- Five 3″ by 3″ and five 4″ by 4″ dressing pads
- Two 5″ x 9″ sterile dressings
- A roll of cloth, sticky tape
- A 3″ wide and a 4″ wide roller gauze
- Two triangular gauzes
Step two
Include basic medical devices. Be prepared for culling splinters, cutting wraps, and other medical aid exercises without rummaging through the garbage drawer. Put these inside a marked zip-close sack too. Make sure to read our piece on how to gauge if a wound is infected before you embark on your trip.
And include the following:
- Little, sharp scissors
- Tweezers
- Two sets of non-latex gloves
- Cotton balls and swabs
- Non-mercury oral thermometer
- CPR breathing obstruction veil
- Instant chilly pack
- Medical aid direction booklet
- Purifying wipes
- Hand sanitizer
- Zip-close plastic sacks
Step three
Consider including extra tools too. In the event that you have a large kit, consider including superfluous, but valuable medical instruments in an extra, marked sack. These may include:
- Eye protection
- Aluminum finger splint
- Prepackaged space cover
- Duct tape
- Sewing needle
- Petroleum jam
- Safety pins
- Turkey baster
Step four
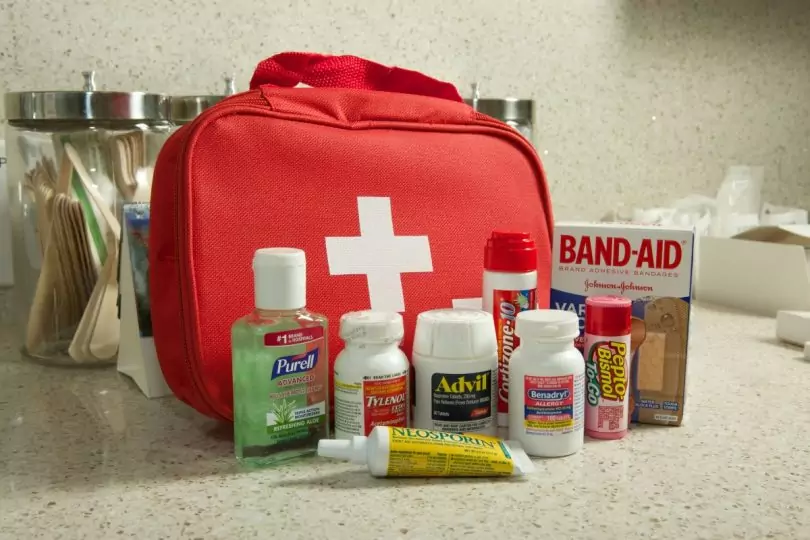
Make a different section for medications and drugs. Keep these plainly stamped, and from swathes and apparatuses. Ensure to check expiration dates consistently. You should have the capacity to discover first aid kit sized bags of a large portion of the following:
- Aloe Vera gel
- Calamine moisturizer
- Laxatives
- Antidiarrheal solution
- Antacids
- Antihistamines
- Hydrocortisone cream
- Pain relieves
- Cough/ cold medicine
Step five
Customize your first aid kit with family medications. Include little dosages of physician recommended prescriptions for every individual from your family, particularly in travel/car kits, in little, plainly stamped containers with guidelines for each. Check out our article on the list of medical essentials needed for your first aid kit for more insight.
Monitor professionally prescribed medication lapse dates. In the event that someone in your family has serious hypersensitivities and a solution for an epi-pen, reserve one in the home pack with guidelines, so a guest could give help in a crisis. Even also for home first aid kits, keeping a little load of customized therapeutic supplies — a honey bee sting kit, for instance — can prove to be valuable if your medicine bureau supply happens to be exhausted.
Read our article on what to have in your first aid kit to treat bee stings for more information.

First Aid Kit Location and Maintenance
First aid kits have the ability to save lives. Having an emergency treatment kit is the initial step to being set up for a therapeutic crisis, but it is just by keeping your kit properly maintained and appropriately loaded that you can enjoy genuine feelings of serenity. Here are tips for proper maintenance and location of your first aid kit:
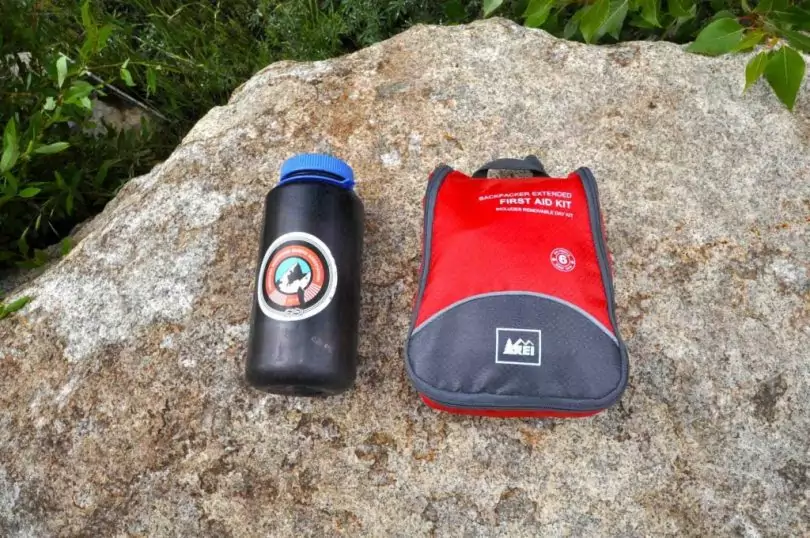
Pick a good container
Will you be keeping your first aid kit in a car, backpack or home? Is this something you should move with, and convey to places? How strong does your first aid kit should be? How exhaustive? Weight, shape, size and goal are exceedingly essential components to consider at this juncture.
You can purchase pre-filled medical aid kits, and you can likewise purchase empty emergency treatment kit container. However, you more likely than not already have an impeccably decent first aid kit holder in your home.
One great option is a substantial, translucent, water-safe, flexible or rigid plastic container with either a latch-top lid or a zipper closure. This enables the material to be pretty much visible for ease of identification. For a bigger medical aid kit with more things inside, a rucksack or little duffel pack can work well.
Lunch boxes are additionally another great option. However, if it is spacious, effortlessly available, versatile, and in any event fairly waterproof, it can make a good first aid container.
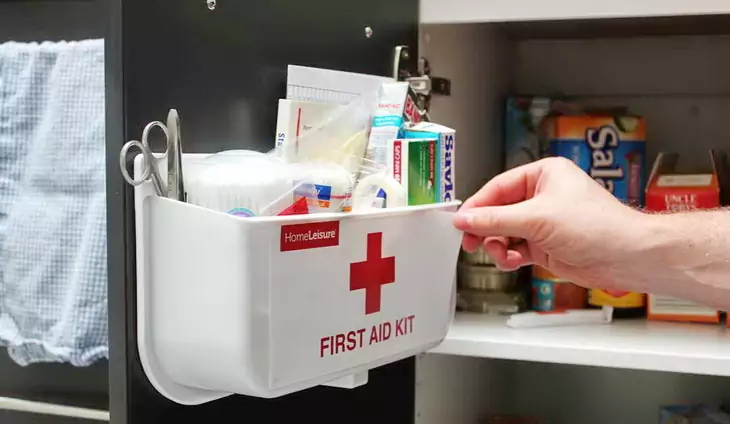
Make your first aid kit safely accessible
At the point when your kid is crying about a “blooper” on her knee, you won’t want the situation whereby your homemade kit is placed on the back of a wardrobe or lost since it isn’t being returned back to the normal spot after each usage.
Maintain a clearly-defined, predictable spot for your emergency treatment kit, on an accessible/visible linen closet rack, for example, and make sure you tell everybody in your home of its whereabouts. Tell little kids where the pack is placed, however, put it where they can’t get to it.
Educate your family about the first aid kit
Ensure everybody in your home or going hiking with you, who is mature enough to comprehend the functions of a first aid treatment kit, knows where it is placed and when to recover it. For younger kids who shouldn’t yet attempt to utilize the things in the first aid kit, show them where it is placed, so they could tell a guest, relative, sister, and so forth. Yet, put the first aid kit in an area where little kids cannot get to it, for example, on a high cupboard or shelf.
For adults or older children, let them know when to recover the kit and how to utilize the different things in it. Utilize a direction booklet to teach them and ensure that you put a booklet in the first aid kit for reference.
Keep your first aid kit updated
So, the first aid items have been gotten and sorted out. The container has already been picked and stocked. And you’re ready to treat a medical crisis to the best of your capacity. In any case, the work does not stop at that point. Just as a pet or plant, your first aid kit needs consistent consideration and updates. Medicines lapse, and it serves nobody if everything you have in your first aid kit has turned bad when you require it.
Make sure you always check for terminating medicine. At times, container seals fizzle, and spillage among your provisions is terrible. It unloads and repack your whole kit once at regular intervals to take stock and supplant whatever is important.
Some may think that it is valuable to make a checklist and safeguard it along with their first aid kit at all circumstances. This can monitor what you do and don’t have, the amount you have, and when certain prescriptions are expected to lapse.
Make an agenda to incorporate with the kit
Stock your first aid treatment kit and record each item on a paper sheet. You can keep it also in the first aid kit. Record sums (10 small bandages, for instance) and termination dates (for prescriptions or salves) next to the recorded things on the checklist you incorporate into your kit. You will want any person who recovers the kit to instantly recognize what it incorporates and does exclude, and that the items are prepared to be used.
Wrapping It Up
Alas, it is no shabby attempt to get ready for a medical emergency. Regardless of whether you purchase a pre-made first aid kit, construct one yourself or get one that you improvise, it will probably cost you some money. However, if things ever turn bad and you have to utilize your first aid kit, each penny will have definitely been well spent. A readied future is an advantageous venture.
Under the most fortunate conditions, your first aid kits will gather dust and dirt where you keep it. Your hope is for it to stay unused. Crises are never fun, particularly when there is a sick or injured person involved. And any moment you have to utilize a first aid kit is an awful moment.
For all other serious wounds that need something more than just a first aid treatment kit to heal up, call your specialist quickly to avoid any lasting mischief. If you are in the business of life saving, for example, a lifeguard, it is always a smart thought to ensure that you own a first aid kit in addition to any other solution to render help with the circumstance.
First aid kit can help with small wounds, but can definitely be the vital gear to saving the life of someone. The best precautionary measure is wellbeing, and the ideal way to remain safe is to stay ready always.
Should you wish to opt for pre-made kits, see our article on the top first aid kits to jumpstart your safety on the trail.
Did we miss anything? What are the items you stock in your backpacking DIY first aid kits? Let us know by leaving a comment below.


Thank you for writing about this! First aid kits are so expensive out there. But all I can find in the shops when making my own kit are large amounts of everything. I only need a tiny bit. Where do I buy small packs of bandages, gauze, etc.
These small packages can be purchased at dollar stores or you can simply buy big boxes and take out only what you need instead of taking the whole case.
All we know the first aid kit is the most important part. Most of the people don’t care too much about these. You have described all the thing with details. Do you have any idea if there is a pack of these thing where we can buy at once?
You can find some online that have it all together but many include cheap products or not enough of them.