
Every year the tent market, both online and in store, is flooded by a variety of new tents. Manufacturers come out with a wide range of new models to entice buyers in. The new models released may occasionally have one up on the previous model, but usually the tweaks and changes in the different varieties of tents released mean next to nothing. The public tends to turn straight to these mass-produced structures for their outdoor tenting needs.
But, you don’t have to. Tents have been around for far longer than manufacturing facilities and are surprisingly easy to make when you know how. That’s why we’ve written this article to explain how you can make a DIY backpacking tent.
For avid backpackers, hikers, and campers, knowing how to make your own tent has many benefits. For one thing, being able to make your own tent means that you will be able to make it with whatever specifications suit you. That means you can determine the style and size of your tent – important factors for those who often go on trips with family and friends. Heading out into the wilderness is always an exciting adventure and you need to love your tent.
By making your own you can choose the color and you will be surprised at the amount of affinity you feel for the work of your own hands once you are done. Making a tent is not only cheaper than purchasing one, but it also provides you with a great deal of personal satisfaction.
If you are looking for buy an inexpensive 6 person tent you may follow this site.
There are many factors to consider when you are about to make your own movable shelter. We’ll take a quick look at those first.
Factors to Consider Before Starting to Make Your Tent
The main thing that you need to understand is that no shelter will be perfect in every situation. There will be a certain tent that is suited to hot and humid conditions, and another that copes well in the snow. Some will be made to give you maximum viewer vantage points of your surrounding landscapes and others will be created to specialize in keeping you safe from bugs.
The climates, environments and intended users will all change what type of tent is best for you to create. So, before you even start making one, consider, what will you tent be used for most often?
Once you’ve ascertained what your tent is going to be used for, it’s time to think about what that means. You need to consider the following questions:
- What warmth level/insulation level does my tent fabric and flooring need to provide?
- Do I need mosquito protection?
- How long am I willing to spend setting up and packing down my tent?
- What weight is suitable for my tent’s transportation?
- How much space does there need to be within my tent?
- Do I value the comfort highly, when out in the wild?
Now that you’ve answered those questions you have a pretty good idea of the requirements that the tent you create needs to satisfy. We like to lay this all out at the start as it makes the rest of the tent creation process a lot easier if you know what your priorities are.
Our only recommendation, in terms of your choices in this area, is that you keep it simple. If something is unnecessary, don’t add it! Tents don’t have to be a complex structure. You don’t need the kitchen sink when you’re going out camping or backpacking – so don’t pack it. Simplifying your tent creation will do three things for you:
- It will make your tent lighter and therefore easier to transport
- It will probably mean you tent costs less to create
- It will save you time and problems during the construction phase
There are many other benefits of simplifying your outdoor experience (think “getting back to nature”) but the above is a very practical set of three that we think everyone can agree with.
Since we’ve covered the main points to consider about your personal tenting needs, now let’s get on to the type of tents that you could choose to make.
Which Tent Is Best for You?
There are several different tent types that you could create for yourself. The main purpose of a tent is to give you somewhere to sleep (usually). We’ve chosen three types that do that while still filling very different user niches. Below is a quick summary of their make-up, and their pros and cons. Pick the tent that’s best for you!
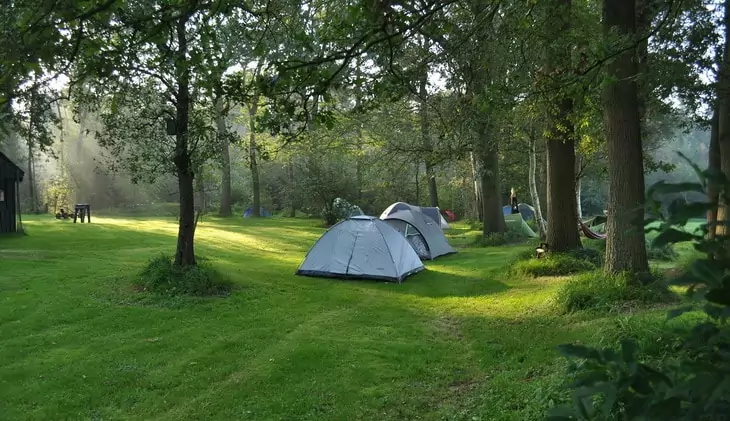
The Dome Tent
A popular choice for its roominess and stability, the dome tent has been in use for many years. It is the type you are most likely to see coming from commercial manufacturers. Although very stable, this tent takes quite a while to set up. It also comes with lots of piece and poles. You get the joints, the awnings, the elastic, dangly fold away poles and more.
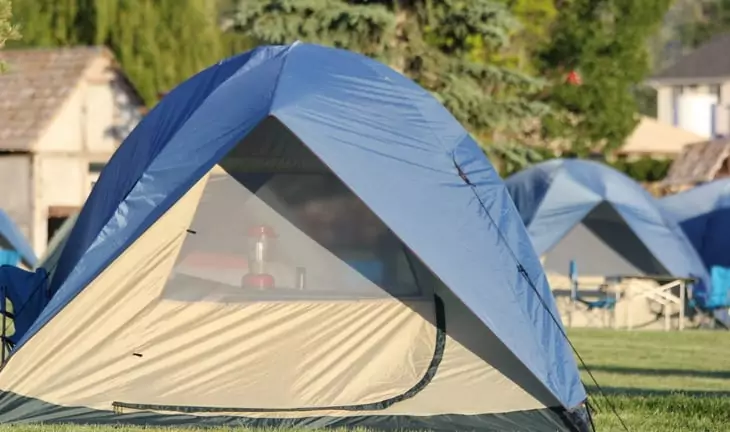
Of course, this adds quite a bit of weight to the overall transport of the tent. Not to mention that all the material and poles required can mean this is one of the more expensive options to create.
Pros:
|
Cons:
|
The A-Frame Tent
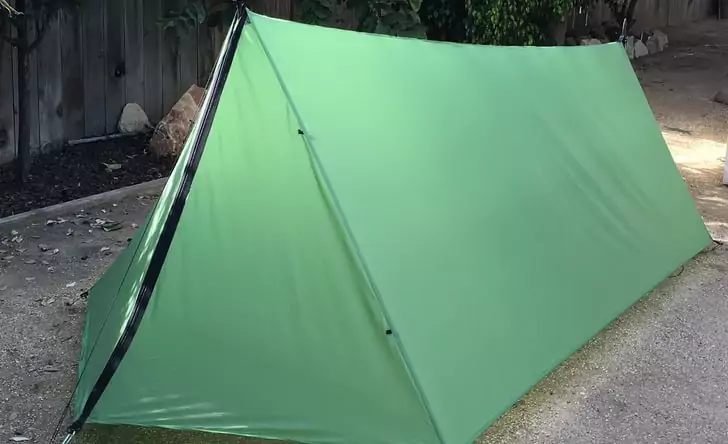
When you consider that all you need from a tent, is some warmth and shelter, the classic A-Frame tent is a fantastic option. This tent is a lot less heavy than the dome tent and consists of merely a V-shaped roof, with a floor. It is, for those who are good with geometry, shaped like a triangular prism. It takes very little time to set up and is substantially lighter than a dome tent.

For its creation, all you’ll need is good quality tarpaulin material, tent pegs, strong rope and a plastic smelter or some other form of strong stitching material. The downside is that this tent cannot be pitched just anywhere – you will need to find two trees or other landmarks that rope can be tied to between which to camp out.
Pros:
|
Cons:
|
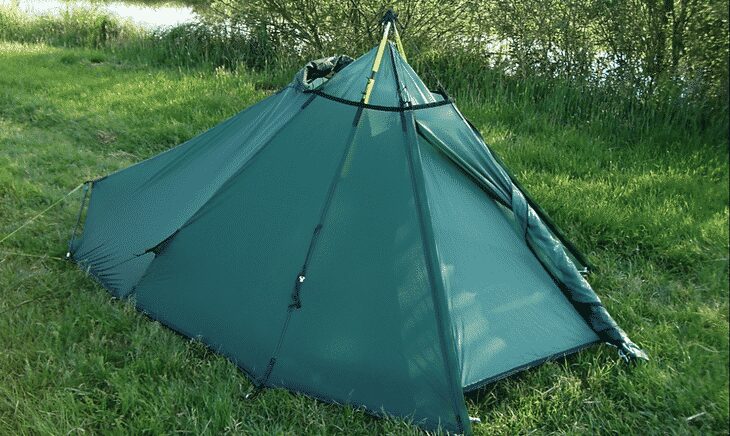
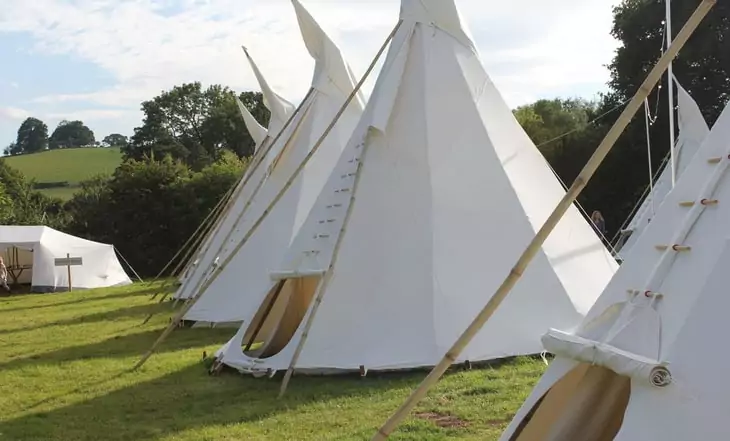
The Traditional Tipi
We’ve all seen Tipi tents in movies growing up. There’s a reason this tent structured was so popular with people for so many generations – it’s because they’re easy to make in the first place and then easy to set up when in use They are also very stable and incredibly spacious (you can usually stand up in the center of one).

The only place where these tents fall short is in transportation. Unless you’re able to get some very strong fold-able elastic poles, transporting the main poles that make up this structure could be difficult. Nevertheless, they are a very real choice for a backpacking tent.
Pros:
|
Cons:
|
Those are our best tent options for those who want to create their own tent. It’s important to weigh up which pros and cons of each tent mean the most given your intended use for your tent. If we had to recommend a style it would probably be the A-Frame tent because it’s easy to create and relatively inexpensive. This is however not a great choice if you’re going out in cold or wet conditions.
So, choose your preferred tent style based on the reality of the climate and environment that you’re going out into. For example, dome tents are great if you intend to stay in one place for a long time.
But don’t only consider where you’ll be taking your tent, also consider the materials and skills you have at your disposal to create a tent with. We’ll cover off the basics of creating each of the tent types below. Make sure you have everything you need and are physically able to create the tent type that you choose. Some are harder than others.
Check out our article on the best ultralight tents to help you before embarking on the next trip.
Now, without further ado, let’s get into how to make your own tent from home.
How to Make Your Own Tent
How to Make a Dome Tent
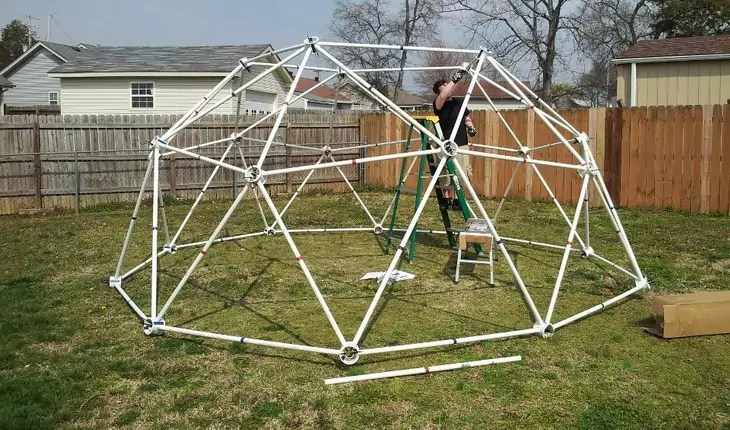
As previously mentioned, these tents are difficult to create. Your best option might be to just buy a pre-made one from a manufacturer (as this often works out cheaper than creating your own). However, if you’re in the mood for a weekend DIY project and want to impress people, then a dome tent makes a fabulous project. The most cost effective creation method is probably making a geodesic dome out of PVC. You will need to:
- Use a program like SketchUp to model your dome. There are plenty of free designs online that you can download and use instead of building your own model. When browsing design, choices remember that the higher the V rating (e.g. 3V versus 20V) the smoother your dome surface will be.
- Calculate the length of all the different poles you will need and decide on pole material. This can be anything from plastic through to the metal. Since we’re thinking about backpacking tents we recommend that you go with a very lightweight material – even if that does come at a higher price tag.
- Order appropriately long poles (or cut them yourself) and order the right sized hubs (the connection points the poles slot in to).
- Create a dome cover out of lightweight, waterproof and durable material (usually people choose a tarpaulin like material at this stage).
- Make a bag out of leftover tarpaulin or other material to transport your tent from one place to another.
Hey, we did warn you that this is the most difficult and expensive tent option to make – not to mention heavy to lug around as a backpacker. It is not impossible, though, and has been done by many people around the globe. Google is your friend if you’re planning on undertaking the creation of a dome tent.
They look magnificent when setup and provide a spacious, comfortable in-tent environment.
How to Make an A-Frame Tent
The A-Frame tent is a lot simpler to create. In fact, our instructions are more about how to set it up than how to create it. You will need to sew together a bag and place in it:
- 2 x large tarpaulins (one with eyelets along its sides)
- Approximately 10m of strong rope
- 7 tent pegs
Yes, that’s all! To set up this tent simply string a rope between two trees and place the middle of your tarpaulin over it. Then take fasten the outer two corners of each side to the ground using tent pegs through the eyelets – this should create a triangular type shape. Fasten the middle eyelets of each tarp to the ground as well for some extra security. Now lay your second tarpaulin on the ground under your roofing tarp. And Ta Da!!! You’re done!
Tip: If you curve the edges of your flooring tarp up, then you’re less likely to get the rain inside your tent. It’s important when doing this that you only start your flooring tarp a decent way into your roofing space so rain doesn’t fall into your ‘bucket’. Be sure to make a hole in your flooring tarp for drainage just in case.
How to Make a Tipi Tent
A Tipi tent is perfect for setting up in areas where you know there will be a lot of long sticks/logs readily available. All you will need to carry with you when going out to prepare a Tipi is a strong piece of rope and a correctly shaped piece of canvas. You will need to cut a tipi pattern out of a lightweight, durable and waterproof piece of material (generally canvas or tarpaulin).
The exact shape can easily be found with a quick Google search, but it can be well described as a basic semi-circle half as wide as it is long. Refer to a diagram online to see where to cut a few notches into this shape.
When you get to your camping area with your Tipi sheet, simply go searching for logs of similar lengths. The longer your logs the bigger your Tipi can be. Once you’ve found your logs and a dry spot to set up camp most of the hard work is done! From there, simply:
- Dig three holes in the ground in a triangular arrangement.
- Set three logs up with one end of each in each of the holes and the other ends leaning against each other in a pyramid shape. Tie a piece of string around the top where the logs touch.
- Once your main three logs are balances place another log leaning in between each of the main logs. You will have 6 logs in total when you’re finished.
- Take down one of the logs and tie your tent canvas around its top. Then replace it up, so your tent canvas is hanging off, down the side of your structure.
- Draw your semi-circle tent canvas around your Tipi structure to complete your tent. You will probably need bits of rope to tie it together with depending on the canvas pattern you chose.
Those are the basic steps to setting up a Tipi tent. These tents are very traditional and provide a space that can be big enough to stand up in if your logs are long enough. They are not usually very long, though, so in terms of horizontal sleeping arrangement – if you’re very tall and enjoy sprawling straight out when sleeping then this may not be the right tent for you.
These tents are great if you are going to a place with many long logs and intend to sleep a lot of people in one tent. They can be spacious and are rather fun to set up. Plus, with only canvas and rope to buy, they’re very cheap!
Now you know how to make a tent in three different styles. Choose yours and get started, the sooner you start, the sooner you’ll have a brand-new tent to sleep in next time you head out! There is however one other option though that we’ll mention just briefly:
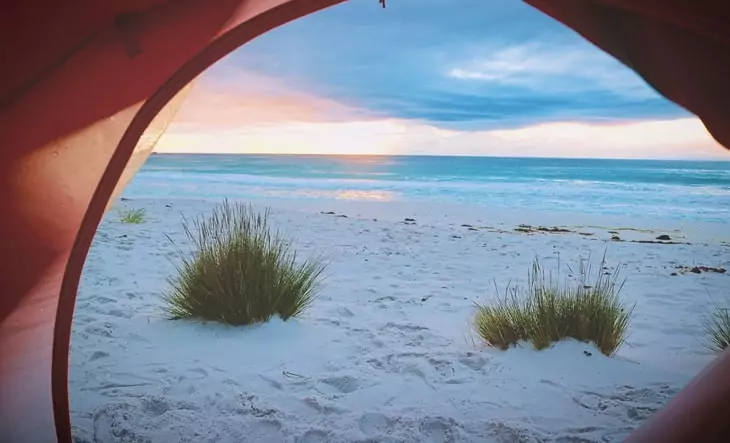
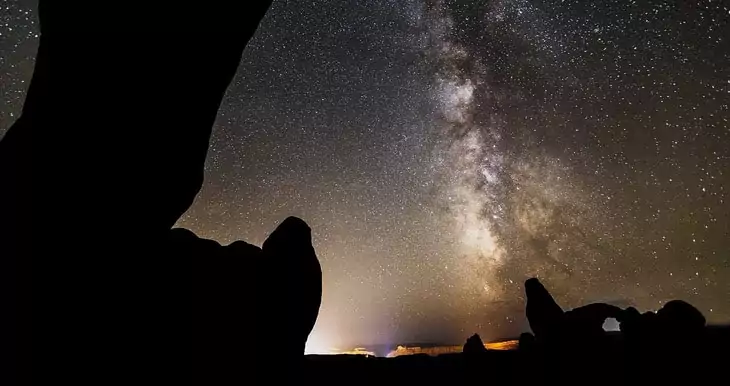
Admire the Stars
Do remember that it may not always be necessary to take a tent with you when camping or backpacking! Honestly, if it’s going to be a clear on-rainy night and the stars are out, why not just chuck a tarpaulin on the ground and lay down on it? Some of life’s best moments are those we share when connected to nature in an intimate way.
So, ditch the tent if you can! A good sleeping bag will keep you warm in most temperatures and a tarpaulin (or even a sleeping pad) will keep the ground chill out. Read our piece on the best cat’s meow sleeping bag by The Northface to keep you toasty when you camp.
So, next time you’re planning a trip into the great outdoors, we recommend you seriously consider whether you need that tent or not. Keeping a tarpaulin and some rope handy is never a bad idea – worst comes to worst you can set up a basic A-Frame tent if the weather does turn sour. What’s the nature without a little adventure, aye?
DIY Is Fun and Practical
Hopefully by now you’ve got a clear understanding of the type of tent you’d like to make. Creating your own shelter will be a very rewarding experience for you and as with any DIY project you are sure to learn some useful life skills along the way. You can purchase the materials needed at most of your local hardware stores, though it’s also possible to get some cheaper canvas material online. You’ll save money making your own tent and if you take care with the details it will be there to house you for many years to come. Here are some more DIY camping gear to save even more money, so check out the link!
We hope you enjoy making your tent and that you have many amazing adventures in your new construction. Let us know how your project goes and whether it’s holding up well out in the wild. We’d also love to hear from people who have constructed their own tents before. To converse, just leave us a message in the comments below.


The A-Frame tent looks like it can be an easy tent to make for starters, as you get familiar with the techniques of making a more complex tent. I like its design, I think that it is simple and quite efficient, considering that the tent can fit several people at once.
We agree!
I think being able to make your own tent should be the true identifier of a serial hiker. That is because it shows that you have been in a tent or used one so many tomes that you know what requirements are needed to actually make one from scratch. That takes a whole lot of time and knowledge of the product.
For sure!