
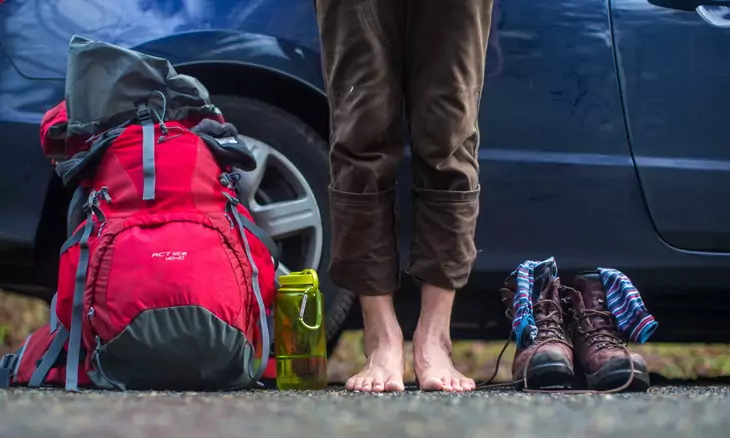
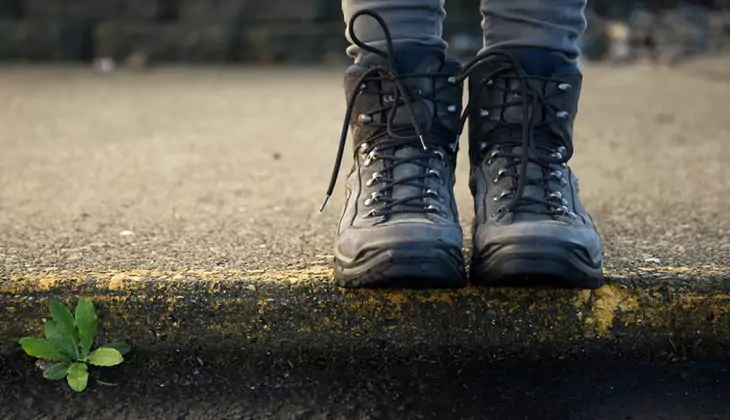
From the moment you bought your brand new hiking boots you’re surely dying to go outside and try them on. We understand it. We’ve been there and done that for sure. In fact, lots of hikers did this mistake as they didn’t follow the protocol and felt sorry real soon. The protocol you ask? Yes, there’s a protocol that you need to follow if you want to keep your feet happy and that’s breaking in your new hiking books.
Before you start breaking in your boots, we assume you already chose and bought the right hiking boots and first you should know, is that it all comes down to anatomy – when you’re breaking-in your boots, you’re breaking-in your feet too. Although, this sounds a bit painful, don’t worry – it’s not. There are some simple and easy ways to follow in order to keep your feet blister-free and happy and if you want to know all about them read on!
What are leading causes if you don’t break your boots before your hiking adventure
You keep asking why do you need to break in new walking boots? Well, there are leading causes that can occur if you don’t break in your boots. The “breaking” term means the process of wearing new shoes (and boots in our case) to mold them to your feet. This is the process that will soften the leather or any other material of the boot in order to prevent any discomfort and rubbing. Here is the number one leading cause that can occur if you don’t break in your boots:
Blisters
If you don’t break in your hiking boots, expect blisters on feet. They happen when you rub your feet in a tight boot or a wrinkled sock. Also, moisture and heat can affect your feet in a negative way and cause blisters. In order to prevent you from getting blisters, you need to focus on some factors such as wearing proper size boots, breaking them in and avoiding pressure points. You should also pay attention and detect if you feel an uncomfortable sport in order to prevent it early.
The minute you sense you could get a blister stop and take off your boots and socks. If you see the area is reddish, dry it completely and apply a moleskin (which is a classic blister coverage that sticks well and is long-lasting), tape (use the surgeon’s tape that is slightly more effective at blister prevention than the normal tape) or an anti-chafing balm (great option for those who are sensitive to adhesives). For more tips on how to safely care for a blister, read our article to find out.
In case you ignored the uncomfortness of your hiking boots, and you got yourself a full-blown blister there are several options that you can consider:
- Use a mole foam with a doughnut hole to keep your sock from irritating the area and tape over with a surgeon’s tape over the blister.
- You can use gels and pads to cool the blister off and prevent it from getting worse.
- Don’t you ever open the blister and release the fluid as this way you’ll create a chance to get infected. If you have a blister that is too painful to bare leave it undrained, but if it opens on its own than treat it like an open wound. Use a sterilized kit (Band-Aid or antibiotic ointment and gauze) and prevent the area from further irritation.
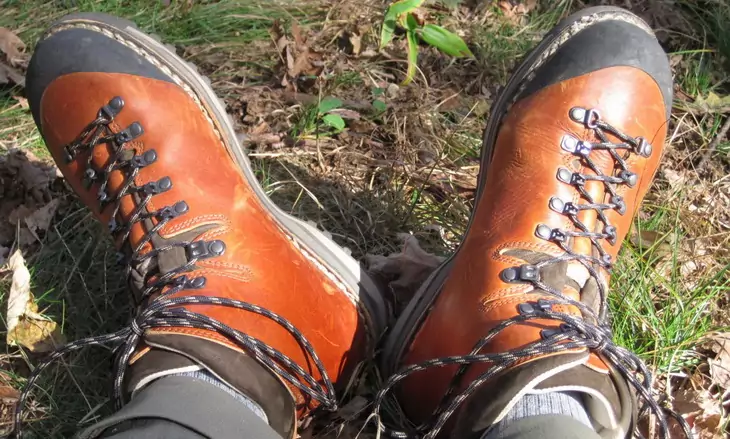
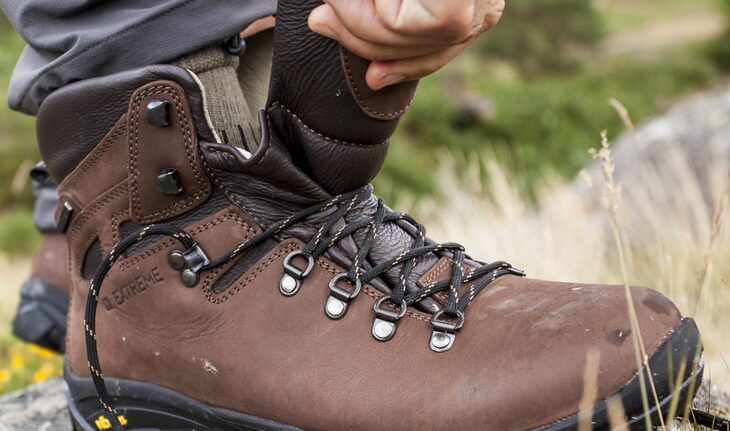
Breaking in Fabric Boots vs. Leather Boots
It’s commonly known that it will take more time to break in the boots that are generally heavier so this is something you should keep in mind when buying hiking boots. If you opt for leather boots you should know that it’ll take you more time to break them in and there is no way you can “cheat” and speed up the process. You can only make your boots or feet uncomfortable for wearing.
A leather boot will take longer to break in than the suede or fabric ones because leather is much stiffer. So, if you’re planning to go hiking soon, this would be good to consider and maybe choose somewhat lighter fabric or material when it comes to weight.
General tips on how to break in hiking boots
- Keep in mind to buy shoes in advance: Allowing yourself to have enough time to work on your boots is important, so if there’s any big walk you have planned you should buy a pair of boots at least one month before the big hike. Waiting for the last moment to buy them won’t end well for you. When you have time you can slowly adjust your boots to your “hiking conditions” for example, breaking them in, while wearing your full weight pack.
- Avoid all shortcuts: There are several videos and tutorials on how to speed up the process (for example, soaking your boots), but trust us, this is a bad idea! You don’t want to murder your feet. For every job, if you want to do it well you have to put in the time and this is no different. Eventually, if you want to speed up the process, you can try with applying heat by using a common hair dryer and slowly warm up the boots. Leather is one of the materials that are more pliable under heat. Let them cool and rest for a while and then try it again. Your boots won’t be ready to wear by doing only this and we don’t suggest replacing the traditional break in by walking with this process.
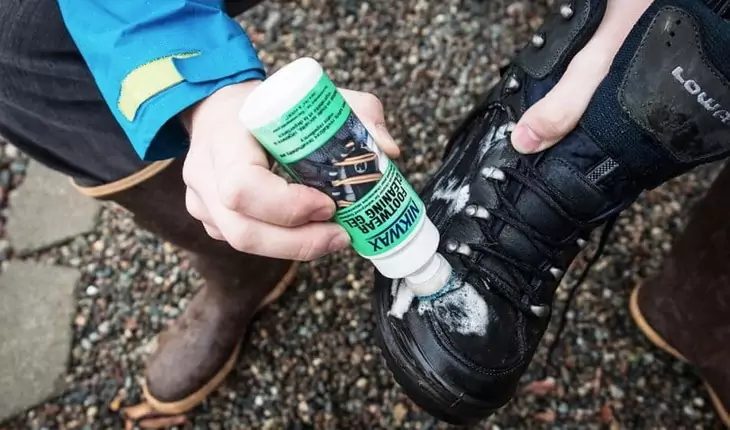
- Treat the leather: The co-founder of the Oboz boot manufacturer Josh Fairchilds, says that it’s really important to treat the leather on the upper side of the boot before taking any other step. This will prolong your boot life and make the leather soft which is why your boots will be more comfortable to wear. Getting the shoe to flex the way your feet flex, is part of the breaking in your boots says the president of the American Academy of Podiatric Sports (APPS) Paul Langer. Your footwear affects you in terms of joint loading, muscle activation and movement parts. The first thing you need to do is to oil your boots. There are all sorts of greases and oils for leather on the market and some of them are specifically meant for boots. Whatever you choose it will do. You can apply it with your hands, brush or a rag and after the first layer, you’ll see how “thirsty” your leather boots are. The grease and oil will soften the leather and allow it to bend a bit easier to form to your feet. Just keep in mind to read the certificate before using any treatment on particular boots as if you use the wrong treatment, on Gore-Tex for example, you can ruin the breathable liner on your new boots.
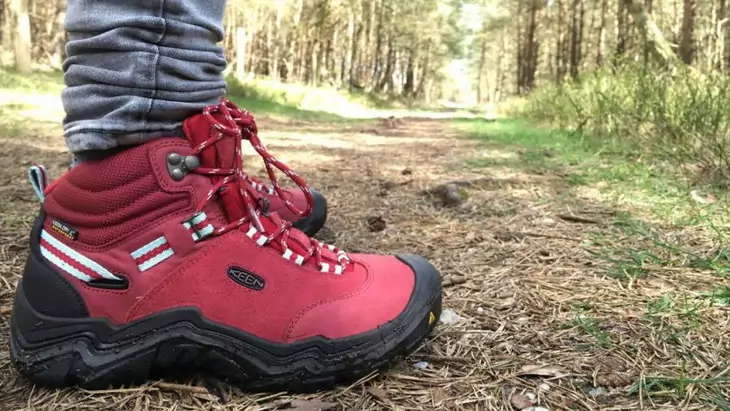
- Waterproof your boots: If you bought good boots, they’re either waterproof and have some special solutions to waterproof them. We suggest avoiding fabrics that are not waterproof as you never know when the rain might start or the terrain. Although it is possible to treat such materials (we suggest using liquid silicone) it is generally not useful to have non-waterproof boots because, as we mentioned above, as soon as your feet gets wet you’ll get blisters. If you have leather boots then you can use Sno-seal or any other durable solution (beeswax for example). If maybe, you bought boots that are made out of a fabric that is not waterproof you can also opt for Gore-Tex socks as they will keep your feet free from moisture and depleted of water. They are available in almost all hiking gear stores and online. Amazon, for example, has the best pricing offer – $50 – $100 per pair. For DIY boots waterproofing, see our article link.
- Choose high-quality insoles and socks: Make sure the boot fits perfectly and if you invest in some high-quality insoles and socks we assure you it will pay off. Having a high-quality insole will provide stabilization of your foot inside the boot and minimize all the friction that can occur. Also, a good pair of socks will make the boot fit right and will prevent any blisters. Check out our piece on how socks can make your feet blister-free.
- Advice for those with specific issues: In case you have some specific issues or illness with your feet, for example, Achilles tendon pain, we suggest visiting your local backpacking gear store. They usually have great boot fitters that will solve all your problems and soften up your boots for you. If you still have issues with particular boots, we suggest some customization. Studies show that 25% – 40% of people need a customization for their footwear so instead of trying to find the right boots, maybe you should think of what you can do to make certain boots perfect? Customizing your boots can really mean everything, from adding pads, buying new insoles, adjusting the heel to relieve pressure or stretching the boot. The price of making customized boots depends on the type of customization itself, but keep in mind that it’s likely going to be less expensive than spending money on boots that don’t fit.
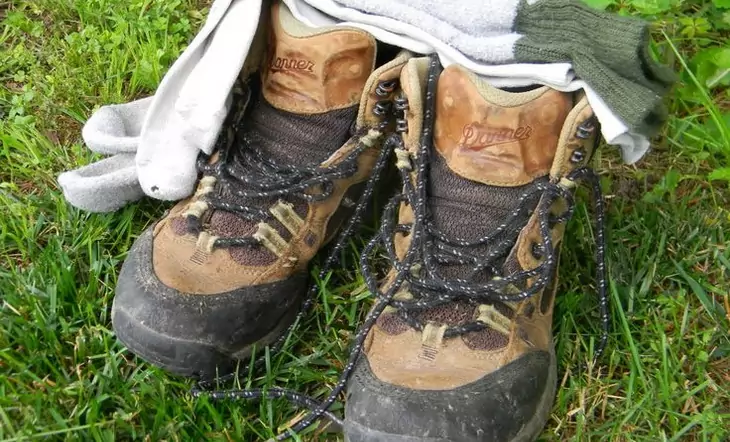
- When You’re Not Wearing Them: You invested a lot of money in your pretty new hiking boots so it’s obvious it’s not enough to just kick them off and cram them in your closet. If you protect them (make sure they’re clean and upright) you will get longer life out of them.
Steps on how to break in hiking boots
After you read all those general tips and did everything we suggested your boots are ready for walking. Here are some steps on how to do it:
Go Slow
- Once you have everything you need to fit the boot, we suggest you wear boots around the house in order to get some idea of potential “rubbing” spots.
- Choose the insoles and socks you should usually wear on the trail
- Don’t tie your boots too tight (snugly is a good way to do it for start)
- Place your gussets and tongues straight. It’ll feel stiff at first, but that’s okay.
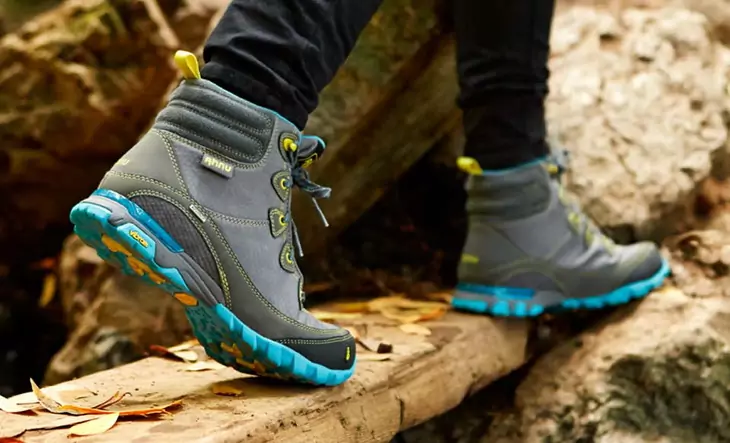
- Start with light walks around the house, then a half-hour walk around the block, and later an hour walk around town. (Keep in mind that your feet need to feel comfortable before you start with longer distances)
- Put on your daypack first and increase the distance.
- Slowly increase mileage and the weight of your backpack as this is where serious breaking happens.
- Flex the soles after a crease begins to form. Once you notice the crease, connect the toes sole with the balls of your foot. Bend them just for a bit each day as this will make your sole more flexible, allow your feet to move wider and decrease stiffness. You should be gentle while doing because you don’t want to overstretch them. (Idea: Perform squats while wearing them as squats help loosen the soles)
- After a couple of short hikes, you will be ready to go on a two to three hour hike (choose closer places and consider the time to get back before you start). Soon, your boots will be made for long hiking walks.

How to know when your boots are ready to go
After you worked on all those suggestions to break in your new boots above, there are few ways to know if your boots are ready to go after you:
The “Use Your Finger” Test
This is the first thing most professionals do when they want to see if their new boots are ready to wear. Simply move your feet forward (as much as you can) and if you can slip your fingers at the back of the boots they’re ready to go.
This test should be done with your boots fully unlaced and proves that your feet will have all the space available when hiking down the hill as feet then slide forward especially when you carry a heavy pack.
The Sense Test
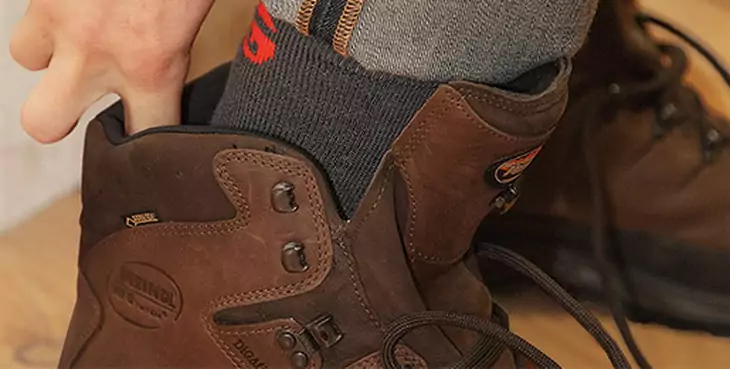
After you have done the finger test now it’s time to try the sense test. Take off your socks and wear your boots with bare feet. Try to determine if some parts of both boots feel tight by simply using your “sensory” powers. Special attention should be on small toes as you don’t want it to be jammed, especially if you’re a person who usually wears 2 pairs of socks. If you feel the “pinch” of your small toes, this test will bring this problem to light as well as any other issue.
Now it’s time to do put your socks on and do the same test once again. Your boots should not feel loose nor tight. Boots should fit perfectly and “snug” your feet. If your feet feel “jammed” or “pinched” in any way, try lighter socks and do the test again. If it doesn’t help then these boots are not for you.
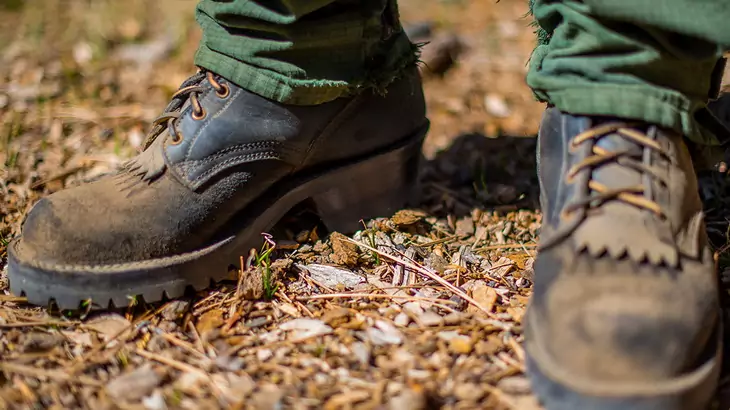
The Stride Test
While walking around in boots what do you feel? Do they break on top of your tops comfortably when you’re walking forward? How about the feel when you’re running? Does it feel like the back of your toes are jammed? If you say yes to all of these questions, then you’re good to go, if not, these boots are not for your feet.
Do you feel your heel sliding in the heel area? They’re too big for your feet and won’t work for you on the longer hikes.
The “Paper” Test
Wear socks you usually wear on your hikes. Place a blank sheet of paper under both of your feet. Trace a line out of your feet with a pen and cut the outline. Gently place the paper inside the boot, then press it on the bottom of a shoe and use the finger to go over the corners of your boot.
When you remove the paper and see that the paper folded up at places this is a position where your boot is still too tight. Walk it off a bit longer.
What have we learned? (Conclusion)
Breaking in will not make uncomfortable boots comfortable. If the boot doesn’t fit (it feels tight or pinches) when you try it for the first time, then you probably should opt for different boots. Listen to your feet before going on a serious hike adventure, they’ll tell you if you’re ready. Also, be vigilant about pain points as what seems to be a small problem can become a big one in no time. As a hiker, your primary objective should be the avoidance of dreaded blisters, or any other sores and uncomfortness.
By taking little steps, you can go a long way to keeping you in a good shape so it’s sure worth taking the time to do it. Now it is time to put your new boots to a true test with a weekend backpacking trip or a day hike.
We’re not some boot masters, but we do wear boots a lot. We hope you found our post on how to break in hiking boots interesting and useful. If you have any other suggestions or ideas we would be happy to hear them so please leave a comment below, or share some of your boot pictures with us on Facebook, Twitter and G+ or tag us on Instagram. We would love to see them! Good luck and happy hiking!


When I was younger, whenever my parents bought me new shoes for hiking or sporting, I used to ask my friends to try them on for a day so that I could see how I would look in them. Most of my friends could not resist wearing new shoes but they did not seem to realize that it was their feet that were getting hurt by the new shoes. Now that I am older, I still have the phobia of wearing new shoes, but since I buy my own shoes, I am very keen on buying shoes that fit well.
When you get the new pair of running shoes or hunting boots, do not immediately take them outdoors. Walk around the house for a few days to determine the fit.
Don’t convince yourself that an almost fit is a good enough reason to buy the shoes or boots. You just need to break in them to be sure.
I desperately needed this post. Thank you very much for publishing this post now i understand How To Break In Hiking Boots