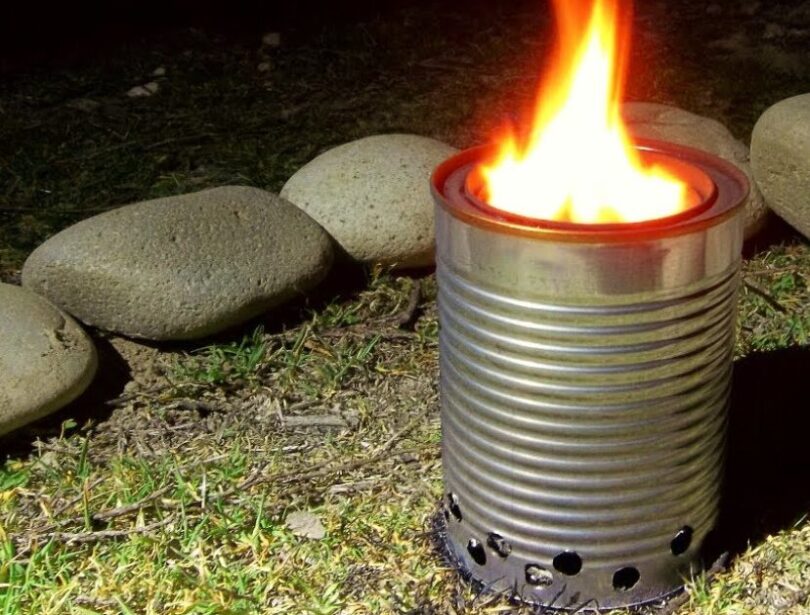
How many times have you looked for ways to warm up or straight up cook some food while camping without burning it badly? You would agree with us that a campfire is not the best option when it comes to anything different than roasting meat. If you are looking for a fine and easy way to cook in a pot while in the forest, then you could use a DIY camp stove.
Such a contraption is a great budget option and will provide you with plenty of portability. Store bought camp stoves are typically made out of stainless steel which is very heavy. Your can made camp stove will also allow you to control the temperature and the rate of burn to your liking. Have neatly cooked meals right by your tent without any hassle.
In this article, we will provide you with a step by step guide and will show you how to create your own camp stove with domestic supplies. We will also explain the purpose and the role of every tool and material in order to make things clear. Read on and find out exactly what needs to be done.
Top Benefits
The first advantage of a DIY camp stove is that it is actually easier to build than you might think. Unfortunately, such a device can almost never be constructed in the wilderness because of the tools and supplies that it requires. All of them can surely be found in any household but it is a rare occurrence that someone carries such things in the woods.
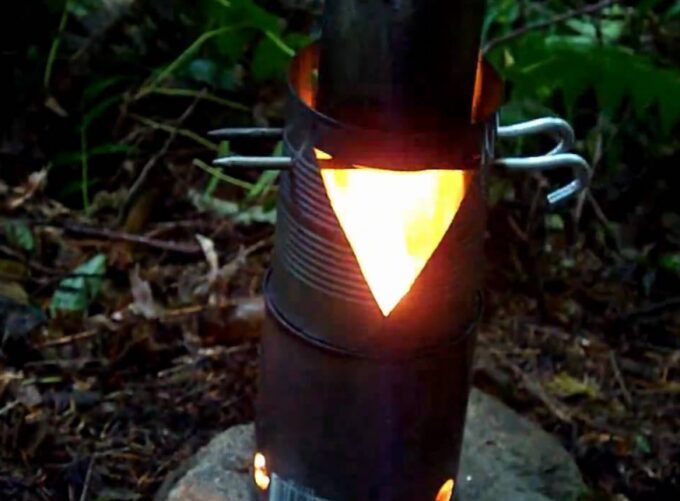
It is not only a convenience when camping but can also turn out to be a vital accessory when it comes to survival. It will provide you with an excellent opportunity to prepare or heat some food that you otherwise wouldn’t in case you only had a campfire.
What You Need
Similar to most Do-It-Yourself items, a camp stove also requires some specific materials as well as tools. Before we get to the actual making process we will list the items that you need. Fortunately, this is a small project which will take you about one hour to complete. All of the items required are probably lying around your house.
The supplies
Let’s run through the list of things you need to have. They will build the body of your camp stove. After we highlight the supplies, we will also mention a few words about their roles in the process before we actually start the step by step guide on how to build a DIY camp stove.
Here are the components of your camp stove:
- 4 cans
- Nothing else
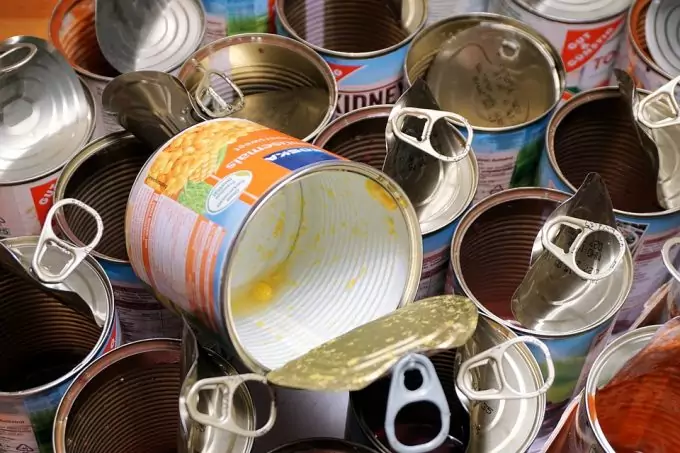
Wait, did you expect to actually need some special materials for the body of the camp stove? The actual cans should have certain properties and dimensions that we will mention in a second but that’s pretty much it.
First of all, you better use food cans and not paint cans. After all, you will be preparing food on that stove so you want cans which never had dangerous chemicals in them. No matter how clean you think you can get them, just stick to using food cans.
A huge advantage of using cans is that you have the opportunity to use both wood and gas to cook on your improvised camp stove. The cans are not all of the same size, however, and you need to correlate their volume because the process requires that you fit some of them inside others.
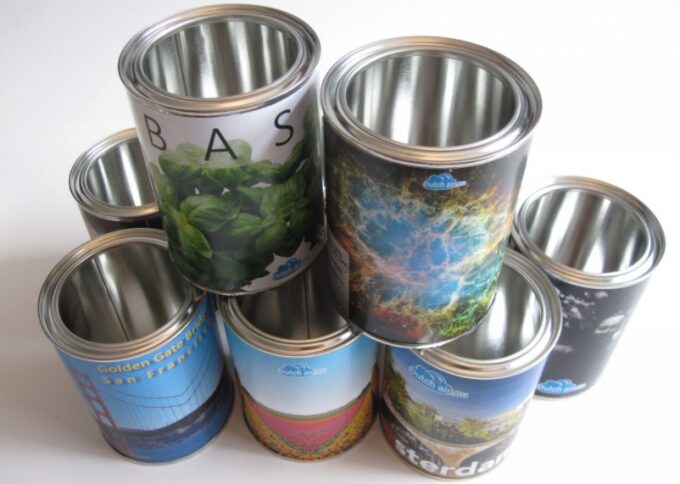
So here are the roles of your cans:
- The inside chamber – it is also known as the burn chamber will be represented by a 19 oz. can
- The outer wall – it is best if you use a 28 oz. can here as it is supposed to go around the inner can.
- The pot stand – a tuna can is the best choice here. It sits on top of the outer wall can. These are typically 3 oz. cans.
- Only the bottom of the 4th can is needed. It should be the same size as the 2nd can we described above – 28 oz.
The tools
None of the required tools are hard to get your hands on and you probably have them all in the same drawer. Here’s the list:
- A sharpie
- A uni-bit/regular drill bit
- A carpenter’s knife
- A pair of tin snips
- Pliers
- A drill
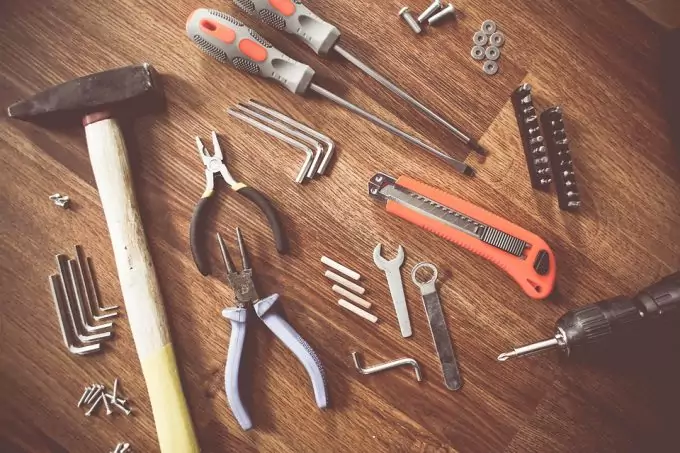
As we start describing the process of creating your own camp stove, you will see the exact purpose of each tool. No need to explain it now.
The Process
We are now getting to the meat of the process of creating a homemade camp stove. As expected, we will start with some preparation stages and will then move on to the actual modeling of the cans.
Preparation
Ideally, you want to remove all the labels from the cans because they will get heated and things can get messy. Furthermore, you can’t do any markups on your cans if they are not completely stripped of the labeling. Don’t rush into drilling holes just yet – clean your cans.
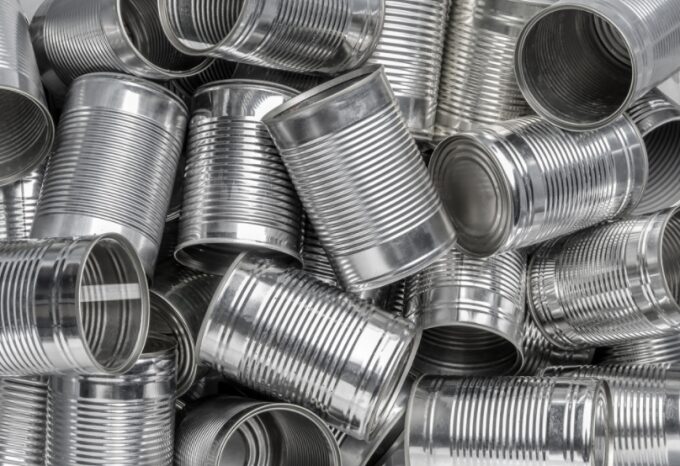
If some glue remains on the cans after the labels, you can use some cold water and only then scrape it off. Don’t apply any hot water because it will only smear it without yielding favorable results.
The Exterior Can
Start by drilling holes on the soon-to-be exterior can. That’s the larger of the two cans. You need four holes in it and they need to be drilled just under the edge of the open end of the can. Use your uni-bit and drill to make holes at 12, 9, 6, and 3 o’clock. These are your venting holes.
Next, look at the closed end of this very can. Take your carpenter’s knife and make two small cuts in the middle of the cap so that they can look like the letter “V”. Did you already guess why this was needed? Yes, you are removing the whole bottom of the can. Allow us to share a quick tip on how to do it painlessly.
After your V-shaped cuts are made, push the remaining metal in and you will have a triangular hole in the middle of the bottom side. Now reach for your tin snips and run them through this hole. Do a circular motion carefully and cut out most of the bottom.
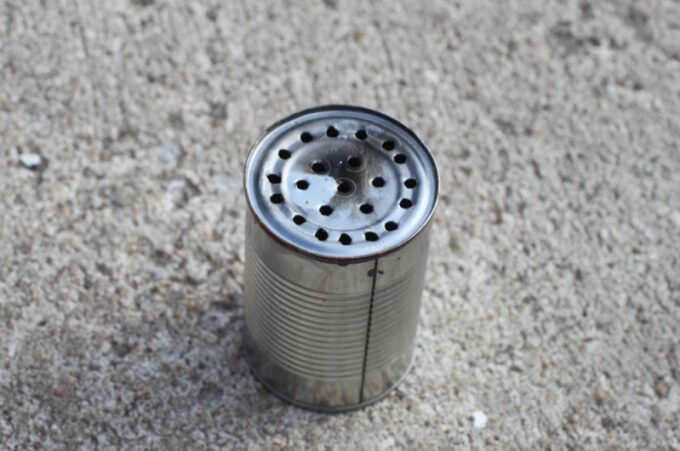
Image credit: instructables.com
It is best if you draw a circle beforehand following the natural wrinkles/rings that a can has on its bottom. Speaking of drawing, make sure you also draw a straight line on the outside wall of the can. This line goes from top to bottom and it has some special syncing purposes that you will see in a second.
The Interior Can
Before committing to anything else in this project, make sure you also draw a line from top to bottom of your inside can. Now place the exterior can over the inner one by doing your best to align the two sharpie lines you drew on each can.
Put the marker through every hole of the outer can. As the marker touches the outside of the burn chamber, draw circles or simply mark these locations. That’s where you will also drill holes similar to the exterior can.
By aligning the holes of the two cans, you allow oxygen from entering the burn chamber. This will help you get some stronger fire with more power. Here’s the kicker, though. If you rotate the outer can a little bit, the holes will no longer be aligned. That’s because the burn chamber will remain in place (you can check its line you just drew).
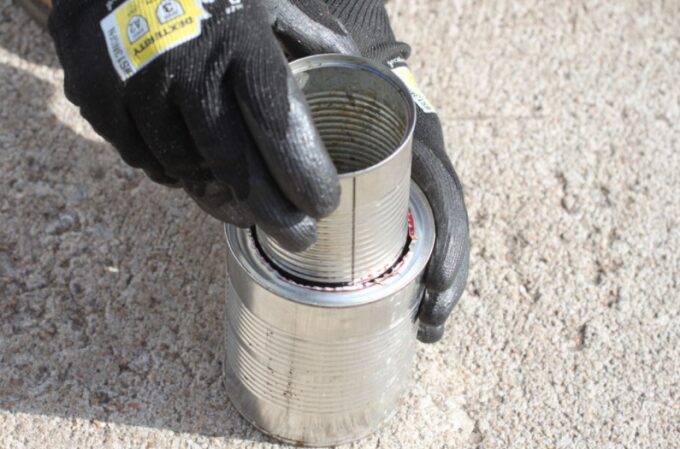
Image credit: instructables.com
By spinning the exterior can, you cut or at least reduce the level of oxygen in the burn chamber resulting in a weaker fire. Changes in airflow will always lead to the fire being strong or weak. Come to think of it, such a property is really useful as most bushcraft items do not have this much versatility. Your DIY gas/wood camp stove can have its warmth controlled.
More Holes
After you’ve marked the locations of all the holes on the interior can, it is time to drill them. Now move on to the other end of the same can and this is where you want to make 12 secondary burn holes. These go along the top rim.
So by now, you have probably gotten a pretty good idea of how your camp stove will work. The interior can is filled with wood or that’s where the gas container goes. You put the exterior can over your burn chamber and have the holes matched up. Once the fire is burning well, you can slow it down by rotating the outer can misaligning the bottom holes.
The Pot Stand
After the body of your DIY camp stove has been complete, you now have to shift your attention to the pot stand. We need to find a way to have it stay on top of the stove in a pretty stable fashion or otherwise we risk having our pots falling off.
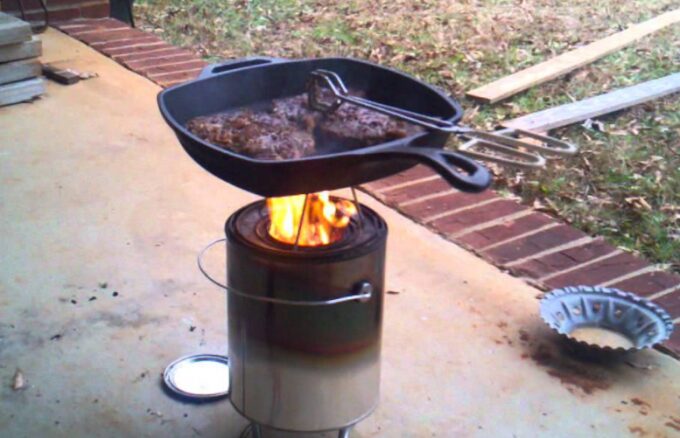
- Grab the tuna can and remove its labels and stickers similarly to what we did with the large cans already. You will also have to cut out the bottom of the can and definitely remove the top. This thing now looks like a giant ring or a flimsy bracelet. We aren’t done yet.
- Now drill holes through the walls of this can. If you have about a 1/3 inch distance between them, you should be able to drill about 10 holes along the sides of the can. Next, you will need the presence of your 4th large can. Remember the 28 oz. one that we never got to? Well, now it enters the game.
Here’s what you need to do with the bottom of this can:
- Cut the same triangular hole in it by making two V-shaped cuts again
- Draw some short dash lines in a circle. They will look like very little rectangles, connected and aligned in a circle.
- Cut the inner line(circle)
- Fold the dash lines up
We have to do all this in order to attach the pot stand to the can. Now the bending of the tabs isn’t going to be easy and it will turn out to be quite time-consuming. There’s no way around it though because you want your pot stand to be as stable as possible.
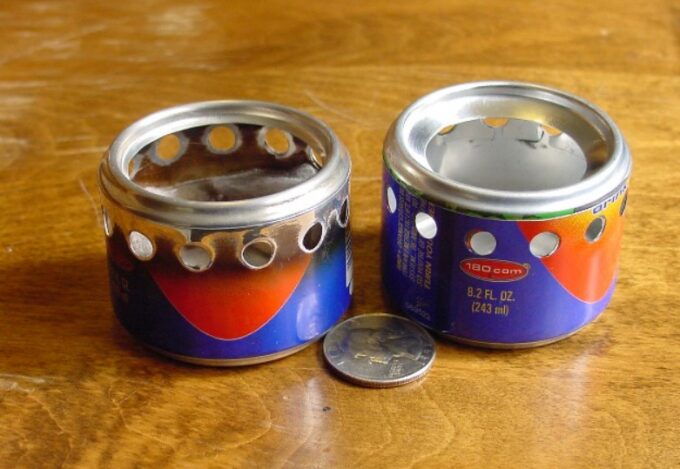
Use very thin pliers and try laying in the tuna can right on top. These little notches will bend up and will sort of bite in the tuna can i.e pot stand. You know you are done when the tuna can looks like a narrower extension of the large 28 oz. can.
Finishing Touch
There’s not a lot left in this project but a masterpiece is born thanks to the details, right? Well, this is why we have one or two things more to do in order to say that we have successfully made a DIY camp stove.
At this point, you might ask yourself “Why can’t I just put the large can + pot stand over my fire chamber”? You can simply drill holes in that can and use it as an outer one. Why did we have to use a separate can?
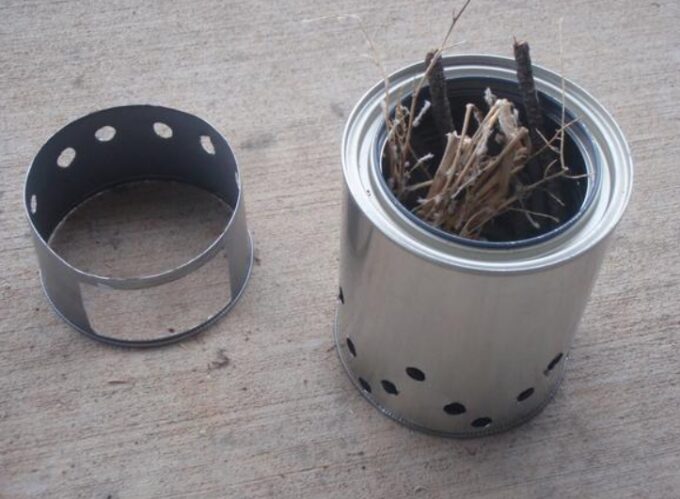
Well, the answer is portability. In this case, you have a large can with an attached tuna can on top making the whole contraption a little harder to transport. As we mentioned, attention to detail yields great results and this is why we want to do things properly. You should be able to detach your pot stand and the stove and here’s how you do it.
The Can Opener
We wouldn’t want to disappoint you by talking about cans all the time and not rewarding you by having to use a can opener. What you want to do now is remove the bottom of the can along with the pot stand.
You can’t do that with the tin snips because there’s not enough room and you will likely damage the surface. So grab a can opener. It’s best if it is not an entirely manual one but one of those larger ones with the lever on the side.
They require no strength to use. You just spin the lever after the can opener has bitten into the can and the magic happens. It will peel the bottom right off. We recommend using such a can opener because you do not want any jagged edges or bent sides of the can.
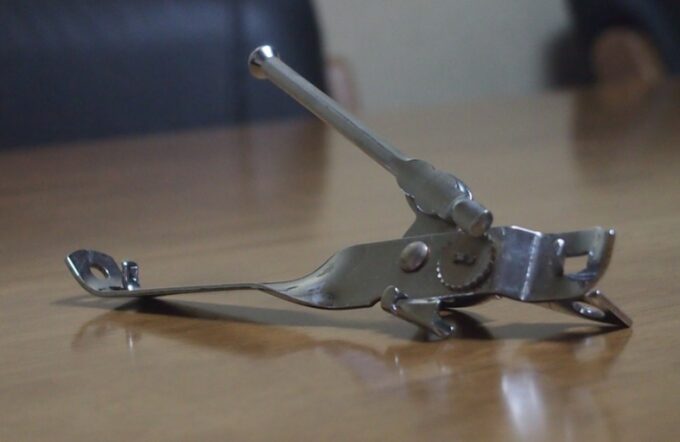
This is important because whatever is left from the bottom of the can (now the base of our pot stand) will have very sharp edges. You want those smooth and even. If you see any jagged edges just hit them gently with a hammer a few times and you should be fine.
The Package
Now you can simply rest the pot stand on the inner can and remove it whenever you feel like it. This gives you somewhat easy packing options. You just put the pot stand inside the burn chamber and then put the larger can on top of it all.
Use any bag and you will basically find yourself carrying just one tin can. That’s because all the parts will be inside one another. Portability goes a long way when we talk about outdoor and survival masteries. You want a smaller bundle.
Wrapping Up
This was our little guide on how to make your own camp stove inside your living room. Such DIY yourself projects will save you a lot of time, money and headaches once you find yourself in a situation needing a certain item or contraption.
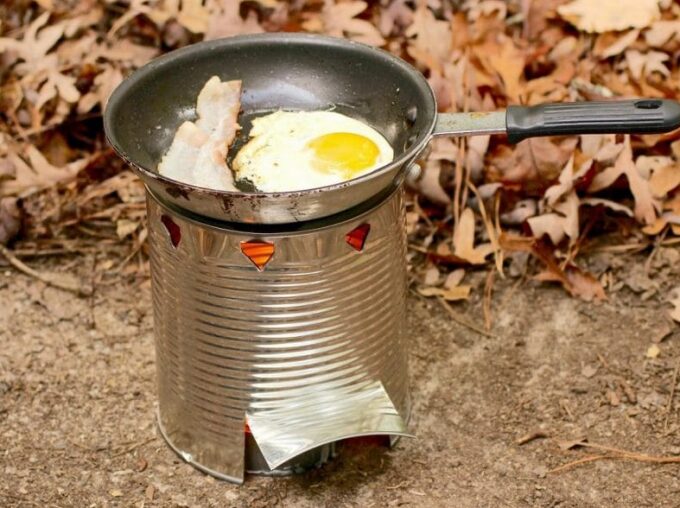
We sincerely hope that we have helped and made your outdoor adventures easier. If you like our step by step guide, leave us a comment and if you think there’s more to add – well, leave us a comment again. Read some of our other DIY guides, share the knowledge and as always – stay put!

