Fire starting techniques are essential for survival in the great outdoors. This is because you never know the kind of situation you may find yourself in. If you do not know how to start a fire, it might just be a very bad day in some situations. It is also important to know different ways with which you can start your fire, so you can always be prepared. In this post, we will discuss some traditional ways of starting a fire.
Knowing how to build a fire provides you with many benefits, such as heat, light, water purification, craft making, cooking and many more. Because fire is invaluable, it is important that you have the skills at your fingertips. That can only be possible when you do a few DIY practices behind your home, or in an open space before you go into the wild.
Here, practice makes perfect.
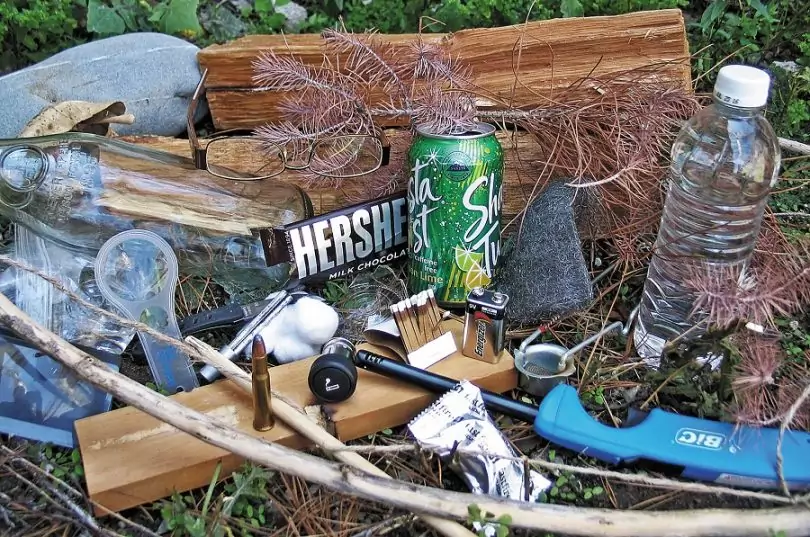
Let us now start by discussing how to create a fire that will stay ablaze. This is very important because you would not want your hard-earned fire to be blown off into thin air for nothing. Keeping your fire lit will help you save on energy and fuel for the future.
It’s good to be prepared at all times, so make sure you read our list on the best survival lighters that campers should have.
Materials Suitable for Tinder and Kindling
Materials suitable for tinder and kindling should just materials that can do the job and that are readily available to the outdoors man. Let us simply examine them individually in order have a full grasp of what you should consider when searching for materials.
Suitable Tinder Materials
Tinder should catch fire easily from just a few sparks of your ignition, should stay lit until it is being transferred to the fireplace.
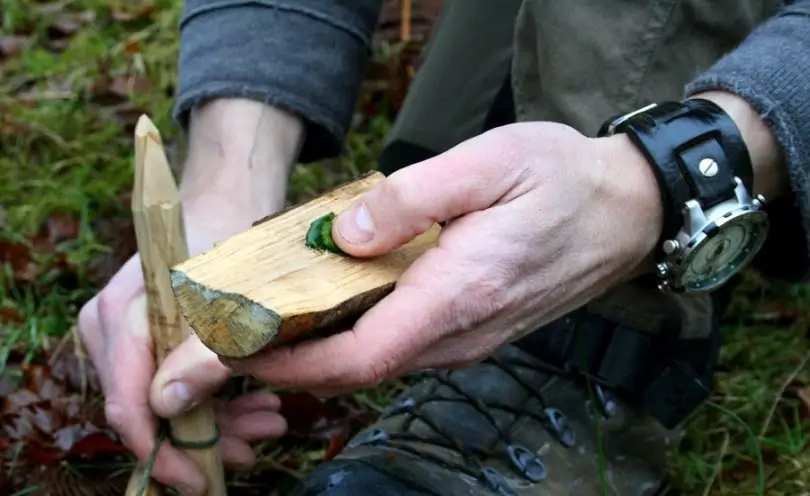
You can use any of the listed materials below, depending on their availability as to where you are making your fire. These include:
- birch bark
- charcloth
- dead dry plants and grasses
- dry leaves
- dry needles from coniferous trees
- lint
- moss
- paper
- pine pitch
- wax
- wood shavings
Remember, you can however, transform any thick log, dry pieces of bark, or sticks into smaller pieces and use them as tinder. So long as you can easily transfer the fire from the lighter unto your kindling.
Suitable Kindling Materials
The main use of kindling is to help your small flame burn until you’ve added more substantial material.It should be a bit bigger than tinder, with a surface-to- volume ratio of about 1/7” to 1/2″ in diameter, and must be a material that ignites easily. Kindling is ideally meant to light the principal fueling fire-woods, so it should be able to produce a concentrated flame and sustained heat.
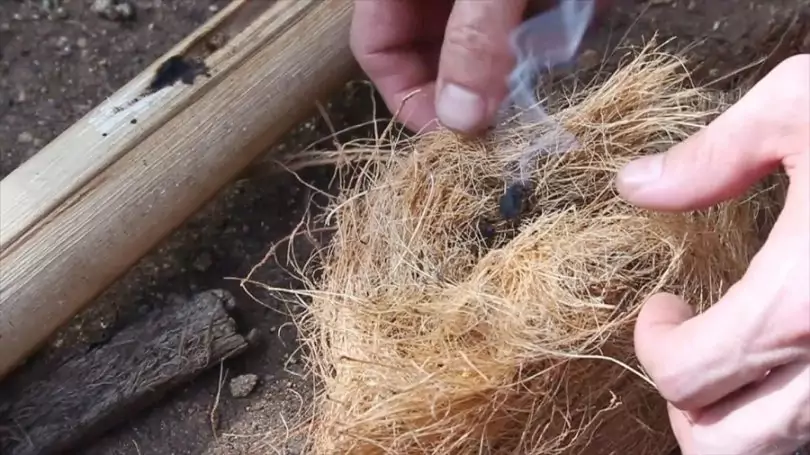
Suitable kindler materials would include;
- cardboard
- dry twigs
- fuzz sticks (with attached shavings)
- large pieces of wood cut into small pieces, and
- wood pieces.
To start your fire with ease, see our article on the top fire starter sticks to give you more options.
Fire Starting Techniques
The whole idea of knowing how to start a fire is to be able to do it when you do not have any modern day fire starters such as matches or lighters available to you. So having known what sort of materials are best for your tinder and kindling, it is time to explore the various techniques that can be utilized in the wild when a fire desperately needed.
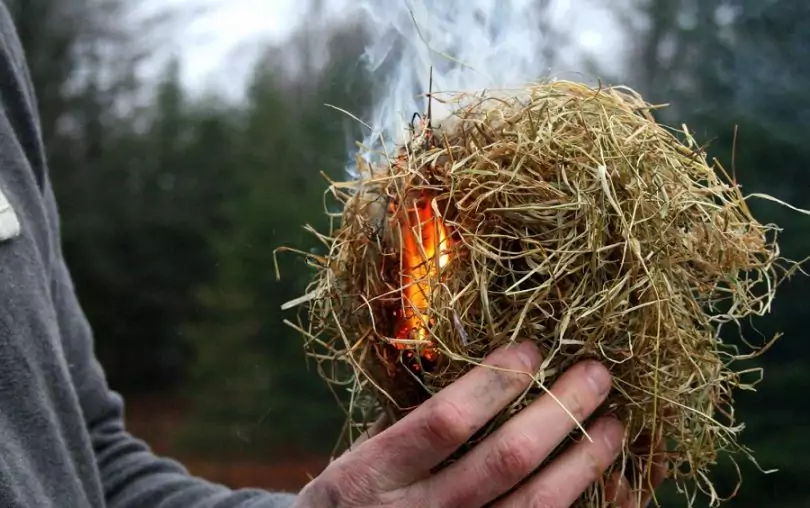
Some methods of fire starting that are proven to be successful, even on bad weather and terrible days will now be discussed.
Hand Drill Method
This a famous DIY fire starting technique. It is actually as primitive as it usually claimed to be, because the method requires only some tact, with great skill and strength. But you need to keep your tinder close by because it takes some amount of energy to get a spark, and once you do, you wouldn’t want to let it fade off before you get a spark going. What you will need to do is this:
- Gather your tinder to form some kind of a nest.
- Get a piece of wood to place on the floor or a flat surface to be used as your base. This will be your fire board on which you will be drilling to create the necessary friction.
- Create a small v-shaped notch at the center of your fire board. Usually with the use of your pocket knife or any sharp object that you can find.
- Make the notch wide enough and deep enough to hold the stick you will use as your spindle.
- Get a small piece of wood, ‘tree bark’ preferably and place it under the notch. This will be used to collect the glowing cinders you are most likely to produce when you create friction with your fire board and the stick-spindle.
- Pick your stick-spindle and put it inside the notch at the center of your fire-board.
- Push the stick-spindle back and forth, towards the base of the notch. Make sure you are holding the stick-spindle between your palms as you roll it back and forth.
- Roll the stick-spindle faster as much as you can. Push your hands forth and back in opposite directions at all times until the friction creates the required heat to create a cinder.
- Once a cinder is formed, relocate the glowing cinders unto your piece of bark. Remember you ought to have placed this small piece of back close to the notch as instructed above.
- Now take the bark containing the glowing cinders and place it onto the nest of tinder. As soon as you have placed the cinders onto tinder, you should immediately begin to gently blow the tinder nest and watch as the cinders ignite the tinder.
- As flickers begin to glow and grow, you should also begin to add more fuel in order to increase the flame into a blaze.
Although the method may take some time, it is a sure method.
Above is a helpful video detailing the process of the hand drill method.
Bow and Drill Method
This is another twist and friction method of generating a flame. However, it does save your hands through the use of building a bow to do the job fro you instead.
- Gather your tinder and make a nest of tinder from basically dry plant material you can find.
- Locate a heavy log, or a piece of rock if you can find one. This will be used as a socket and will actually be putting pressure on your stick-spindle.
- Now identify a piece of wood that can be bendable. A long flexible wood, say about an arm’s length that can curve and form a bow under a bit of pressure.
- Get a string that can go from end to end of your bow. Paracord rope works well, if you have it. If that is not available, you can just use your shoe lace or a strip of raw hide. The idea is to get a cord that that is made of abrasive materials and that can withstand high amount of friction.
- Link the paracord rope unto one end of your bow wood and make it very tight. You can actually make some groove at the ends of the bow wood in order to increase the bond as you tie the rope unto the bow wood, if you do not already have notches emplaced on your bow.
- Find a piece of wood with a flat surface that can be used as your base. This is going to be your fire board.
- Using a pen knife, or other sharp objects that can be used to cut into a wood and then make a v-shaped notch on the center of your fire board.
- Build a nest of tinder around this v-shaped notch you have made. The aim is to have the nest of tinder very close to the stick-spindle. So that as soon as the friction can create the required heat, your tinder can form cinders.
- Locate the middle of the bow and loop your cord once around your stick-spindle.
- Carve one end of the stick-spindle into a point to create some control of the friction in the socket. The spindle can last longer if you avoid cutting it off once a char is started on that end.
- In the v-shaped notch, place one end of the spindle. Then create pressure on the top of the stick-spindle using the socket.
- Now do the sawing! At this stage, you should begin to move the bow back and forth as quick as you can, as though you are using a saw to cut wood. The loop will cause the stick-spindle to spin, as you move the bow. That will then generate some heat where the friction is highest, which is where the spindle meets the fire board.
- As the heat increases, movement should also increase until you begin to see some formation of cinder at the base.
- Relocate your cinder from the fire board unto your tinder using a small piece of tree bark, and drop the cinder on your nest of tinder. In this case however, if the cinder generated is enough to keep the glow for a few minutes, you can just slide the cinder off the fire board directly unto the nest of tinder you have gathered.
- Then gently blow your nest of tinder to increase the glow into flame, and gradually add some more pieces of tinder, then kindler, then logs.
For added information on this, see our post on how to effectively use sticks to start a campfire.
Here is a helpful video detailing this process:
Lens and Refraction Method
Refracted rays travel in a fascinating pattern and with some higher energy. That is the main trick harnessed in this method. Lenses are then used to concentrate these excited high energy rays and transfer the heat from them to your tinder or kindling.
So, to create fire with a lens in the outdoor, you need the sun, and some kind of lens. This can be a magnifying glass, a binocular lens, or an eye glass, so long as it can focus the sunlight on a particular spot.
- Place your lens in such a way that you are sure the rays are focused on a particular spot, preferably in an angle. Keep angling your lens until you have a small, bright spot over your kindling.
- Once you have identified your angle, gather your tinder in a spot to form a nest. The refracted rays from your lens should then be directed and focused on your tinder for a while. It should start to burn eventually. Keep adding more tinder and kindling before you start adding larger pieces of wood and flammable material
Because this method relies so heavily on the use of the sun, you do have a time limit for getting a fire started.
Above is a useful video to help you perfect this method.
Balloon Method
This method is a funny one, perhaps because you may not be thinking that a balloon can be an important outdoor gear.
- The balloon method works quite simply too. Just fill the balloon with water, and tie off the end.
- Try to make the balloon as spherical as possible, and not too big, so that you can get the best possible focal point from undistorted refracted rays.
- Try to find a sharp circle of light, by squeezing the balloon until you locate one.
- Once you have located your sharp circle of light, place it directly above your tinder in less than three inches away from it, and then watch as the focused light ray burns your tinder to create some fire.
Here’s a short video showing you how to hold the balloon:
Flint and Steel Method
The method uses steel and a piece of flint as its main items.
- Pick a rock and a char cloth, and then place it right between your foreigner and your thumb. Hang the edge of it, say about two or three inches off your thumb, and then properly place the char between the flint and your thumb.
- Pick up your steel striker if you have one, or just a pen knife and strike several times against the flint. If you hit it right at one strike, you will immediately see sparks jumping off and landing on the char cloth and that will cause a glow.
- Put the char cloth into the nest tinder and blow gently until you start a flame. Just blow the glow to grow into a flow of flames.
Batteries and Steel Wool Method
You would need steel wool and at least one battery.
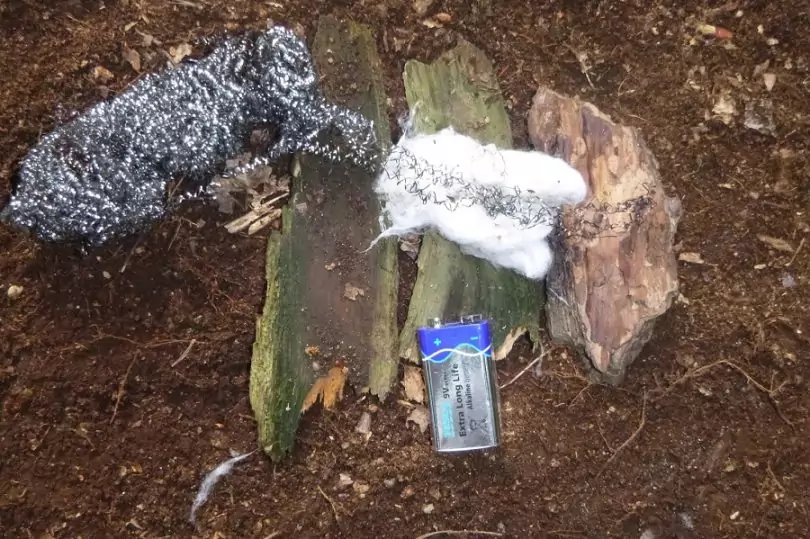
The steel wool should be less than an inch wide and about half a yard.
- Get a 9-volt or more battery to get the best result, although any battery will do.
- Just hold the battery in one hand and the steel wool in the other hand. Hold the wall material against the positive and negative charges of the battery.
- Watch the wool glow and then burn.
- To get it to burn better, gently blow on it.
- Next, you quickly drop the burning wool into your already gathered nest of tinder and the fire should blaze.
Can and Chocolate Method
In this method, you would need a chocolate bar and a can. But you would also the need some sun rays. So, you must a jolly, lucky fellow to be able to do this activity.
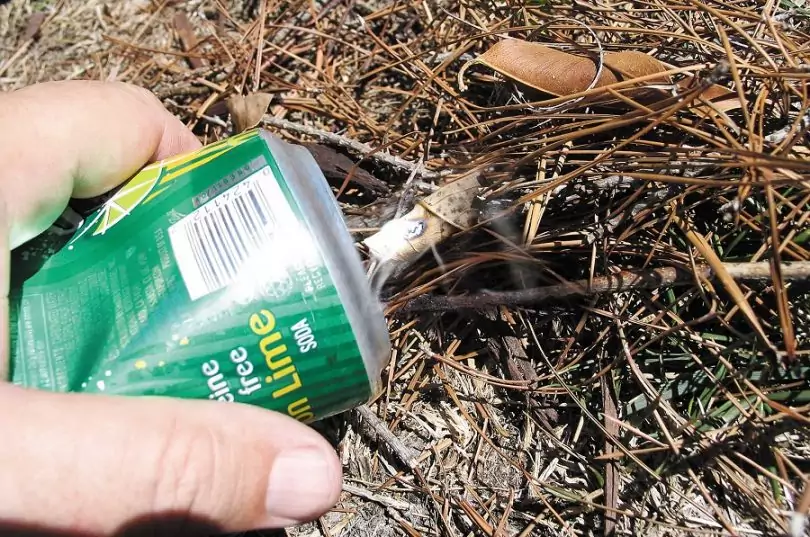
The bottom of the can needs to shine like a mirror. So, you would need a polish to make that happen. That is where your chocolate bar would come in useful. The oil in the chocolate bar acts as polish and will make the can shine into a perfect reflective surface.
If you have eaten up all your chocolate bars, you can actually use a toothpaste.
- Polish the base of your can until it shines to satisfaction. What you will then see, is some kind of a parabolic mirror. That is a good reflective surface. However, most importantly, it can form a single focal point with the rays of the sun when placed at an angle.
- The sunlight will hit the reflective surface and should be carefully focused on your tinder. After a few seconds, flames should appear.
Clear Ice Method
This a very fascinating method, because you get to start a fire using frozen water. What you need to do is this:
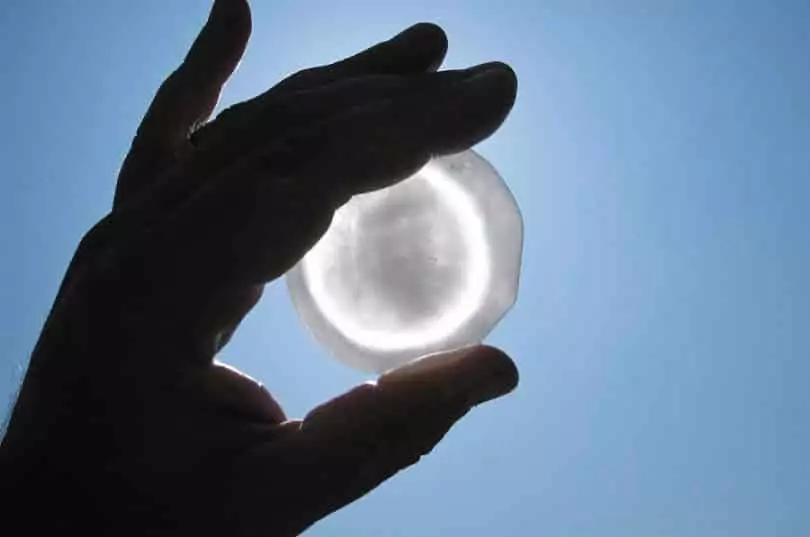
- Find an ice block of about 2 inches thick to work as a lens.
- In order for the ice to work as a lens, you may have to alter it to have the same features as a lens. So, carve the ice-block into shape and make the middle of the ice narrower in thickness than the edges. You can use a knife to get it done properly.
- Once you are done, place the ice-lens at an angle that allows you to focus the rays of the sun passing through the ice-lens onto your nest of tinder. Watch your tinder glow, and then you can blow gently until the glow to grows into a flow of flames.
Here is a helpful video detailing the process:
Now You Know How
Fire making techniques are very useful, and not that difficult to do.
So, instead of struggling with building a fire from scratch, you can use any of these simple methods to keep you warm, cook your fire, or provide some much needed light. Most importantly, it would be ideal to try one or more of these methods at home before setting-off for the wild, just to be on the safe side. Practice makes perfect, as they say.
To learn more of the proper techniques to build your own fire, see our previous article on the topic.

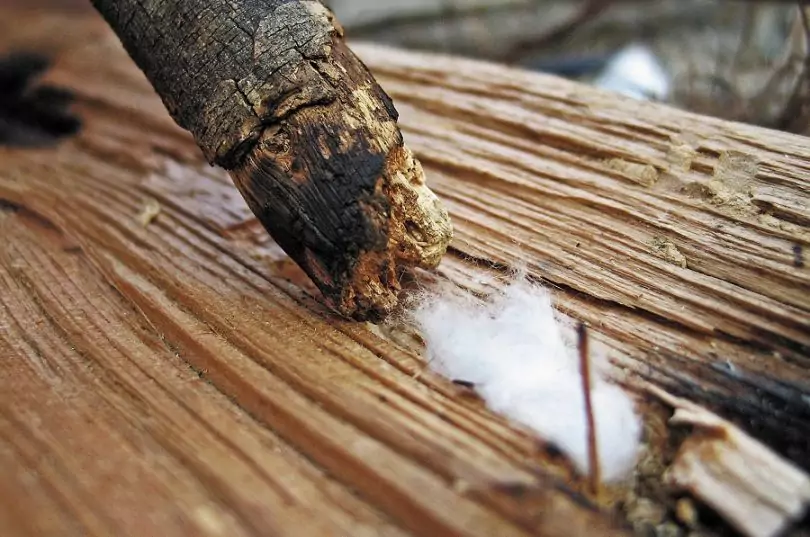




Also learn how to start a fire in wet weather to further increase your chances of survival. Be prepared beforehand. Since damp kindle materials will take longer to burn, be prepared by adding some cotton balls pre-soaked in petroleum jelly. Dry damp tinder with your body heat. Split damp logs because their centers will still be dry. Make it also a priority to gather kindle materials as soon as possible, or as soon as you arrive in camp.
Another tip for starting fire is to use some tea lights with the wick sealed in wax beforehand. Tea lights will burn for an hour and they are pretty cheap! I also keep Bic lighters in the pockets of my jeans, backpack, jacket, and etc. It is also handy to have those magnesium bar fire starter kits.
Thanks Kevin! I appreciate readers who share what worked for them and these tips will come in handy. Starting a fire is a a basic skill that every camper should have. Practice on your own or with friends prior to any trip to make sure you are able to ignite even the dampest wood. It takes a lot of creativity and basic knowledge to start a fire going – but, it can be done!
Thank you for the tip Brian. Yes, those tea lights are certainly remarkable. They can even burn for more than an hour, as my bodies and I have found out. We also make sure to bring some waterproof matches and lighters just to be prepared for anything. Fire is basic and it’s a necessity to survive the cold nights or the cold day weather.