
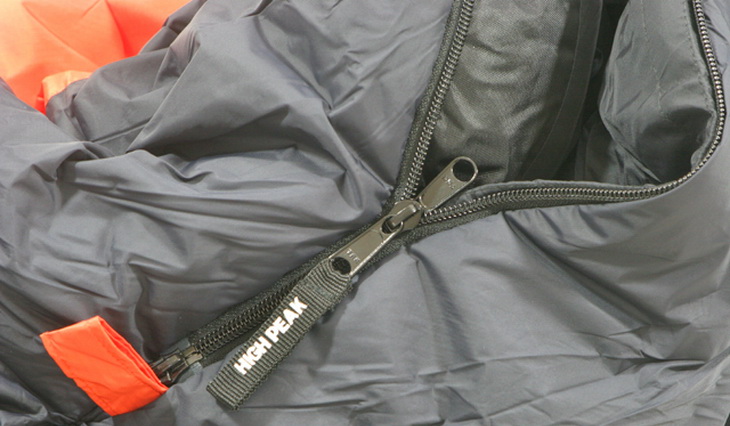
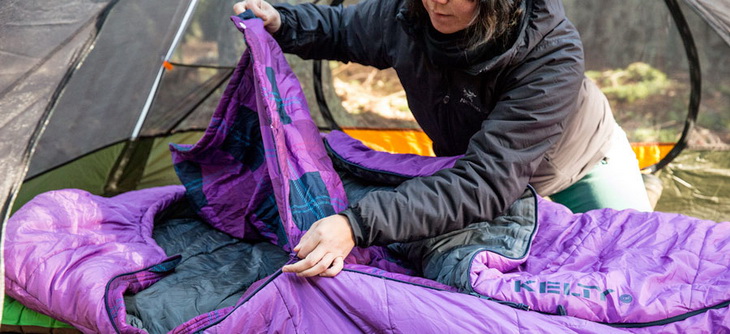
Zippers! You have just walked for 3 days in the back country and laid out your sleeping bag, opened the zipper and it has pulled apart. It’s cold and the last thing you want is a miserable night with an open sleeping bag. All is not lost. Let’s take a look at how you can go about making a sleeping bag zipper repair that will work. However, we do hope you have made some preparation and packed some useful tools to help…
This wonderful invention that is part of everyday equipment in our lives that turns quickly into massive problems when it fails to work properly. We take zippers so much for granted now, but a hundred years ago, they were just beginning to be worked into the designs of our life. When zippers fail, we suddenly realize how difficult life would be without them.
Actually, before we tackle your sleeping bag zipper problem, let’s take a look at zippers and their functions in general. Maybe by learning more now, you can avoid the scenario I just hypothesized above.
A Little History of Zippers
Like many simple tools and adaptations and designs that make huge differences to our lives, when you look closely at them, you wonder why it took so long for them to be invented.
A prototype zipper was exhibited at the 1893 Chicago World Fair but no one really took a shine to the idea, sticking to buttons for a while longer. It wasn’t until a Swedish immigrant to the U.S.A. Gideon Sundback, started to develop the idea further in 1913 that the zipper started to take the shape we know of today.
He worked on the design for 4 years in New Jersey at the Universal Fastener Company, finally patenting the “Separable Fastener” in 1917. It needed precision manufacturing to enable the design to be made on a commercial scale.
What is even more surprising is that once the zipper was designed and made over a century ago, the basic design has not changed very much. It is still essentially still two rows of tiny protruding teeth attached to two strips of flat webbing that link together and unmesh with the help of a moving up and down the teeth by human hands. The different specifications and materials for these teeth and sliders do make for various different attributes and recommended uses, but the actual zipper design is still basic.
What Makes a Zipper?
There are few actual parts to a zipper, but let’s put labels on them so we can describe any differences and how they function.
TAPE
This is the flat band of woven fabric webbing that the meshing “teeth” are attached to. It is usually made of durable synthetic like polyester, but it can be other synthetic fibers, vinyl or cotton.
Tape Top and Bottom Tape Extensions are the top and bottom fabric parts of the zipper that extends beyond the top and bottom of the chain.
Tape Width refers the fabric width on both sides of the closed zipper chain. Likewise a Single Tape width refers to a single side.
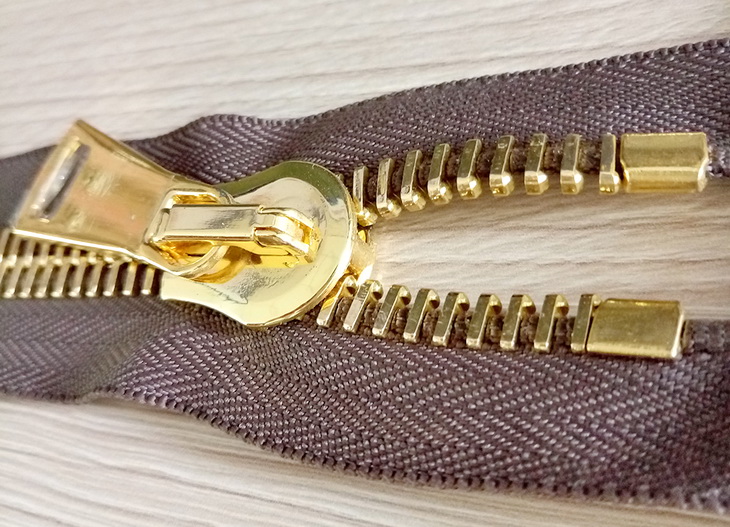
ELEMENTS
Also known as “teeth”, are the small protrusions made from metal or plastic that attach to one side of two tapes. Each element/tooth has a hook and hollow. The way these elements/teeth enmesh or link with by each hook and hollow, forms an open or closed zipper. When they are closed together they are called a “chain”.
Top Stop are the two metal or plastic clamps that prevent the slider running off the end of the chain.
Chain Width refers to the gauge width of the chain #3, #5, #7, #8 and #10, where the larger number is the wider chain. #15 gauge is also available but only in molded plastic.
Insertion Pin and Retainer/Pin Box where one side of the elements has the insertion pin, the other side the box into which the pin slots to align the teeth prior to closing with the slider
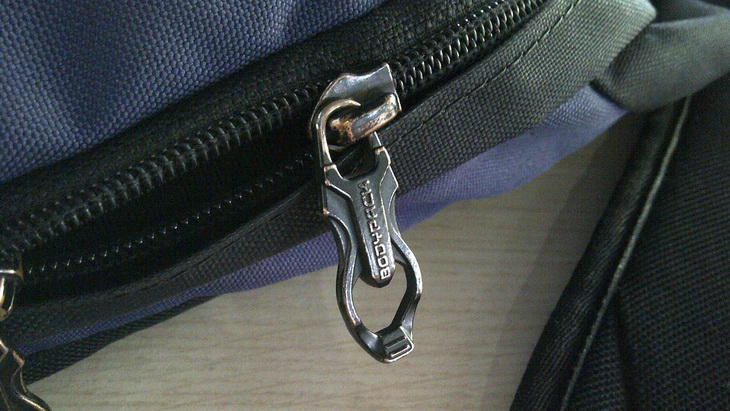
SLIDER
Each side of the zipper chain slots through each side of the slider so that running the slider in one direction closes the zipper chain, moving the other direction opens the zipper. The slider has a “head” where the chain is open, and “bottom” or where it is closed.
The Puller or Pull Tab is part of the part of the slider that you actually hold to pull the slider up and down the chain
So there you have it – a zipper is simply a fabric tape, elements and a slider! Seems quite simple put like that. Why didn’t I think of it?
There are of course a few important variables that differentiate the best use for different types of zipper and what makes a quality zipper as opposed to a nasty unreliable one that might let you down when you least want it to.
What are Zippers used for?
Zippers are used to close and open the two pieces of fabric to make it easier to get in and out of clothes, sleeping bags and such like. They are used close bags, suitcase, tents, as well adjusting the sizes of these things. Close pockets, sweat shirt neck openings, cuffs,, jeans.
Each side of the zipper chain is sewn in opposing sides of the garment or item to be closed. There are different methods for sewing different zippers and for further information research sewing techniques.
Styles of Zippers
- Closed-end zipper – one end of the zipper is closed by a metal “stopper” at the bottom so the slider can run to open and close the zipper from one end only. There also small stoppers at the head so the slider doesn’t run off the chain. This is normal for jeans, skirts and sweatshirt neck openings.
- Zipper with double sliders (arranged in head to head relation) – this zipper has two zippers so that when the two zippers are closed the sliders meet in the middle (or somewhere along the zipper). This is used for suitcases and bags.
- Zipper with double sliders (arranged in bottom to bottom relation) – this zipper is configured so that when the two zippers are closed the sliders are at both ends.
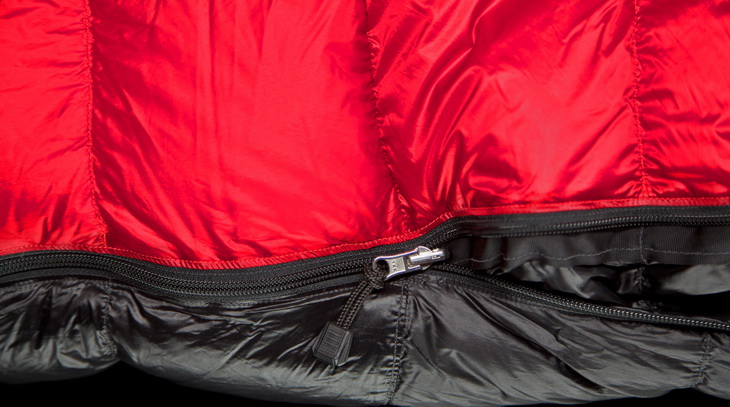
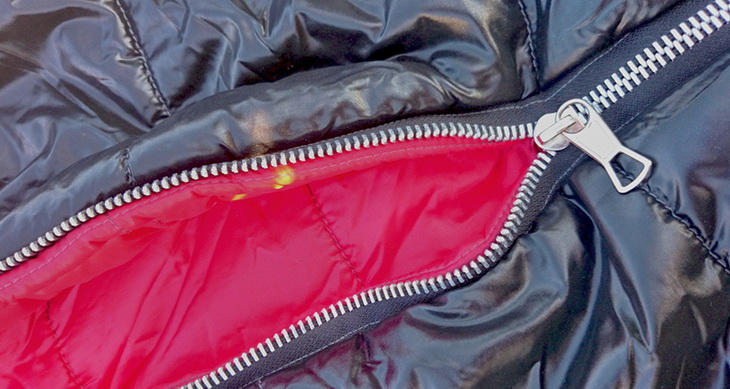
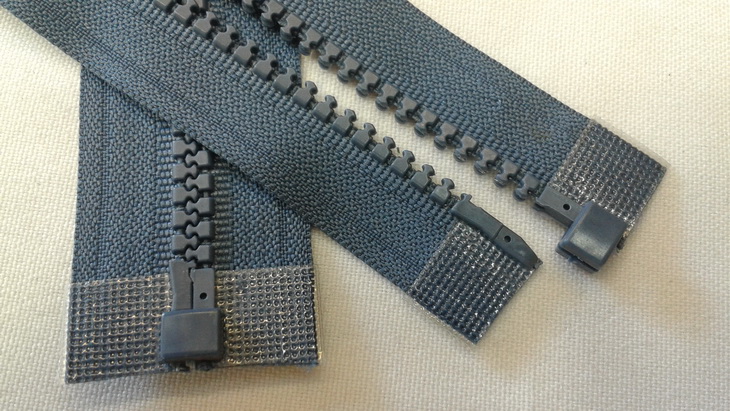
- Open-end zipper – this has a “pin” on one side of the chain and “retaining box” and slider on the other so the pin is inserted through the slider into a retaining box before zipping closed. This used for jackets or sleeping bags that open out to blankets.
- Two way separator from the top – incorporates two sliders with an open end zipper so one zipper can close the top, while the other can either remain closed or open from the bottom. This is used for long jackets or where unzipping from the bottom allows better access to pockets without opening the zipper from the top. It is also useful for sleeping bags where the bottom can be opened for venting, and also for tents.
Styles of Sliders and Pullers
- Non-lock slider – this slider just opens and closes freely, the puller usually hangs loose. There are various versions of these in different sizes, depending on the requirements. “Invisible zippers” have small ones with tear shaped pullers.
- Automatic lock slider – this slider has a locking mechanism that will hold the slider under normal pressure wherever you stop it manually
- Semi- auto lock slider – This has a system that
- Pin lock slider – this slider usually has a small pin that is locked in place manually when the slider handle is pushed down
- Reversible slider – the tab on the slider can be moved from one side of the zip to the other so the zipper can easily be closed from either inside or outside
- Double pull slider – has two tabs, on inside and outside of the zipper so the zipper can be closed easily from both inside or outside
Types of zippers
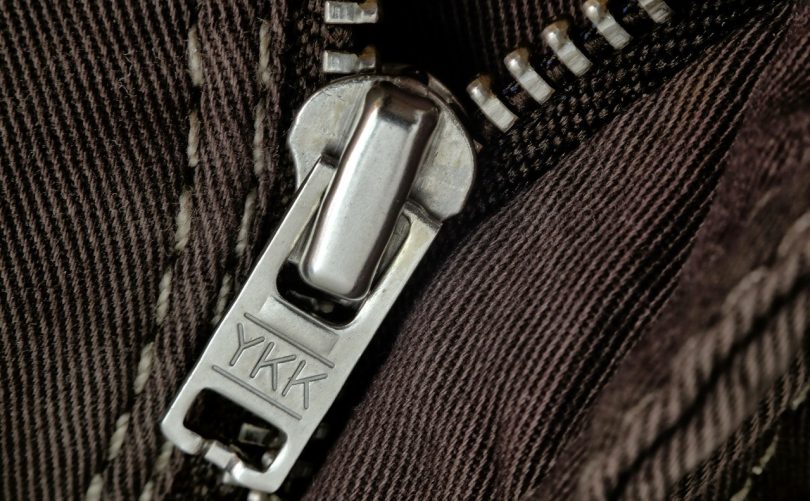
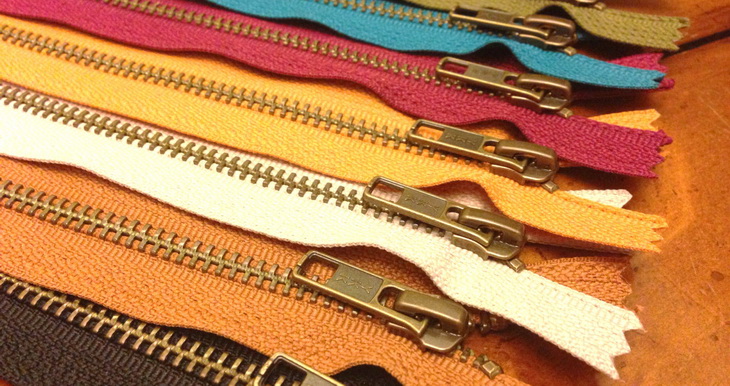
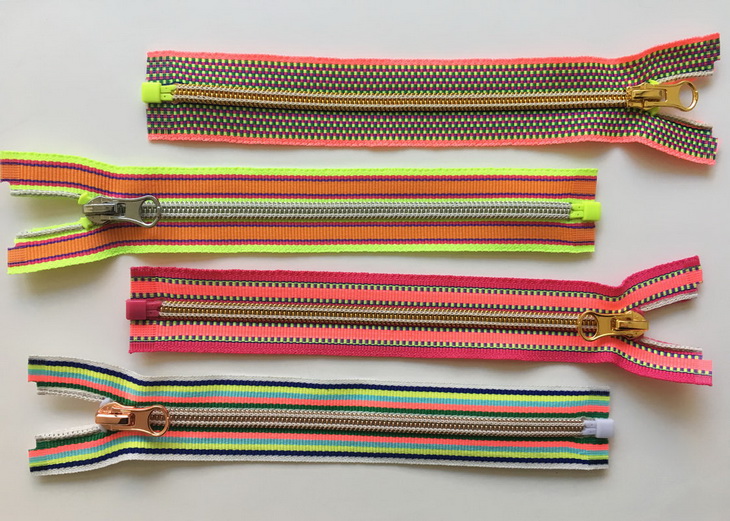
- Classic zippers are the metal type found in jeans and other articles requiring short, tough zips that can withstand tough wear and washing. The teeth are molded as individual metal pieces clamped onto the edge of the tape at regular intervals. The metal can be brass, nickel or aluminum made from flat wire.
- Plastic molded zippers are identical style zippers to metal. Whereas metal can be painted colors the paint often flakes off, whereas plastic can be made in any color for fashion or camouflage reasons. The material used is usually polycetal resin, but other thermoplastic polymers and polyethylene can be utilized. Plastic zippers are best for situations where the zipper may be exposed regularly to salt water.
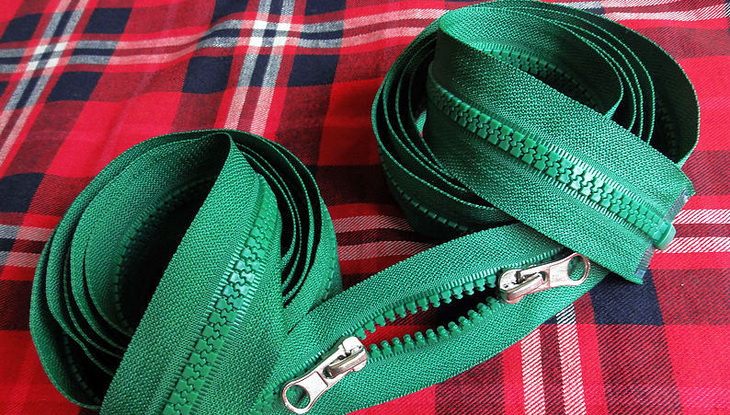
- One new innovation is a coil zipper made with a coil of plastic spirals, usually polyester along the edge of the tape. This is now the most popular zipper for its strength and longevity. The coils form the interlocking teeth and these coil zippers are used for many closures from apparel to luggage to sporting goods.
- There are also reverse coil zippers where the coils are on the inner but the slider is still on the outer. This configuration is usually used for water resistant and waterproof zippers that form closures for a semi dry and dry diving suits. A PVC coating covers the stitching to help keep the diver dry.
- Invisible or concealed zippers also hide the teeth behind the tape so it cannot be seen once sewn into the garment. Usually fine coil zippers, they come in many colors to match the garment colors as best as possible. It is common for women’s skirts and dresses and sometimes the tape is over a lighter, woven fabric. They are also becoming popular for military and emergency services as they can give the appearance of a formal button down shirt but are quickly opened and closed.
- Sliders are usually made of metal for all zippers, but there are some that are better in some circumstances like dive bags that are often exposed to salt water.
Zip Maintenance
Keeping zippers running well before problems happen is the best form of repair. Definitely try these if your zipper slider, shows any sign of sticking.
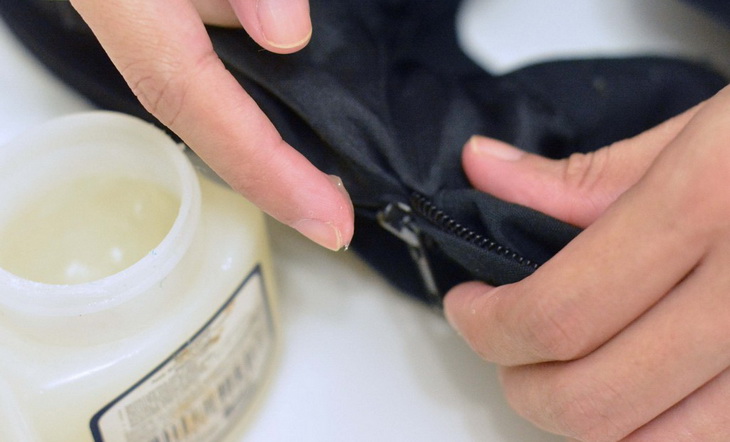
Zippers can be lubricated by a number of substances:
- Running a graphite pencil along the teeth
- Dipping a cotton bud in petroleum jelly or olive oil and running that up the teeth
- Spraying with silicon along the teeth
- Rubbing a candle or soap along the teeth
Just don’t overdo the oils so that it doesn’t stain the sleeping bag fabric.
You can also keep an eye on the slider and because they are metal they can be squeezed gently to keep them firm and running true along the chain.
How do you go about making a zipper repair?
First, make a full assessment of the damage to the zipper.
- Are any teeth damaged or missing? In this case you are most likely looking at having to replace the whole zipper.
- Is the slider still running, but the zipper keeps pulling apart? If this is happening because of wear to the elements/teeth which will no longer hold together in a chain, you will most likely have to replace the whole zipper.
- Do the teeth appear to be Ok, but the slider is worn or the puller broken? In this case you may just be able to repair the puller or replace the slider.
- Has the stopper at either end pulled apart or fallen off? You will most likely be able to do a running repair with a new metal stopper or even with thread.
- Are the pin and box are destroyed for some reason? The zipper is very difficult to repair.

Option One – Replace the Whole Zipper
How easy this is will depend on the design of your sleeping bag. More expensive down sleeping bags will have quite complicated systems to ensure that as little air as possible is able to escape through sewn seams and zippers. You might want to consider contacting the manufacturer to see what advice or repair services they offer. If you have confidence in a repair business in your area you could get a quote there as well to decide if a repair is worth it.
The other option is to make the replacement yourself. You will need to remove the broken zippers and lay it out flat to measure exactly before ordering a new zipper. Measurements for zippers are taken along the length of the chain from bottom to top, not the extending tape fabric. Use the descriptions in this article to know exactly what style of zipper you need. Quality zippers are available online.
As you are carefully removing the zipper note how you will have to replace it with reverse order for the sewing techniques. Actual details cannot be easily taught through an article so we are assuming you have competent sewing skills.
Option Two – Replace the Slider
Check what gauge size the zipper is and what style the slider is. You may not be able to get an exact style, but it will need to be the same gauge for that style of zipper – most likely coil for a quality sleeping bag.
Replacement sliders are often available at sewing or haberdashery stores and they are supplied with a slider and new metal stoppers if you need them.
Replacing a slider on a Pin and Box Ended Zipper
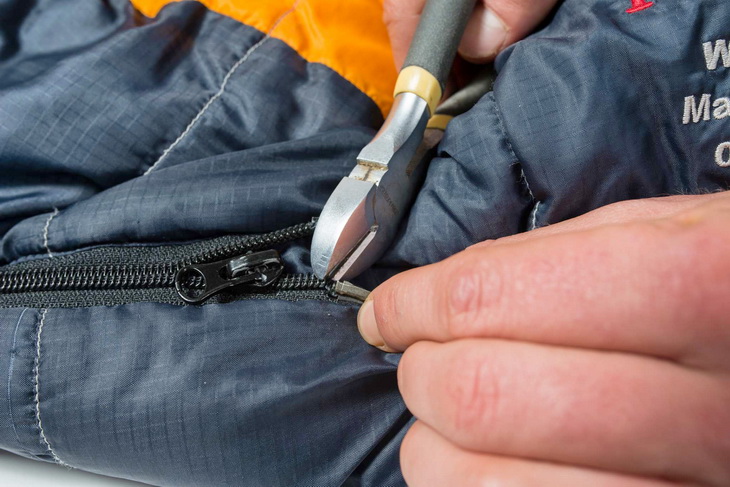
- Remove the top stop from the zipper on the side that has the box, gently with some pliers. Put it aside as you will replace it.
- Remove the broken slider if it is still on the zipper. You may need to take the other top stopper off in this case, depending on which side the old slider is on. Or cut it off with wire cutters.
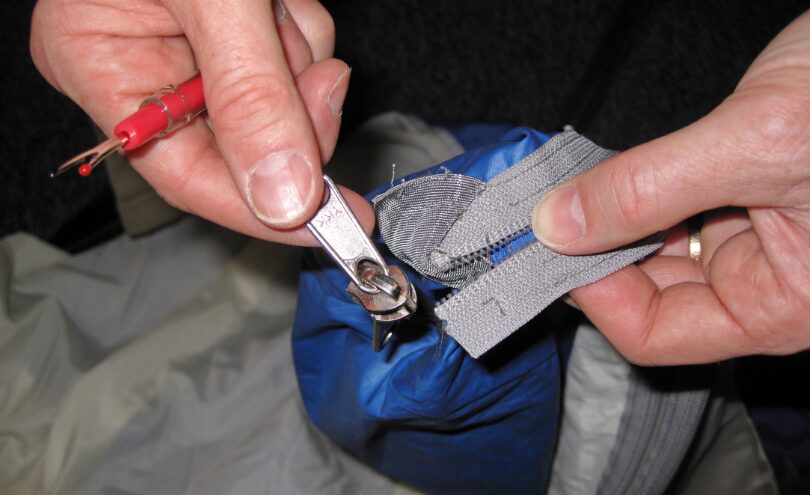
- Replace the slider on the side of the chain that has the box. Run it to the bottom.
- Thread the pin through the box and gently close the zipper to check it runs fine.
- Replace the stops at the top.
Replacing a Slider on a Closed End Zipper
- To replace a slider, you need to have the zipper closed. So, protect any closed section as much as possible from opening further, until you can carry out the repair or you will have take a lot of time to close the zipper manually from the bottom.
- Remove the stoppers from the top.
- Place the new slider carefully with the “mouth” opening over the teeth and push it down gently. This can be a bit fiddly, so take your time and try not to allow the chain to separate very much.
- As you push down it will unzip from the top.
- Replace the top stops
- Or you could try to access it from the bottom, which may mean opening some seams.
- Then you have to open the bottom zipper chain and slide each side into the slider to link it out of the mouth.
- Replace the block at the bottom.
- Open the chain links and run the slider back up to the top to close the zipper.

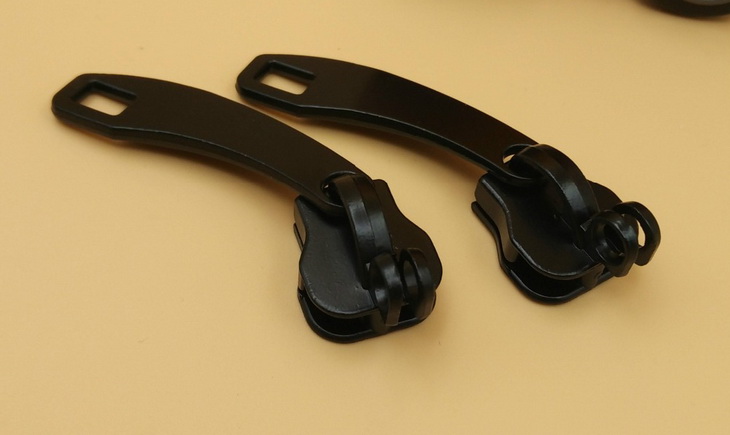
Using a Slider Repair Kit
There are a number of instant repair kits available for zippers and I recommend you carry one with you at all times. Even if they are not a long term solution for gear that gets a lot of use they may just be enough to keep you warm over the nights and get you back home where you can make further considerations. If you don’t have these instant repair kits, read our article on the best multi tool kits that may help you in an emergency.
Some of these zipper repair sliders just snap in place without removing any stoppers. Others have adjustable screws that you can use to lock the slider in place as well. This would a good option for a sleeping bag. Follow the instructions for each individual style.
Here are some more tips that can help you repair a zipper, check out the link to our article.
Final Thoughts On This Topic
We hope that this article has given you some ideas about how to care for your zippers and what to do if you strike zipper problems with your sleeping bag. Remember “a stitch in time, saves nine,” so take some time lubricate and care for your gear. If you do need to to make a sleeping bag zipper repair in the back country be prepared with tools and/or a kit. Here’s one article on what to bring to camp to prepare for any emergencies, it’s a must-read for you.
Now that you are more familiar with how zippers work and how to maintain them, and even repair if needed, we hope that you will never again experience a cold night in the outdoors due to a sleeping bag zipper malfunction.
Be sure to read our article on essential tools you need for camping in order to be fully prepared.
If you found our article to be useful and interesting to read, please feel free to share it on social media. Also, if you think that we missed out on an important advice that should be in this article, let us know by leaving a comment in the comments section below. Happy camping folks!


There are some zippers which get broke time to time. Its good to know these facts if you are a backpacker. What tools we should have with us if we are to repair a bag zipper?
I would bring some pliers for sure.
I can’t say I’ve ever had this problem but after reading this article I realized how many trips could have gone wrong if my zipper had broken. I’m going to lubricate my sleeping bag zippers tonight! I love that you can use soap to maintain zippers, since I already bring it in my hiking kit. Great article!
Thank you for your kind words!