
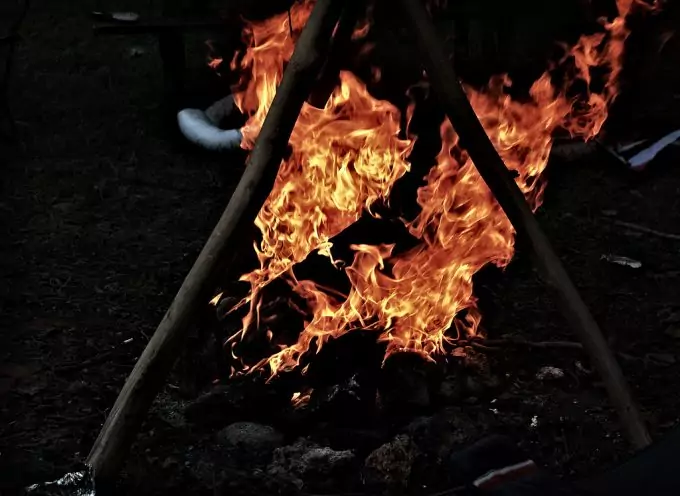
In a survival circumstance, knowing fire building techniques, really matters a lot. A fire can give you enough warmth in an exposed surrounding, enable you to cook your food and enable you to heat up water for drinking purpose. Fire can likewise serve as a help signal, shield you from wild creatures in the bush, and sterilize your personal first-aid kit.
With a goal to build a fire, it is very vital to comprehend the fundamentals of how to begin a fire and how to sustain it. Discussed in this article are essential tips that you need to understand, build, lay and even put out a fire.
Fire Building Basics
A fire requires just three substances to prop and start up: fuel, heat, and oxygen. Fire varies in different environment due to ratios at which these three things are being controlled. In case you are outside, already arranged your firewood and it happens that you forget your fire starter at home.
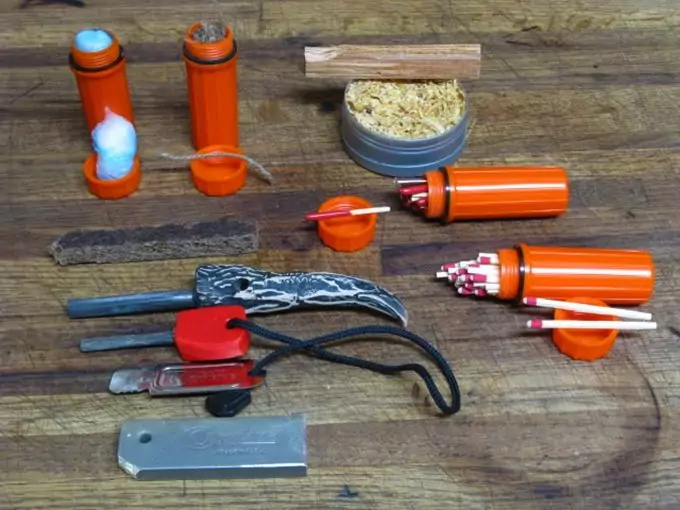
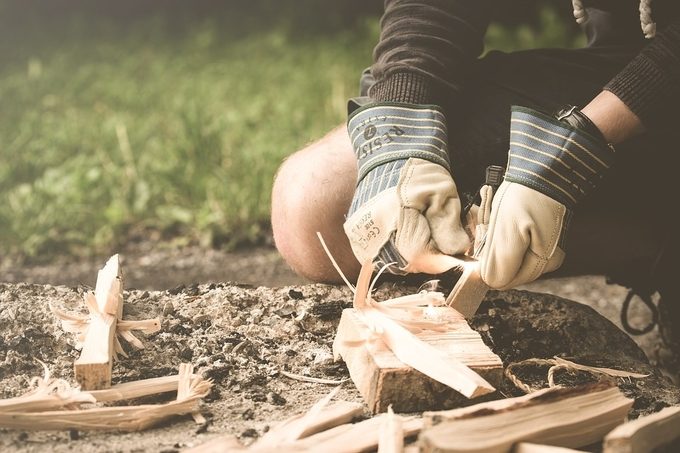
At this point, you will require a couple of tools to set up your wood and lighten up your fire. A sharp edge blade, a Ferro bar, and Vaseline-covered cotton balls ought to be your most basic need. You can also decide to include an axe, or more preferably, saw to have a less labor force. Make sure you read our article on common sense hiking safety to make camping more enjoyable for everyone.
You will have to get dry woods to get a fire both started and going. Ideally, you can simply get crackly twigs on the ground. In a terrible climate, you will have to work somewhat harder. Even, you can still get some branches, dead trees, and dry woods whenever you encounter an overwhelming snow or rain.
A hatchet or saw will enable you to chop some woods down into appropriate useable lengths and sizes. A hatchet, or a huge blade, will then enable you to part those logs thereby, allowing you to get to the inside of the dry wood and deduce the span of the pieces you desire to make use of. For superb cutting tools, see our article on the best camping hatchets to make your camping chores easier.
You can deliver everything down to fuel, from the dry center location of the dead branches and trees. However, you will have to discover or make another source of tinder to start your fire. Dry grasses can be regarded as one common source of tinder. You can also whittle a plume stick from a dry wood piece.
You can likewise attempt to search for a mouse or feathered creature’s nest, pull some lint located around your belly button area or find some Vaseline-covered cotton balls. The Vaseline keeps the inner parts dry, so you simply separate them, hit it with your Ferro pole to make a spark. Here’s our review of the top fire starter sticks to get that fire going, do check it out.
When handling your wood, attempt to gather things that look, more or less, like a firewood. You require a reasonable length in order for it to be separated into four. This uncovered the dry center section to the flames thereby creating more exposed points from which fire can get to.
Huge round logs still covered in wet bark will be hesitant to light and burn. Once you have arranged your fire materials, you are prepared to build up a fire. We should take a try and understand the triangle of fire.
Understanding the Fire Triangle
Three essential things are important for fire building: warmth, oxygen, and fuel. Think about these three basic substances as the triangle sides important to spark up a fire. Fuel, alone, is not going to burn; however, if you try applying heat to a fuel, it creates a gas.

In addition, when this gas consolidates with the oxygen present all around us, the fire is going to spark up. A fire will burn to its fullest when these three substances exist in an ideal proportion. The ideal approach to figure out how to adjust these substances is to practice, so get outside, and begin.
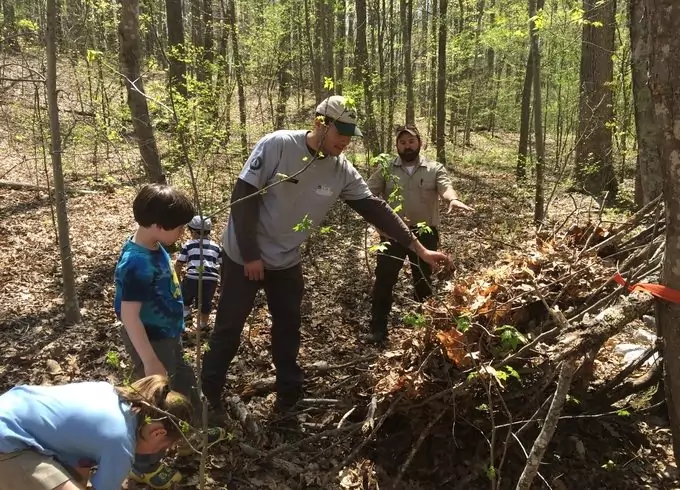
Choosing and Preparing a Fire Site
Whenever you are planning to choose a site to build a fire, always survey the fire site and consider a couple of tips before setting up the site. You need to locate a dry area that is shielded from the raging wind. You need to ensure that you have the capacity to contain any fire that you fabricate while being in closeness to your fuel source.
In a situation whereby you build up a fire in a forested site, ensure you clear any foliage or brush starting right from the bare floor until its surface turns dirt. Contain your fire site by clearing a zone of no less than two feet in radius, and make a fire divider around the cleared zone by stacking rocks around in the form of a circle.
A fire divider can likewise be built up to be able to divert wind, target enough heat in a specific bearing and contain sparks
Choosing Fire-Building Materials
To begin a fire, you require something to consume. You will require three essentials sorts of materials to build that desired open-air fire:
Tinder
Each great open-air fire begins with a great tinder. Tinder bursts into flames effortlessly, however, consumes quickly. Fire material like dry grass, wood shavings, dry bark, dry leaves and some insects can serve as a good tinder.
If you are a brilliant camper, you will acquire your own particular tinder that looks like a dryer lint or handmade char fabric. Having your own particular tinder is particularly imperative when everything outside looks damp. Trust it or not, wet tinder does not burst into flames.
Kindling
Tinder consumes quick, so you will require something having a lot of substance to keep your fire going. You can’t move specifically to huge logs. You will simply cover your little fire. That is the point where kindling comes into play. Kindling comprises of little branches and twigs.
Look for a material that is not more than the pencil’s width. Kindling should be always kept dry or else it won’t consume as effortlessly as you want or desire. In a case that everything in your possession is all wet branches and twigs, make sure you whittle the moist bark with your knife.
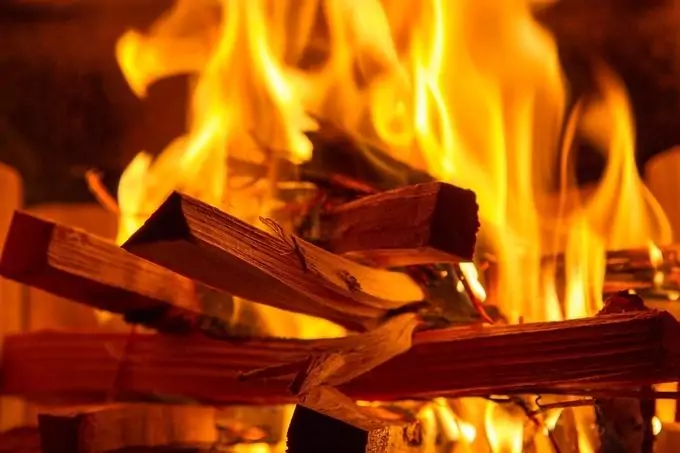
Fuel wood
This a fire component that ensures that your fire is always hot and consuming. As opposed to popular thinking, fuel wood does not need to resemble the big logs you use in your fireplace.
If you use a huge log, it will definitely take quite a while for the wood to burst into flames. Search for branches that are like the size of your wrist or lower arm.
Building a Fire
There are a couple of ways to build a fire, yet one of the simplest and commonest ways is to organize the tinder underneath a couple of kindling like a cone shape. Consider building the fire from little to an elaborate one, so that you can increase its warmth bit by bit, and in the end, start including bigger fuel without snuffing out the fire.
Light the tinder that you have successfully organized underneath the kindling in the center of the cone-shaped development, and as the fire method consumes, the kindling present outside will inwardly fall to fuel the fire.
Continue adding additionally kindling to the exterior of the chosen fire method until the fire develops in temperature and quality. Start including fuel in the same manner until you see what looks like hot orange coals. At this point when the fire is sufficiently vast and sufficiently hot, you may essentially add fuel straightforwardly to the fire.
Laying your Fire
If you want to build and light a fire, just pack basic things such as a fire-igniter, which can be matches or a fire lighter. There are a few strategies for laying a fire and each has its own benefits. The circumstance you are in will figure out which of the fire method to utilize.
#1 Tepee Fire Method
The least difficult and best method to begin any sort of fire is the tepee, otherwise known as tipi. You will utilize a tepee produced using kindling to begin the vast majority of whatever is left of these styles. We are simplifying this method using big logs of wood.
In order to fully utilize a tipi to get a fire going, form one with the smallest, driest, most uncovered bits of wood you can lay your hands on. At that point, either put your tinder in its inside and firstly light it up, then rush it in. Keep in mind to leave an “entry way” through which to perform that.
The normal thought is to make a structure that focuses the flame of the fire while enabling a lot of air to enter. Begin, with so much wood on your tipi, to go ahead and simply and gradually include more as the fire builds up. Begin little and work up to bigger pieces as suitable; you will build up a vibe for when and how substantial with practice.
Putting a forked branch in the ground as a middle pole for your tepee makes building one less demanding. Furthermore, you can scale a tepee the distance starting from the main heap of kindling up to a huge campfire.
You can even form the whole thing before lighting, simply recall that you need an entry way and recollect the essential amount of wood sizes as you work upwards and outwards.
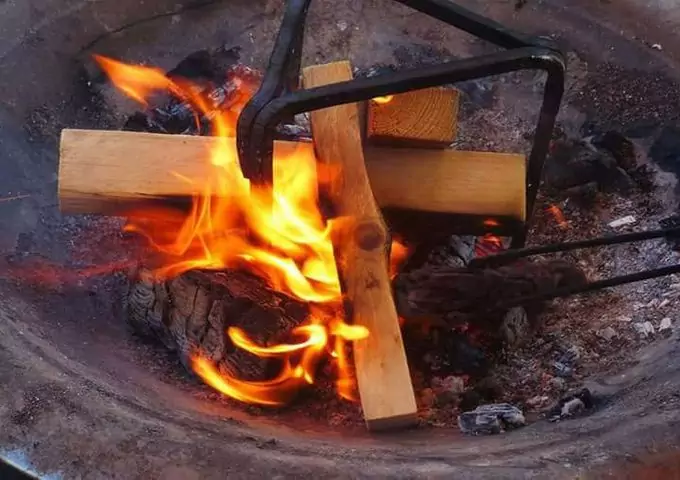
#2 Platform Method
Need a decent bed of coals to cook on? You need to build a pyramid like a strong log cabin using the biggest logs at the base and one that is about your wrist size on the top. At this point, you simply need to light a fire on the top and leave it to consume through the logs, making a major, thick bed of hot orange coals.
Furthermore, you do not have to sit tight for it to consume the fullest before beginning to cook. In the event that you have solid metal cookware, you can put that specifically on the hot coals when the initial layer of logs is consuming.
Utilizing huge logs, this style is otherwise called the “upside-down” fire, prevalent for its capacity to consume for quite a while, untended. Once more, put the huge logs on the base and scale up to littler stuff, at this point light a fire at the top.
With constant practice, you will make sense of the correct size wood to use to make a fire, fit for consuming all alone, throughout the night.
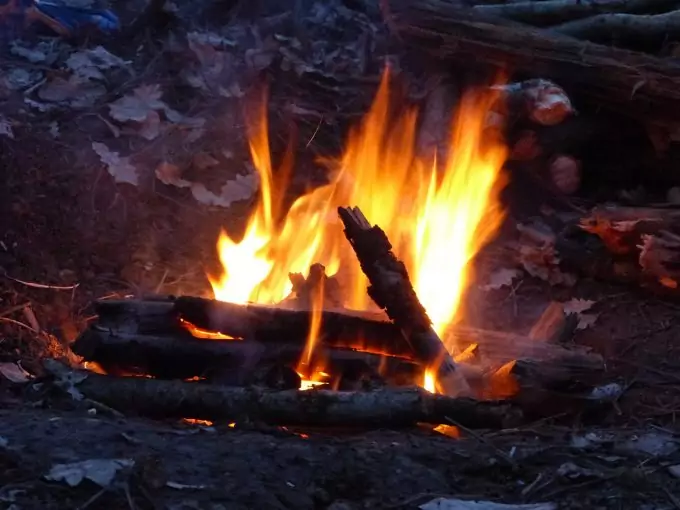
#3 Lean-to Method
Begin with a minimized heap of tinder. Drive a green stick right into the ground at about an angle of 30-degree over the tinder. Point the end of the stick toward the wind. Lean bits of kindling against a stick called the lean-to stick and over the tinder. Then, light the tinder. As the kindling consumes, include additionally kindling.
An optional strategy is to put a huge log level on the ground. Put tinder alongside the log, on the downwind slope of the log. Shore up the kindling over the tinder and incline it toward the leveled log. Then, light the tinder. This is one of the helpful strategies if you are facing high winds, the log will definitely serve as a windbreak.
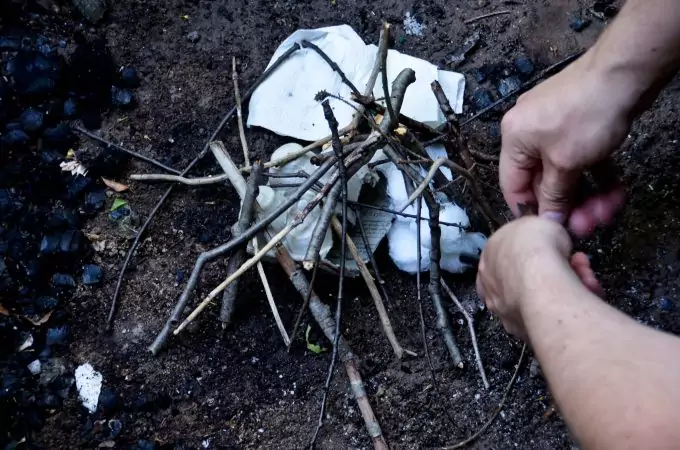
#4 Cross-ditch Method
To utilize this method of cross-ditching, scratch a cross around 12 inches (30 centimeters) in the ground. Burrow the cross 3 inches (around 7.5 centimeters) deep. Then, put a huge amount of tinder at the center of the cross. Assemble a kindling pyramid over the tinder.
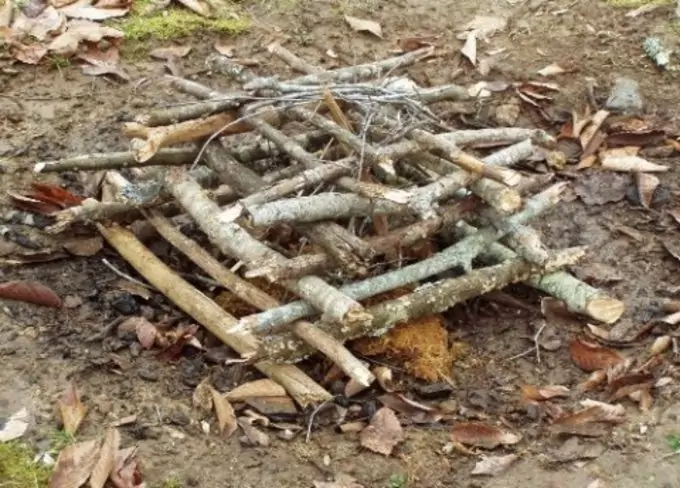
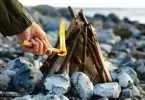
Image Credit: bangordailynews.com
Add extra fuel to the fire as required. The shallow ditch enables air to clear under the tinder in order to give a draft. This sort of fire is so valuable in open territories and zones experiencing a little breeze.
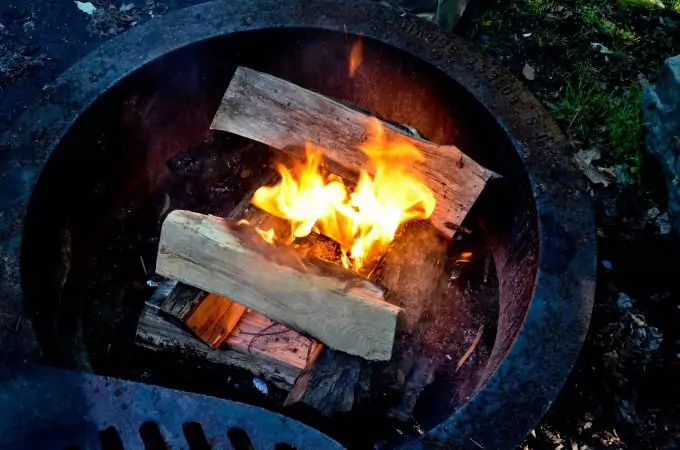
#5 Log Cabin Method
This fire method is less powerless against breakdown, yet it is additionally wasteful. Nonetheless, these qualities make it quite an amazing cooking fire, as it will consume for long hours and its frame can easily back cookware up.
Start with a tinder heap around which you will put kindling.
Similarly, as with the development of a log cabin, put the initial two bits of kindling to each other in a parallel manner on each slope of the tinder. Then, place the second kindling pair on top of the first and opposite to it on the inverse slope of the tinder.
Keep including the kindling in this way making use of more slender wood sticks as you go close to the highest point of the structure. You can likewise lay the kindling over the tinder in the middle of the progressive kindling layers. The tinder will spark off the kindling laid crosswise over it.
As the kindling is being consumed, it will gradually fall into the center further powering the fire. A crossover of the Log Cabin and Teepee Fire can be fabricated too by building a little teepee structure within the structure of the log cabin.
Firstly, start by erecting a little teepee fire and after that build around it a log cabin. The teepee structure enables the fire to be rapidly lightened up and the structure of the log cabin manages the fire for a longer time frame.
#6 Pyramid Method
To lay the pyramid fire, you need to put two little branches or logs parallel to the ground like the Log Cabin fire method. Beginning a few inches from the closures of the logs at the base, put a strong layer of smaller logs over the parallel logs thereby remaining around at least 2 inches in the middle of each log.
Include three to four log layers, each at a right angle to one another in order to produce a pyramid-like structure. Making use of kindling and tinder, implement a starter fire at the pyramid top.
As the starter fire consumes, it will spark off the logs underneath it. This gives you a fire that consumes downwardly, requiring no consideration in the night.
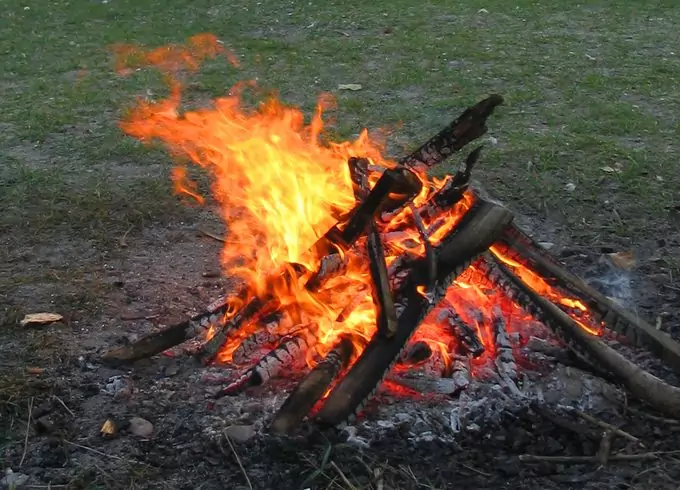
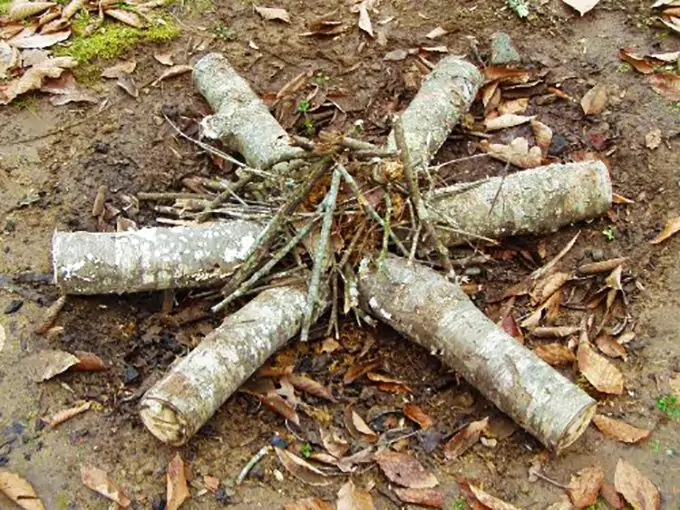
#7 Traditional Indian or Star Fire Method
This is the standard fire method for the people who resides in the old West. It is perfect for quiet conditions. It is less difficult to control and requires little upkeep. Begin by burrowing a little, 5-inch dump around 1 inch top to bottom. Line the dump interior with your chosen kindling.
Make a tinder next at the kindling top and encompass the tinder with a lot of kindling. Set five to six sticks of fuel wood in a star arrangement with the edge marginally overhanging the dump.
Light up the tinder and blow tenderly until the fire becomes lit. Include extra kindling as required. As the fire keeps consuming, push in more logs by the closures to sustain the fire.
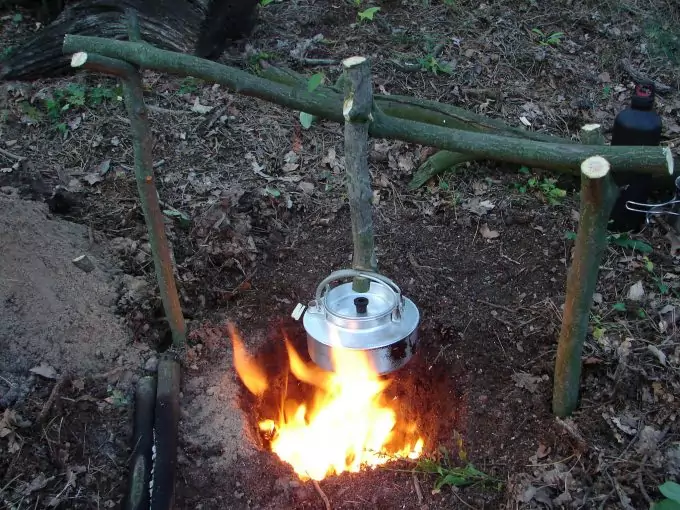
#8 Dakota Fire Hole Method
In a few circumstances, you may find out that a fireplace made in the underground can be the best option at the moment. A hole for this underground fire hides the fire and holds the heat well to cook your food. It likewise decreases and additionally diverts smoke emanating from the fire. Follow the steps below to successfully lay a Dakota Fire Hole:
Step #1: Burrow a hole in the ground around 1 foot wide and 1 foot deep.
Burrow a big interwoven hole for ventilation purpose at the upwind side of the hole. This hole could be at least 10 inches from the fire hole itself and having a width of at least 8 inches. Remember to dig the holes in order to connect with fire hole base.
Step #2: Do all your fire building in the fire hole.
Ensure that you are in a well-secured territory; make use of green logs to form a dry base for your fire. Most trees having a wrist-sized trunk are simple to split in intense cold condition.
Cut a few green logs and lay them one next to the other on snow top. Include at least two layers more and lay the top layer of logs in an opposite manner.
Putting Out Your Fire
Now that you are through with your fire, you have to know how to put it out completely when the time comes. The following tips will help you kill your fire dead and good.
Tip #1: Begin early
Putting out a fire totally takes longer than you might expect. Begin to put out your fire around 20 minutes before you go to bed or leave for another place
Tip #2: Sprinkle, don’t pour
You ought to have a bucket filled with water close to your open-air fire for safety purposes. Whenever you are planning to leave, this will act as your fire extinguisher. Don’t ever pour all the water on the fire at once.
You would want to flood the fire hole since you or another person will be using it later. Rather, sprinkle as much water as you have in order to put out the fire.
Tip #3: Stir
As the water is being sprinkled over the ashes, ensure you stir them with a shovel or stick. This guarantee that any remaining ashes or charcoal gets wet. Whenever you don’t hear any hissing sound or perceive any steam, you know you are drawing near to a totally extinguished fire.
Tip #4: Touch test
Don’t try to run your hands through the ashes to avoid getting burnt by the burning coal. Set the back of your hand close to the ashes.
If you perceive any heat, that means it is excessively hot, making it unsafe to leave. Continue to sprinkle water and keep stirring. When it feels cool, it is now safe to leave the area.
Tip #5: Dispose the Ashes
It is highly advisable that you leave the area the same way you found it by gathering the ashes in a bag and disposing them.
Concluding Thoughts
There are various ways to build fires. However, the best thing to do before you kick-start anything is to practice, discover a method you are comfortable with and construct the style properly suitable for your need. We have provided you the most used and practical ones, it is now up to you the choose one that best suits you.
For more tips, check out our article on how to quickly start a campfire for more instructions.
Practicing in the most difficult way using a Ferro-bar, tinder, knife and figuring out how to discover and prepare your own wood, with limited resources, not only trains you for any survival situation but gives you the comfortability and confidentiality that you need to survive. For further questions or suggestions, you can leave us a comment below!


There are a lot more fire-building techniques than I thought! The fire hole method is one I’d like to try. Are there certain situations that are more suited to fire holes than other methods, like lean to fires being good for windy campsites? Or can I make a fire hole in any situation?
You can make a fire hole anywhere, especially in windy conditions.
Some of the people in my hiking group of friends get so attached to their favorite fire-building methods! I’ve been trying to convince them to try out the pyramid style (I think it looks cool) but they wanna stick to teepee-shaped fires. I bet they’ll find something new to get interested in if I send them this list. Thanks!
It’s always nice to learn something new!