
Walking and hiking are forms of exercises. Walking doesn’t require any expense or equipment and is an excellent way for you to become active. Hiking and walking can help improve your stamina, confidence, and energy. It’s also an ideal way to cut on calories and reduce weight. See our piece on how walking helps in weight reduction by clicking on the link to this topic.
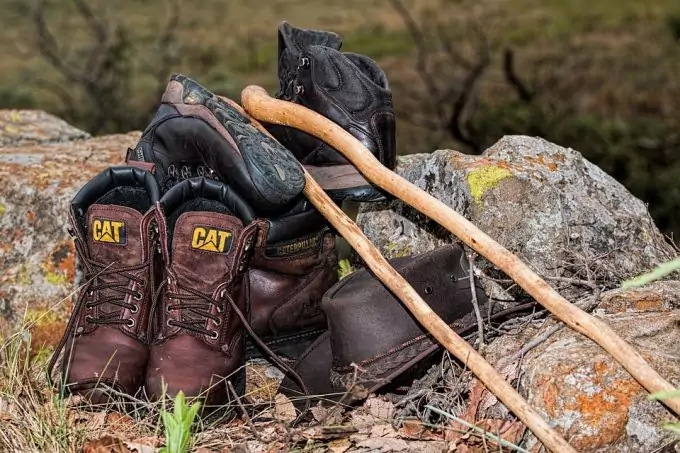
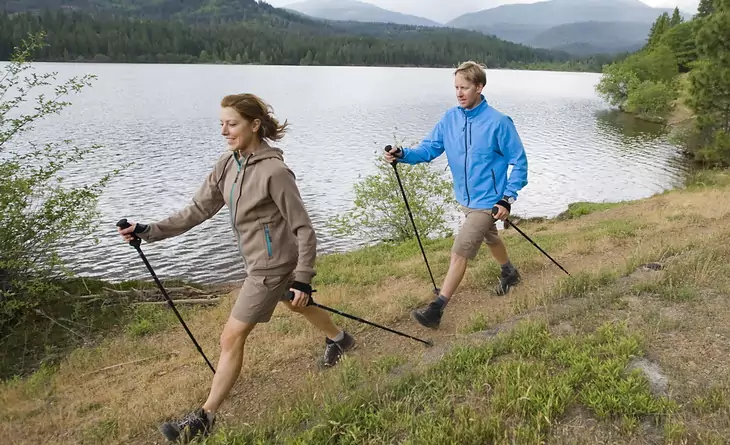
As a form of exercise, walking can help to keep the heart strong, reduce stress and give you energy. When you are planning to embark on an outdoor expedition, be it trekking or hiking, or even walking in the mountainous regions, you need to have some trekking poles as they could help you traverse the outdoors with ease. If you cannot afford to buy one, or you are running low on budget, you should know how to improvise. Make sure you also have the proper hiking gear by reading our reviews of the top hiking boots for your use.
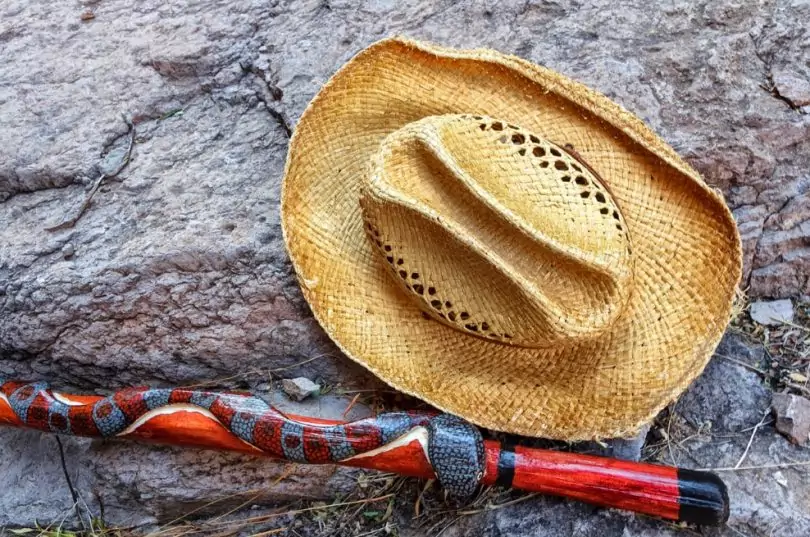
This article will provide a step by step guide on how to make a walking stick, so you can have an idea of how to go about the process of making your own trekking poles. A nice walking stick can become an excellent companion as you take part in your healthy walk or hike.
WHY YOU NEED WALKING STICKS
As bipeds, human beings spend a tremendous amount of time and energy maintaining their balance when standing or walking. Logically speaking, people balance their torso and upper body using just two points that come into contact with the ground – the feet. The act of balancing can be assisted using trekking poles.
Not only do walking sticks improve posture and balance, but also minimize the stress on the knees and the lower back. Other benefits of using walking sticks are as follows:
- Improve upper-body workout – The use of walking stick requires lifting, putting it ahead and helping to support your entire weight with your hands as you move. When this process is repeated over the course of a long trek, it can be an excellent workout for your shoulders, arms, and your body, helping to burn calories as you move. Although you may not feel exhausted after using the trekking poles, the sticks will enhance the intensity of the workout.
- Joint and back health – Walking sticks aid in redistributing the weight of your body. Instead of your entire weight coming down on the hips, knees, and the back, the sticks displace some of it from your back and lower parts of the body and supports it through the arms and poles themselves. This helps in minimizing wear and tear on the muscles and joints, which is very useful for people with back problems and arthritis. Walking sticks also create the right posture as you utilize them, particularly in the upper back. The right posture helps in distributing your weight safely and evenly, minimizing the risk of injury and enhancing the health of your back.
- Improved balance and stability – When walking on the trail or an uneven surface, various objects and obstacles can make it quite difficult for you to maintain your balance. This can be problematic when walking in loose or soft dirt, going uphill, or stepping on the rocks as you walk. Trekking poles help in stabilizing your body and reducing the risks of slipping or falling. The poles also help on hills by offering stability, especially when you become fatigued and your balance and muscle strength become less certain.
- Safety and impact reduction – When on the trails, poles act as extra feet on the uneven terrain, helping to minimize injuries. People who use walking sticks are less likely to lose balance, minimizing sprains and stress fractures. These sticks also assist in reducing knee strain, particularly when moving downhill. With every pole plant, you are removing 3-5% of the impact of every step.
- Self-defense – Carrying a stick when on the outdoors gives you a sense of personal safety and added protection. Aggressive animals are less inclined to create problems if you are in possession of a stick. You can also use the walking stick to protect you against any attackers, pickpockets. Apart from that, the poles can be used to gauge the depth of river or swamp before you can decide to cross.
For tips on how to use walking poles, see our article for more insight.
WHAT ARE THE DRAWBACKS OF WALKING STICKS?
Although there are numerous merits attached to trekking poles, these objects also fall short in some aspects. Some of the common drawbacks include:
- Increased energy expenditure
- The sticks can get caught up in the rocks, or tangled in the bushes
- They minimize hand function
- Walking sticks cannot be stored conveniently
Some guides complain that walking sticks lead to elbow pain, although this aspect is debatable. However, most of these drawbacks can be minimized or neglected. For instance, the increase in energy expenditure can be offset by decreased leg stress and increased speed.
A lot of outdoor enthusiasts prefer walking sticks without the wrist straps since it’s possible to quickly transfer to place both poles in one hand so you can use the other hand for purposes such as eating and phone operation.
FEATURES OF TREKKING POLES
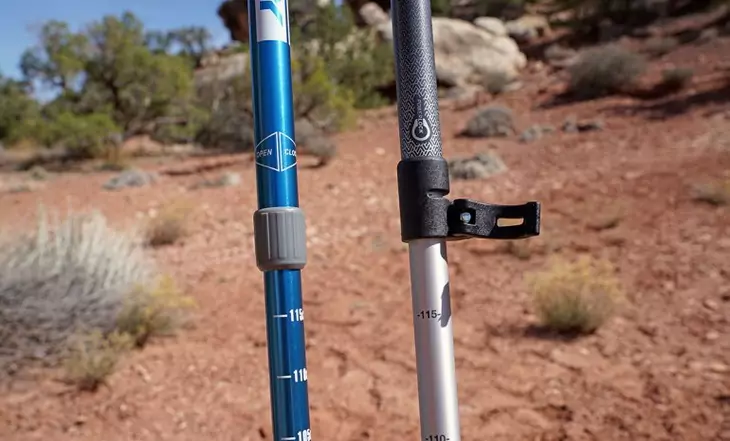
- Adjustable – Most walking sticks, especially those acquired in outdoor shops, can adjust in length to enhance the user’s stability on different terrain. The length of adjustment is about 24 to 55 inches. When going uphill, it’s advisable to shorten the poles and lengthen them when moving down the hill.
- Shock-absorbing poles – These sticks feature internal springs which absorb shock when walking downhill. The good thing about this feature is that you can turn it off whenever you don’t need it. Shock absorption usually recommended if you have damaged or weak knees, ankles, or hips. This aspect adds to the cost of the trekking poles.
- Standard poles – These walking sticks don’t have the shock-absorbing feature, hence are less expensive and lighter. While these poles do not absorb a lot of impact when moving downhill, they offer the same level of support and balance as the shock-absorbing sticks.
- Ultralight – The ultralight walking sticks offer less swing weight, making them quicker and easier to move. This means less fatigue over the course of an extended hike. Another advantage of these poles is that they are easier to carry. The shaft material of a walking stick is a significant determinant of the overall weight of a pole.
- Camera mount – Some walking sticks and hiking equipment incorporate a built-in camera mount below the handle to make it possible for you to use them as monopods.
OTHER FACTORS TO CONSIDER
- Baskets – Walking sticks feature a small, removable basket at the tip. Larger baskets may be substituted and used in a muddy or snowy ground.
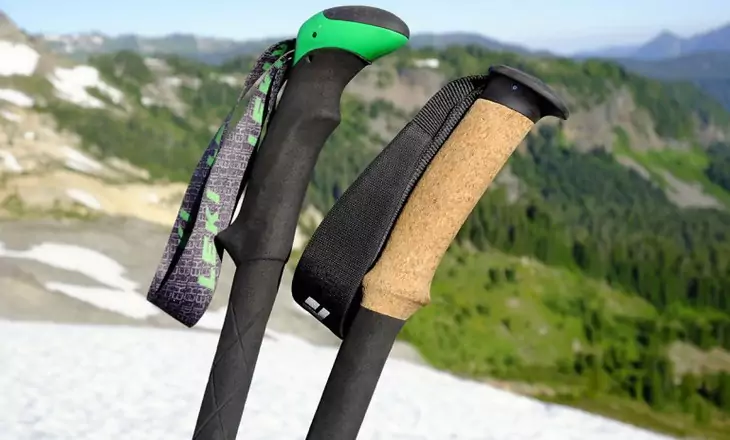
- Wrist straps – Most walking sticks make it possible for the user to adjust the length of their strap so as to create comfort. Models that have lined and padded straps can help in preventing chafing.
- Pole tips – Steel or Carbide tips are usually used to create traction, even on the snowy ground. The rubber tip protectors prolong the life of the tips and also protect your equipment when the sticks are stowed in the pack. They are ideal for use in areas that are sensitive to help minimize impact to the ground. The angled rubber tips are for use on surfaces that are hard.
- Size – If you are taller than six feet, choose walking poles with a maximum length of about 51 inches. In case you’re shorter than six feet, the adjustable trekking pole will be your ideal choice. If you are buying a fixed-length pole, make sure you have a size chart so you can choose a stick that is unique to your height.
For the best walking poles, see our article on this topic for more options.
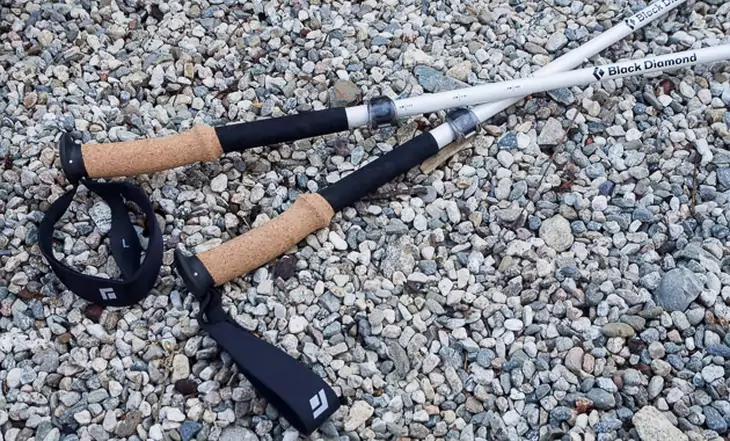
GRIP MATERIALS IN WALKING STICKS
- Foam – This material absorbs moisture from your sweaty hands and is soft to the touch.
- Cork – The cork material resists moisture from your hands, minimizes vibration and conforms well to your hand’s shape.
- Rubber – This material insulates your hands from shock, cold, and vibration and, therefore, rubber is ideal for cold-weather activities. Nonetheless, it’s more likely to blister or chafe your hands, so it’s not recommended for warm-weather hiking.
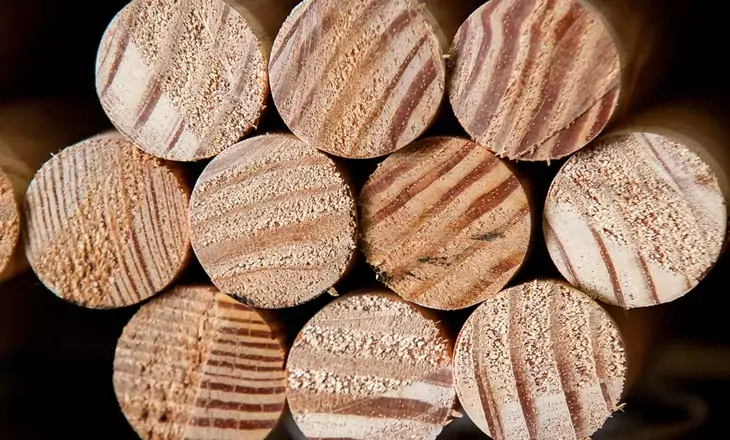
MATERIALS USED TO MAKE WALKING STICKS
Trekking poles or walking sticks have been designed from different kinds of synthetic and wood materials.
Some of the common ones are:
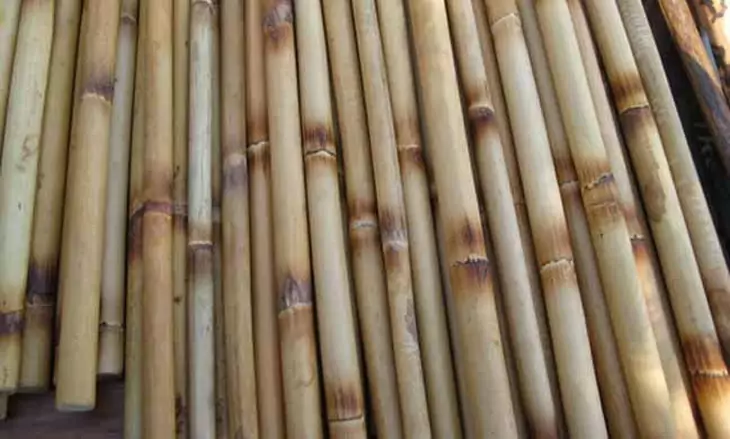
- Rattan – This is a flexible, durable and a common material used to make walking sticks
- Ash tree – A trekking pole made from this material is referred to as ashplant stick
- Supple jack – This is a climbing plant which makes an excellent walking stick. It’s also referred to as a rattan vine, although it’s unrelated to Asian rattan palm.
- Hercules plant – This material is called the devil’s walking stick.
- Yew wood – This material is known for being shaped into bows, though it can also be utilized in crafting trekking poles
- European Cornel – This is an excellent dense wood which makes a suitable walking stick. This material is used in crafting tool handles. It’s a tough and durable wood.
- Carbon fiber – Most expensive trekking poles made from carbon fiber. Although it’s lightweight, carbon fiber is costly.
- Titanium – This material is durable, but heavier as opposed to some modern materials. Titanium is well worth the price if you don’t consider its weight.
- Aluminum – Heavier compared to carbon fiber, aluminum is also used to make the shaft of trekking poles. When looking to acquire one, ensure you go for a high-grade aluminum since the cheaper ones tend to snap or bend when used by a hefty individual.
STEPS FOR MAKING A WALKING STICK
If you are a hiking enthusiast or you just love to walk, a trekking pole can be a useful accessory. A walking stick helps to improve your balance, enhance your posture, can get your arms involved and can be used in clearing brushes and small obstructions.
And if you prefer a DIY walking stick, creating a practical tool becomes a point of pride. If the boy scouts can make their walking sticks, so can you. There are two parts involved in making a walking a walking stick:
- Choosing and cutting
- Personalizing your stick
CHOOSING AND CUTTING
Find an excellent stick: A suitable stick begins with an excellent piece of wood.
The shape, size, age, and sturdiness of the wood are all essential when it comes to picking the type of wood to use.
- A perfect walking stick normally begins as a fairly straight piece that is about 1 to 2 inches in diameter. Make sure you find a stick is tall to your armpits (in the range of 55 to 56 inches). If you find something longer, you can trim it that that length.
- Hardwoods are often the sturdiest and most manageable walking sticks. Suitable options include alder, maple, aspen, cherry, sassafras, among others.
- Make an effort to find fresh hardwood, but do not cut it from a live tree. Enjoy nature, but don’t destroy it. If you search around, you’ll find the right stick which is still fresh but not living.
- Do not go for the sticks with holes or signs of insect activity. Insect boring usually weakens a stick making it unsuitable for hiking or trekking. Moreover, if you choose a stick with insect activity, you may unknowingly transport the bugs into your house.
Trim the stick to length: If it’s a DIY walking stick, stand it on the ground and place it in front as you would do when walking. Mark the stick approximately two inches above hands or the height of your armpits. You can include some extra inches if you intend to include some decorative top carving.
Cut the stick at the marked position using a saw of your choice. However, make sure you don’t use a power saw as this could easily take a finger.
- If you are looking to size the stick for another person, make sure you take their measurements before you can cut a stick that fits their height. You can use a tape measure or a string to determine their length.
- If you are making trekking pole for sale or making to give to unknown recipients, do not forget that 55-65 inch range is the most suitable length of the walking sticks.
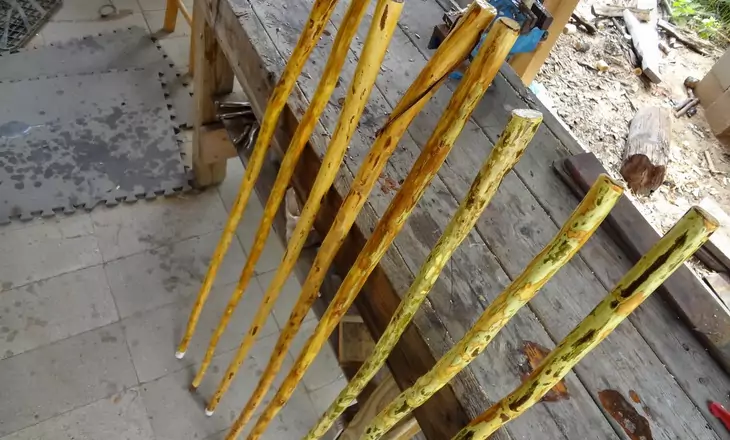
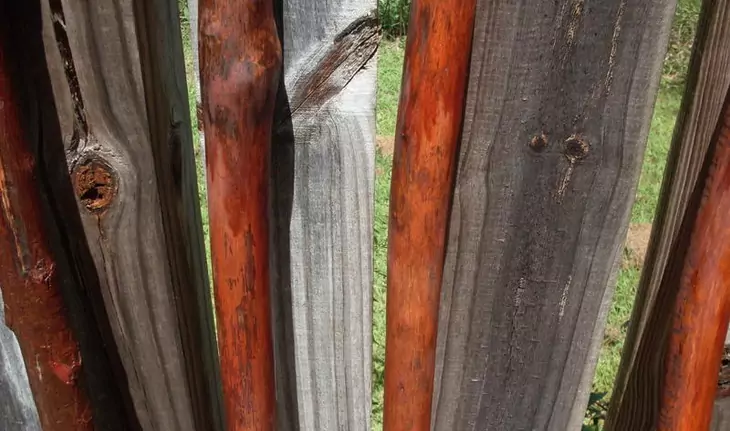
- Whittle off the bark – When making your stick, you may leave the bark on if it doesn’t bother you. However, most people love the feel and appearance of a stick that is stripped as this reveals a smoothed wood beneath. You’ll also want to trim off the bumps and twigs by cutting them off.
- You may use a larger knife, a pocket knife, or even a plane to get rid of the bark. You may also use any other whittling tool you are comfortable with.
- First, shave away the bumps and twigs, then begin removing the bark. Use quick, short, shallow stroke when shaving off the bark so as not to dig deep into the wood.
- Make sure you whittle away from your chest, and your feet must be clear of the whittling motion. Any knot on the stick could force the cutting tool to jump and puncture or slice you. If you don’t have whittling skills, ask for assistance from someone with the experience.
- Continue shaving the bark, until the bright surface beneath is exposed. Some sticks have multiple bark layers, so continue whittling until you see the wood grain.
Leave the stick to dry: Fresh stick is ideal for whittling and trimming, but dried woods offer more durability and rigidity.
Patience is your best friend during this process.
- The drying time will depend on some factors, including the type of wood used, the environmental condition, as well as personal preferences. The drying process can take weeks to a month.
- Give the stick time to dry to a point where it becomes rigid and not brittle. Rotate the position from time to time or better yet, strap the stick into a place to prevent it from warping.
- Sticks that dry quickly can become brittle. Therefore, it’s advisable to dry your piece of wood indoors. You may also want it cured in a covered location, such as an outdoor shed or a garage.
PERSONALIZING YOUR STICK
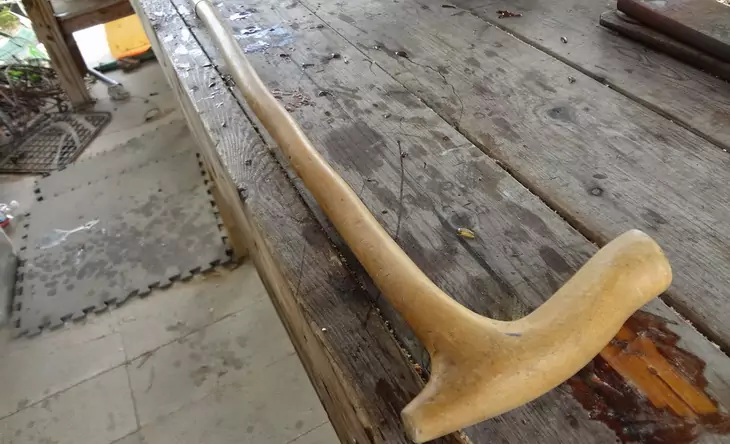
Add creative touches: If you love trekking and hiking, chances are you have seen hiking sticks or trekking poles with carved tops. Depending on your skill level, you can carve your patterns using a pocket knife or a woodworking tool.

It doesn’t hurt to try. Remember, if you happen to mess up, you’ll just chop the stick off, a little shorter.
- For some simpler form of decorations, you may choose to carve the initials of your name on the stick. To make this effect, you may use a wood-burning tool. However, regardless of the method you select, make sure you practice extra caution.
- Additionally, you may find it of great value to carve grooves in the handle section of your stick. The undulating indentations you find on the steering of most cars can act as an inspiration, but spiral grooves around the handle can make comfortable grip as well.
Stain and seal the stick: After you are through with whittling, trimming, curing, and carving, the next thing you need to do is protect the stick so that your creation can last for a longer time.
Sealing and staining the walking stick is optional, although it’s a recommended process if you want to enhance its appearance and durability.
- Regardless of whether you are sealing or staining the stick, make sure you smoothen it using a coarse and then a fine sandpaper. Get rid of the dust using a rag or a piece of cloth moistened with paint thinner.
- Apply a wood stain according to the instructions in the package. Expect each coat of the stain to dry overnight, and lightly wipe clean between different applications. The more the coats, the darker the finish.
- Apply three coats of clear urethane varnish (or the recommended number of coats according to the package instructions). Lightly sand using an ultra-fine sandpaper and clean between applications.
- Make sure the staining or sealing is done in a ventilated area. Ensure you have your gloves on and put on safety glasses and a nose protection for your breathing.
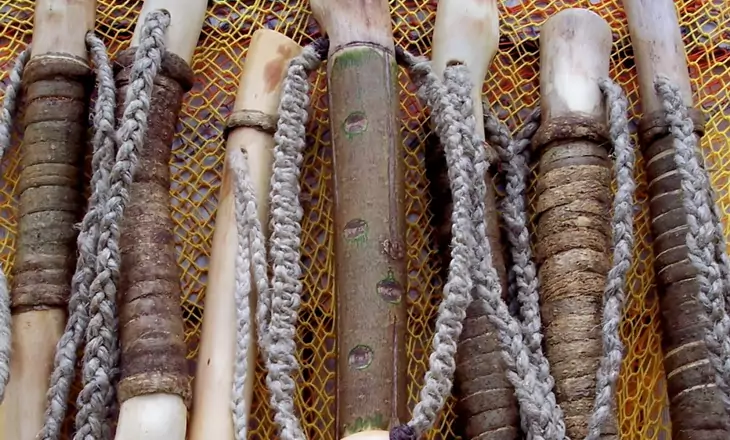
- Get a grip – If you did not carve a grip on your stick, you could apply a grip instead, after you are done with the staining and sealing process. However, you also need to note that this is an optional step.
- Practical and visually-attractive grips can be created from twine, leather, nylon, or braided rope. These components can be wrapped around the grip section and secured using small nails or pins. You may also opt for the adhesive gripping wrap that is used for golf clubs or tennis rackets.
- You may also add a wrist list for an extra measure of assistance in enhancing the grip of your walking stick. Drill a hole above the grip section (before staining and sealing). Feed through a piece of leather or any other preferred material and tie the leather into a loop that fits comfortably over your wrist.
Protect the base: When using a walking stick, the bottom part usually undergoes the greatest wear, which can lead to splitting, cracking, rotting, or splintering.
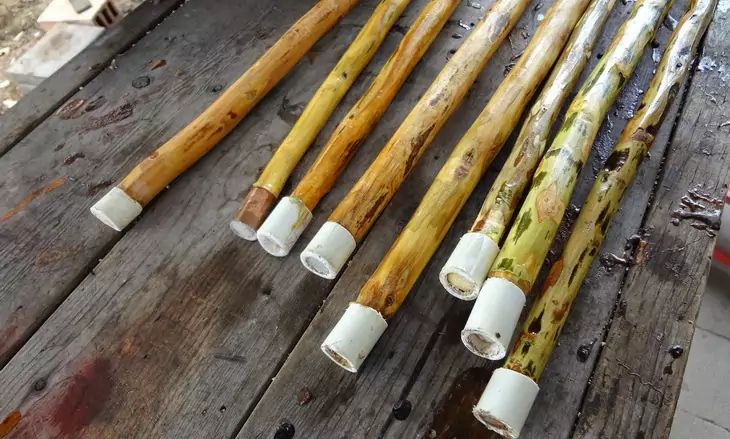
You can decide to leave the tip as it is or add protection to prevent these cases from happening.
- Rubber caps used for walkers and canes are an affordable and easy solution. Look for the rubber caps in any outlet where medical supplies are sold. You may also opt for large rubber stoppers.
- A copper pipe of short length can also be a suitable base protector for the trekking poles. Take an inch diameter of the copper pipe and carve the base such that the pipe just slides over its tip. Use a quick-drying glue to secure that pipe.
WRAPPING IT UP
Walking sticks are essential accessories when it comes to hiking and trekking. They offer a lot of benefits to the hiker including creating balance, enhancing posture, improving health, among others.
If you are looking to create your own trekking poles, make sure you follow the guidelines provided in this article. That way, you can own a DIY walking stick without having to spend a dime.
Do you have any questions or suggestions? Feel free to post them in our comment section. We’ll be more than happy to hear from you.
I personally don’t think I need walking sticks for short hikes but sometimes, long hikes do get the better of someone and it feels like you cannot go any further. It wouldn’t hurt to carry some walking sticks with you on long hikes because they can transfer some of your body weight to a wider surface area and make it easier to complete your hike.
Whatever works for you is great!
One time I went hiking and at the end of the day my mates and I were totally drained. Due to our exhaustion we ended up sleeping on the first place we found. It was uneven ground and we ended up being more tired than rested in the morning. From then on I always make sure that the ground I choose to spread my sleeping pad is even and free of rocks and sticks. Fellow hikers, always choose even ground to spread your sleeping bag.
Absolutely!