
This article will take you through the step-by-step process of how to make paracord bracelet. You can make your own bracelet with or without the side release buckle depending on what you fancy. The paracord bracelet makes for a very interesting piece of accessory that you can easily wear on your wrists.
It is inexpensive and you can wear several feet of cord weaved into an interesting design at all times. You can even extend the length and use it as a collar for your pets.
A lot of people run into different problems when attempting to make their own bracelets. For most people, it seems the knotting process is too complicated and they tend to get lost. For some, it’s just a matter of not knowing the right materials to use and simple tricks to follow. Don’t fret, our article on how to make different paracord knots will greatly help you in this regard, so check out the link.
Whatever category you do fall under, this article is here to help. Whether you are a beginner and this is your first time, you have done this before and you are just curious about the other methods out there, or you simply need a reminder on the process, you will definitely find useful information here.

You can make your paracord bracelet with buckle and you can choose to make your paracord bracelet without buckle, depending on the style you fancy. This article will give you a run down on the processes and materials involved in making the two.
First of all let’s list out all the materials you will be needing to get started. These items are very easy to get your hands on and you should have little or no difficulty getting quality ones.
- Paracord
- Clips or buckle
- Scissors
- Lighter
- Measuring tape
Apart from the paracord and buckle, the other three items on the list above are things you can get anywhere.

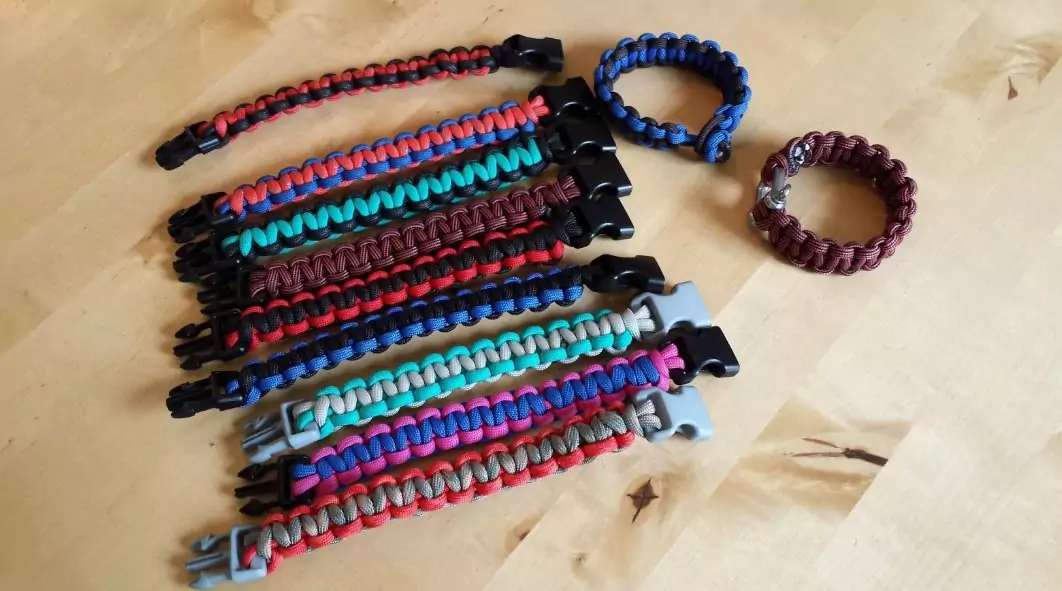
Image Credit: dailyhikingblog.com
An excellent source of paracord would be Amazon or any sporting goods store, as they stock a vast array of paracord with different colors. You can also get your buckles from craft stores or outdoor sporting stores as well. Here’s another article that we’ve written on how to make stylish paracords, check it out.
Getting Started
After you must have gathered all the materials you need, you can now get started. Follow these steps and all shall be revealed.
- Measurements: You need to measure your wrist, as this gives you an estimate of how much paracord you will be needing. You can easily measure your wrist with the help of the paracord itself. Just wrap the paracord around your wrist and note where the cord meets on your wrist. With the help of the measuring tape, take note of the length of cord and that gives you your wrist size.
The general rule of thumb is that about a foot of paracord is needed per inch of your wrist size. If your wrist measures 7 inches for instance, you will need at least 7 feet of paracord to get started. Generally most people tend to just use 10 feet of paracord as this gives you plenty of extra length to work with. - Making the first loops and knots: You then need to make the first loops and knots around the buckle ends. The buckle is made of two parts when open or separated. You can call them the male and the female. The male part is that part with the slot where you will be slotting or keying in the male part with the three pins attached to it.
Locate the center of the cord by holding the two ends of the cord you have measured and cut. The other end will be the center of the loop. Take the center of the cord and pass it through the slit at the bottom of the female part of the buckle and then pull the cord ends through the loop and tighten. You have made your first knot and you have attached the female part of the buckle and the paracord. Pass the two open ends also through one of the slits on the male part of the buckle then move on to the next step. - Looping the length of your wrist: After passing the open ends of the paracord through the male part of the buckle, slide it back upwards towards the attached part. The distance between the two buckle ends should be about the length of your wrist. You can make it about an inch longer so the finished bracelet is a comfortable fit. Note however that you are measuring from the end of the female part to the flat part of the male part excluding the three pins. The three pins aren’t part of the measurement because they will slot into the female part at the end of it all.
- Making more knots: You must have come across names such as the cobra stitch, Portuguese sinnet or Solomon bar. All these names refer to the same thing and this is the knots that you will be making. To get started on this, take the cord on the left hand side and pass it below the center strands that run between the buckle ends and take the cord on the right hand side and pass it below the left side cord, over the strands and through the loop that is now at the left hand side of the cord. When you tighten up the cords, you are on your way to forming your first knot.
Proceed to making more knots by passing the right side of the cords under the center strands. Pass the left side of the cord beneath the right side cord and over the center strands then through the loop formed at the right hand side of the cord. Tighten up again and you have finally completed the knot. This process will be repeated in an alternating manner until you make more knots.
You will continue making these knots until you have filled up the space between the two ends of the buckle. These knots must be uniform to make it aesthetically pleasing so make sure you apply the same tension and tightening to keep it uniform. - Finishing up: The finishing stages of this process is cutting off all the excess and burning the loose ends to make sure they don’t unravel. You can make use of sharp scissors to trim off the excesses then use the lighter to melt the little protruding parts. You can press it against the rest of the bracelet to kind of attach them together as it hardens. You need to be careful when pressing the melted part against the bracelet as it is very hot. You should probably make use of a little blunt instrument like the end of a knife or screwdriver.
And now you’re done. If you follow the instructions carefully and do everything properly, you should have a beautiful paracord bracelet on your hands.
Once you get the complete hang of it all, you can make variations in the length of cord you use, and make the knots tighter or looser as you wish. You can even try a few different knots too to add some variety to your bracelets. Read our article on the the many ways to use paracords for safety to help you learn more.
Making The Paracord Bracelet without Buckles
Materials: The materials you will be needing for this type of bracelet are pretty much the same with that you used for the bracelet with buckle. Only difference here is that you don’t need a buckle but you will be needing a nail-like instrument called a fid.
So get your paracord, scissors, lighter, measuring tape and fids.
- Measurements: To avoid unnecessary complications, it is easier to just start off with 10 feet of paracord. So use your measuring tape to cut off a 10 feet cord length from your cord stash. Then put the two ends of the cord together and run your fingers through the length. This will help you locate the center point of the cord.
Now take a measurement of the equivalent of your wrist size from that center point and mark the point. Fold it over at that point and you should have one cord coming over to the left and another cord coming over to the right. You might want to place it on a flat surface to make it easier.
The length of your bracelet is the middle part and then your working ends extend to the left and to the right. - Making knots: Take the left cord over the center so you have a small loop at the left. Take the right cord and cross it over the extended left cord, go around the back and pass it through the left loop then pull and tighten all ends.
We now start the loop and over process from the right. Take the cord at the right and pass it over the middle. Take the left side of the cord and pass it over the extended right cord and cross it over around the back and pass it through the loop at the sides then tighten.
You will repeat this alternate right and left loop and cross over process almost the whole way down the length you measured. When you have weaved almost all the way down, you are going to leave a tiny little loop at the bottom. You will run one of the cords through the loop at the bottom so the entire weave doesn’t fall apart. - Making stoppers: The cord that you’ve been running across the top now runs through that small opening at the left or the right depending on where it is instead of running across the top. This little process stops everything from running off the end.
After you pass the cord through the small loop at the bottom, make sure you leave a small loop at side also. The right or left cord will now cross just like it has before, go behind and then back through that loop. If you do this correctly, you will have a tight stopper. - Going back to the top: This next step will require you to use the fid. The fid is a nail-like hollow metal which you will attach both ends of your cord to in order to make it easy for it to pass through very small openings. This will help you insert the two ends through the loops at the other end where you started knotting.
The left side cord will go through the left loop on the left and the right cord will go through the right loop. - Installing the stopper knot: Put the bracelet on your wrist and figure out where you want to fix the stopper knot and mark it. You want to make sure there is an allowance for you to adjust the length of the bracelet and to make it easy to put on and pull off.
To do this stopper knot, you follow a similar procedure like we did at the beginning. Place the cord on a flat surface and bend the cord on the left to the left and the cord on the right to the right. The cord on the right will go over the top and to the left and the left is going to go underneath and to the right.
Now the left cord will go behind and through the loop on the right and the right cord will go over the top and down the loop on the left. - Finishing up: From this point all that remains is to tighten it. It will look a little messy but after tightening, everything will fall into place.
Cut off the excess ends and burn/melt the stubs so they don’t pass back through the knot. You now have a bracelet without the buckle and what’s great about this bracelet is that it is adjustable so it can fit a bigger wrist as well.
If you follow the instructions outlined here step by step, you should have little difficulty making your own paracord bracelet. The process might seem a little tedious but you will get the hang of it all in no time.
For more tips and tricks on how to craft a paracord bracelet, see our article on the topic.
You can watch video instructions in the YouTube videos below:
and
If you have any questions or comments/suggestions please let it be known in the comment section and hopefully we can get a conversation going.


I often get asked why I would need a paracord bracelet or make one. For me the reasons seem obvious, like when you need to unexpectedly tie or secure a load. One time my wife’s car would not start and the weather was really cold so it was not advisable to have her wait for over an hour for a tow truck. I could reach her faster from my office. So I left work and when I got there, I used the paracord bracelet to tow her car back home. Paracords are very strong and you just don’t know when it will come in handy.
It never hurts to have a paracord bracelet. I like quickly making bracelets that don’t need hardware or buckles. I may not use it every day but I’m always glad I have it during those times that I do need them. My most recent use of a paracord bracelet was to make a temporary fix for a windshield wiper that got broken during a bad storm.
Wow! Good use of the paracord! Even in ordinary circumstances, the paracord is extremely useful. There seemed to be hundreds of uses for this which is to our advantage. I often have several extras on my my glove compartment – just in case!
I’ve heard many stories of how a lot of people were helped by this seemingly simple paracord. Unknown to many, the paracord has a myriad of uses! The fact that it is so inexpensive yet extremely useful is a big plus for outdoor lovers, as well as homeowners! My Mom is a “convert” of the paracord and now uses it inside the house for some urgent and emergency repairs. Great!