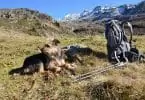
Have you ever needed a weapon in the woods after running out of ammo or after having a rifle malfunction? Would you agree with us that the ability to make your own weapon in the forest can turn out to be a lifesaver? If you want to hunt in style and never worry about not being armed then follow see how to make a hunting bow.
A hunting bow doesn’t make a sound when used and it also doesn’t emit any harmful gases like firearms do. Additionally, you do not need to worry about buying bullets and cleaning it thoroughly. On top of it all, a finely crafted hunting bow looks incredibly on your wall.
Follow our thorough guide on how to make a hunting bow and learn a new survival skill. We have carefully described the whole process and will lead you making the final product by giving you all the vital information. Pay attention to our little tips which can be found in between the stages – they can be quite useful as well.
Preparation
Before we get into detail regarding the hunting bow building stages, you need to know that this is a fairly complicated process which will also require some time. Throughout our guide, many times you will encounter words such as precision, care, skill, and patience. There’s a clear reason for that as these qualities are essential to the project. After all, you are making a weapon.
There are 3 main stages of this bushcraft task:
- Making the stave
- Tillering
- Stringing
There is one more optional stage which is related to coating and staining your hunting bow. While this is not an obligatory procedure, you are better off doing it because it will strengthen the stave and will make it solid and long-lasting.
Tools you need
There are maybe more than a dozen tools that would be needed as you make your bow but our goal is to guide you through the process by using as few as possible. However, it will be impossible to list all the things you will need to read on and see what is required in each particular situation. For starters, make sure you have:
- A magic marker
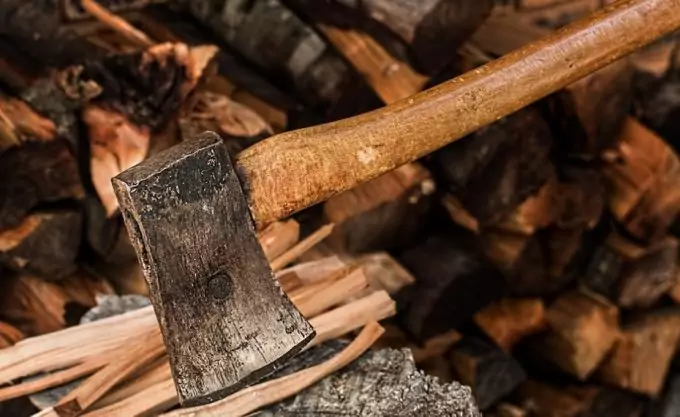
- An ax or hatchet
- Wedges
- Tape measure
- Drawknife
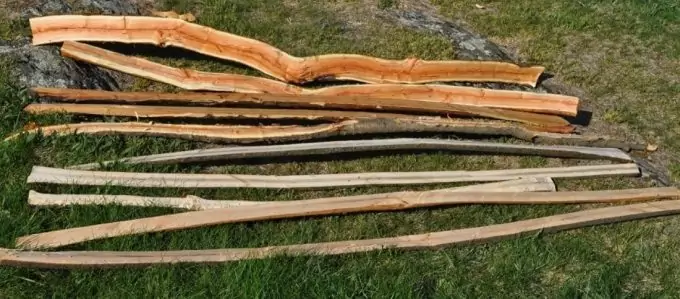
The Stave
Needless to say, the body of your hunting bow is constructed of wood. The good part is that no matter what type of lumber you select for your stave, the process is pretty much the same. You can either go with oak sage or hickory.
The construction of the stave is a true testament to one’s survival and handyman skills as it requires both some force and a lot of accuracy. Give yourself a pat on the back if you manage to build a stave flawlessly.
Heat Bending and Sinew Backing
In the name of guiding you to making a hunting bow with as little supplies as possible, we will skip both of these steps. Heat bending is a pretty self-explanatory process but we will replace it with the tillering stage.
Sinew backing is not mandatory and you can still have a fully functional hunting bow without it. If you wish to do it, by all means, do it. But keep in mind that it requires some more equipment and is a whole separate process.
Splitting the Log
Yes, you will have to split a log so that you can have your raw piece of wood from which you will be making your stave.
- Grab your wedges along with an ax and start exploring the log you’ve chosen. Look for a valley which rolls along it – something which will help you split it in half. A 65-inch log should be just perfect.
A quick tip from us here is to conserve some of your energy by not putting your back too much into hitting the wedges. A well-developed technique and rhythmical strokes should be enough for the wedges to crack the log.
- Move them back along the body of the branch and keep hitting with 50% of your power.
Peeling the Bark Off
This next step is a critical one.
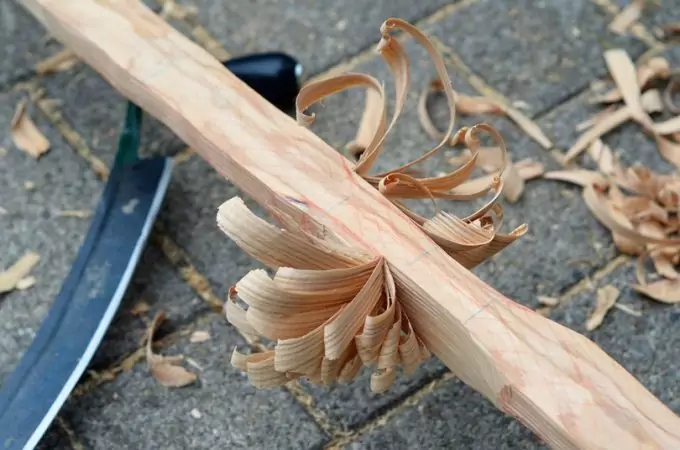
- Your draw knife enters the game here and you have to be careful with how you apply it. Watch for that white wood underneath the bark of your hickory log and try not to damage it. It will be the back of your hunting bow but we will get to the parts of the stave in a second.
- The inner bark might give you a challenge but keep adjusting your draw knife and try to peel as much as possible with one stroke. Do this from all sides of the log until you have something resembling a plank in your hands. Be patient with it.
An alternative to a draw knife in an emergency situation is a survival knife or a machete.
Both will need to work in a combination with an ax or a hammer. You will have to beat down on the machete so that it strips the log of its bark. Not an easy task – so you will be better off having the proper tool.
The Sides of Your Log/Stave
Once you have the bark peeled off the log you can’t just start carving your stave. Sides matter and the side where the bark used to be is going to be the back of your hunting bow. For Hickory, all you have to do is remove the bark. For oak sage, you have to go deeper to the growth rings. This is a lot more complicated but the bow will be better.
The back is the part which faces away when you are shooting it. The belly is what faces you when you shoot. That’s the inner side of the log, the one where you stick your wedges upon splitting.
Draw Length and Draw Weight
This is where your math skills will need to kick in for the 1st time. You need to determine how long the stave will be. This is achieved by measuring your draw length. Have someone assist you or try doing this yourself: put a tape measure right in the center of your chest bone and stretch your arms. The point at which your middle fingers touch naturally is, in fact, your draw length.
For a simple handle bow, you just double the draw length and that’s the height of your bow. But when it comes to a rigid handle bow you got 4 inches for the handle, 2 inches above it and 2 inches below it that you have to add to your stave.
As far as draw weight goes, you need to be aware of the usual force that a bow generates when hunting is its primary purpose. You need at least 40 lb. keeping in mind that the bow is likely to be utilized by a male with a relatively large frame (180+ lb.).
You will need to adjust the poundage by doing some thickness removal i.e. refine the log and shape it into a stave. The thicker and wider the stave, the more pounds of force it will generate. Your big concern here is to have both limbs bend at the same time to the same extent.
Essential Measurements and Drawing
Here are some measurements you’ll need to do.
Measuring the Length
Now that you have cut the log in accordance with your draw length it is time to mark the half of its length.
This is the middle of the handle.
- The handle should be about 4 inches long so take the center of the soon-to-be stave and measure 2 inches on both sides – there’s your handle.
- Now measure two more inches above and below the handle and mark it. This is where we will have the so-called fade-outs. That’s where the thickness of the limb transitions from the handle into the belly of your hunting bow.
- Next, you need to draw a nice center line. If you are lucky, the piece of wood that you have would be nice, straight and even. This would allow you to just draw a straight line otherwise you would have to follow the linear grain of the wood.
Measuring the Width
Now it is time to mark the width of your log. That’s a fairly easy task. Then you move to measuring the shelf. Make sure you leave 6 inches on each limb because that is where the nocks of the bow will be. So measure 6 inches from the end of the limbs and make sure you mark the width of this spot as well.
Outline
Now it is time to outline the actual shape of the bow and this is also achieved thanks to your magic marker.
- The edges of the limbs or the nocks as they are also known should be about ½ of an inch wide. Then as you make your way down to that 6-inch line you just drew, you measure ¾ of an inch on each side.
By doing this, you will have a better idea of:
- The thickness of your stave
- The length of the stave
- The shape of the stave
- The overall size of the bow
The Handle Area
You got more drawing left to do, though.
- Move to the handle area now. You will need to take similar measures to the one mentioned above. ¾ of an inch on the lines which stand 2 inches away from the handle and ½ inch on the sides of the handle. This is where your limb transitions into the handle. It is basically the same as the lines we drew on the edges of the limbs.
- Now connect all the marks you did on the edges as well as the ones around the handle area. You will now see the outline of your stave. Keep in mind that this is just a rough layout (a drawing on the log) of your bow and that it is not really critical that everything is exact.
- You also cannot draw the shelf yet because you do not know which limb will be stronger one. After you’ve strung the bow for the first time you will leave the stronger limb as a bottom one and will cut a shelf into the upper limb. A shelf type bow is easier to shoot with.
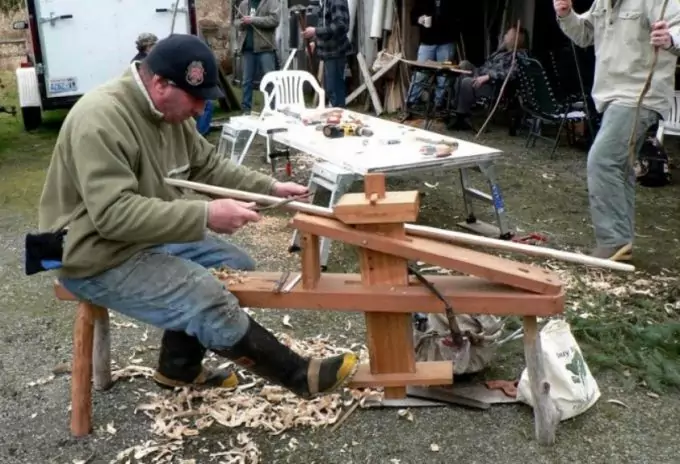
Finishing the Stave
Now it is time to whip out the hatchet that has been lying around during all that time. The lines that you drew do not have to be perfect – we already cleared that up. But you ought to follow them and clean up the edges and all the extra wood using an ax.
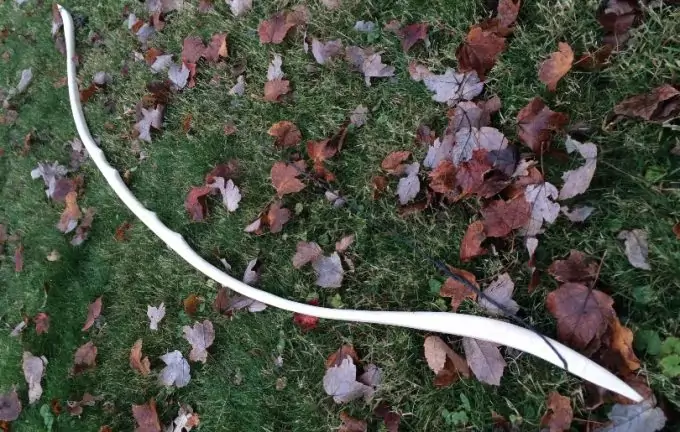
Image Credit: ringingrocksarchery.com
Have you asked yourself how important is the quality of your equipment? We can’t stress enough how crucial it is to have a reliable set of tools in the forest. You want them to be not only durable but effective as well. You need to conserve your energy in a survival situation so burning calories smartly is key.
- Once you have your stave roughed out and you get close to the black marker lines then you will have to take your rasp. Start refining the body of your bow by evening it out according to the lines that you’ve drawn. This is the slowest process of the task.
You don’t want to use an ax here because you risk cutting into or severely damaging the stave. Even though this is the elbow grease work, you still need to pay attention to details. Dimensions need to be constantly checked making sure that everything is symmetrical. You cannot have one limb thicker than the other.
Tillering
Now that you are happy with how your bow has progressed along it is time to do what is called the floor tiller. This is a process during which you push into the bow seeing how the limbs are bending.
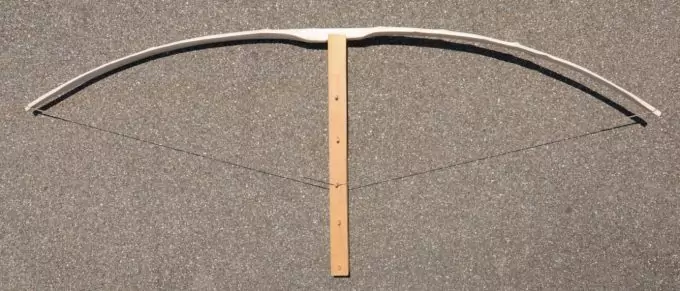
If one of the limbs feel a little stiffer than the other then you will need to take a little bit more off of it. This needs to be done before you cut the actual string trims in the limbs.
- Grab a chainsaw file (it’d be great if you have one) or a pocket knife with a serrated blade and cut the nocks at a 45-degree angle. The depth should be about 1 inch. Don’t cut through the back!
- Your tillering string is not the thread you will use on your bow permanently. This is just a one-loop string made out of no stretch material. This last part should prompt you to leave plenty of slack. Tie one of the nocks and on the other side, you will need to make a timber hitch or a Bowyer’s knot. This knot allows you to adjust the length and the tension of the string.
A tillering stick is a piece of wood which has one end stuck into the ground. You rest your stave on it (on the other end) and push the string down onto the tillering stick. A key detail here is that the stick has notches carved in it so that you can pinch the string in them. The notches have a distance of about 1 inch between one another.
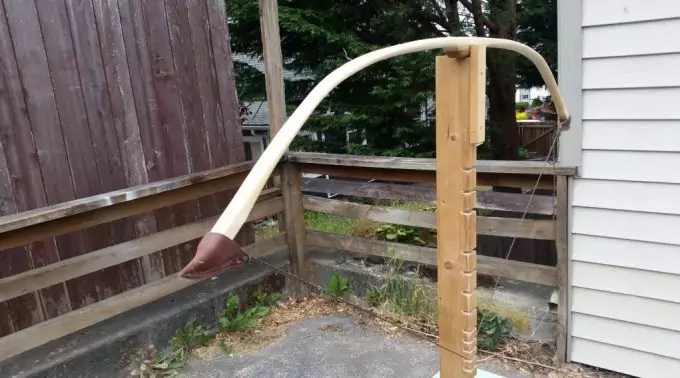
Image Credit: thetraditionalbowman.com
- Now gradually pull down the string trying to reach the next notch. Keep going lower so that the limbs of the bow will bend. You achieve two goals by doing this. First, you bend the limbs without stressing them thus giving your bow its classic recurve shape. Second, you will determine whether both sides bend evenly.
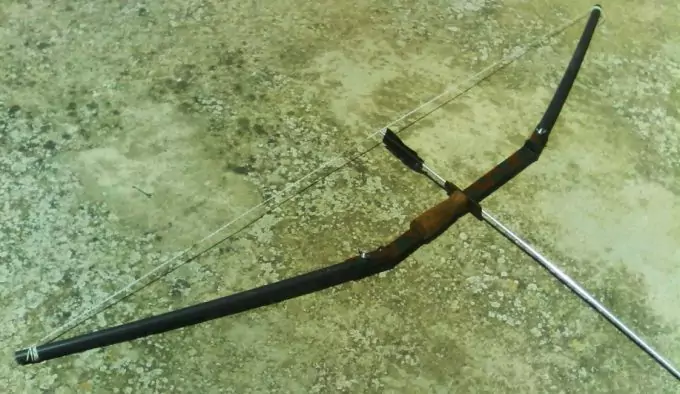
Stringing the Bow
The last details you can do are related to performing some finishing cuts in the handle region. You can carve the handle as much as you want depending on your needs, preferences, and size of the hand. Now you are ready to string your bow and go hunting.
Preparing the String
It’s best if you get your hands on some B50 string, a 2 x 4, and 2 nails.
- You put the nails on each side of the 2 x 4 and make 18 strands between them with the string. Cut it off when done and prepare yourself for a task which will require a gentle touch and a lot of precision. Oh, did we also mention patience?
- Hopefully, you are familiar with what a Flemish twist is. You basically hold the lines that go around the nails and twist them over one another. You must also counter twist them randomly. Do about 10 so the string doesn’t kink up on you.
- Attach it to the other nail and fix all the kinks. Go back to the first one and keep twisting. After a while take the nail out on the side where you started twisting. Then, make a loop and run the nail through it again while putting it back in the plank. Go for about 10 more inches and you will be done on this side.
Tying the String on The Bow
Once you do this on both sides, apply some beeswax on the string. You cannot complete your bow without doing that.

Image Credit: brokestick.com
This coating is exceptionally important to the functionality of your hunting bow.
- Now attach one side of the string to one of the nocks on the bow.
- Remember the timber hitch a.k.a Bowyer’s knot? Do it on the loose end of the string. This overhand knot with 4 twists will give you a noose that will allow the thread to slide up and down. This way you can adjust the tightness of your string on the bottom limb.
- How much do you tighten it? Have the stave lay flat on its belly. Fold a fist and raise your thumb up as if you are making the “OK” signal with your hand. Place your fist on the back end of the handle and see if the thread touches the cushion of your thumb. If your thumb bulges too much above the string then you need to tighten it more.
Well, that’s it, congratulations! You got yourself a hunting bow. Don’t be discouraged if it doesn’t work perfectly the first time you do it. As mentioned in the beginning, you can also apply some coating on your bow if you plan to use it again.
Wrapping Up
Creating your own silent hunting weapon is a great survival skill to have and we hope that we have helped you improve it. Have a better hunting experience with a top quality hand-made bow. While the process can be quite tiresome, we have no doubt that you can handle it and produce a fantastic piece.
If you found our step by step guide useful, then please share it with others so we can spread some more survival knowledge. Don’t hesitate to comment and to point out anything that we might have missed. Happy hunting and stay put!