
Backpacking and spending time outdoors is a great experience, and more so, very cheap regarding getting camping gear.
While it is possible, to get affordable hiking gear in big box stores and specialty stores, you can also stretch your hard-earned cash by making your own gear. One of the simplest pieces of gear to make is the sleeping bag liner.
Below, we are going to look at simple steps for DIY sleeping bag liner and the importance of including it in your backpack.
Why do You Need a Sleeping Bag Liner?
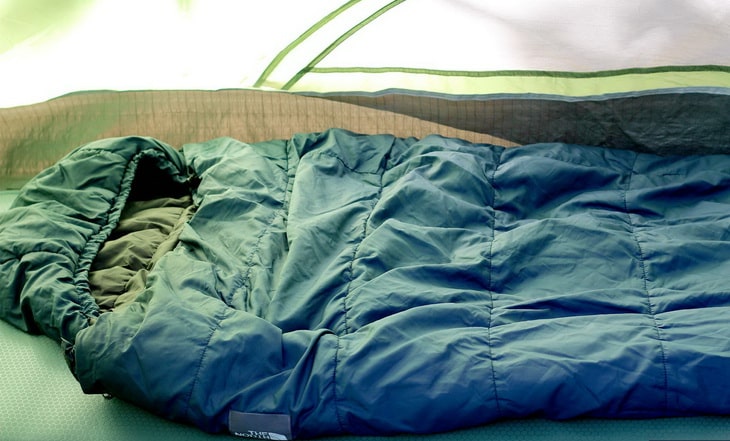
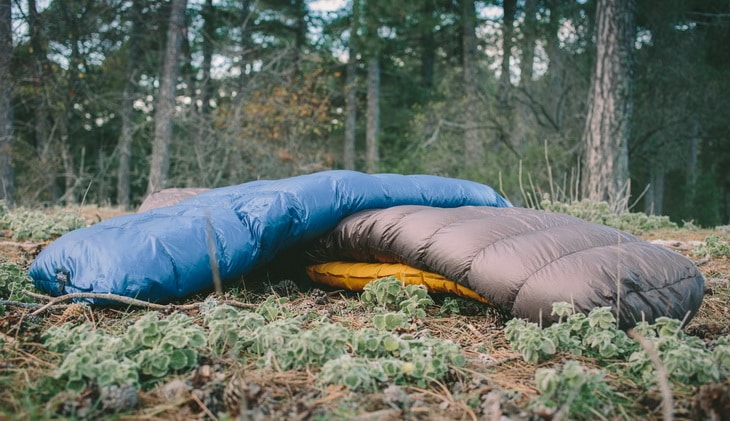
It is common for a hiker to start camping season early and end late. If you do this, it means that you usually sleep in temperatures lower than your sleeping bag rating. To add temperature to your sleeping bag, you will require adding a Microfleece or a standard fleece liner. Additionally, sleeping bag liners also play an invaluable role when it comes to maintaining the cleanliness of your bag.
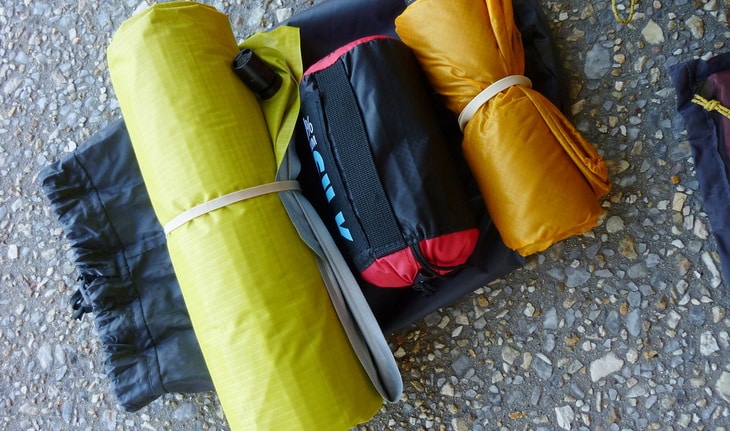
Unfortunately, sleeping bag liners tend to be the most undervalued items in the hiking gear, despite being lightweight and extremely packable. Before you underestimate the need of using them, ask yourself how long you would be willing to use your duvet without bed sheets or duvet cover. The liner plays the same role as the sheets and the cover, providing an easily removable barrier between you and the sleeping bag.
The moment you try using a liner, you will appreciate its use once you realize it’s keeping your sleeping bag clean despite the various sources of contamination during hiking. It also adds additional comforts and 2 degrees Celsius during winter. During summer, you can use it as a standalone lightweight sleeping bag.
To add to the above benefits, you will also enjoy the following:
- Protection against biting insects.
- Protecting your sleeping bag from dirt accumulation since it is easily washable.
- Using in overseas hotels to protect you from potentially contaminated beddings.
- For use in warm climates instead of sleeping bags.
- To provide next to skin comfort hence a good night’s sleep.
Read the article on the best sleeping bag liners to give you more options.
Types of Sleeping Bag Liners
There are different types of sleeping bag liners made from different materials to match personal taste and preferences. When making a DIY sleeping bag liner, you have the freedom of choosing the material and also determining the size of your liner. You can also make your liner depending on the climatic condition of your hiking destination. As you will see, each liner type has its own advantages and drawbacks, and it’s upon you to decide which suits you best.
Here are the most common types of sleeping bag liners:
Fleece Liners
Fleece liners are typically slim and made from natural material such as sheep wool or yak. They are exceptionally warm and hence most suitable for freezing weather. You have the freedom to pick the material color of your liking.
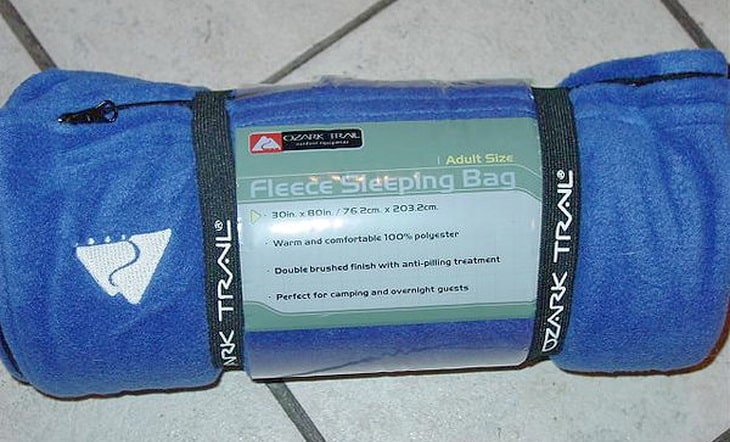
Although they are washable, either by hand or machine wash, they are not the perfect choice if you are looking for an all-weather liner.
Cotton Liners
These liners are cool, crisp and easy to wash and dry.
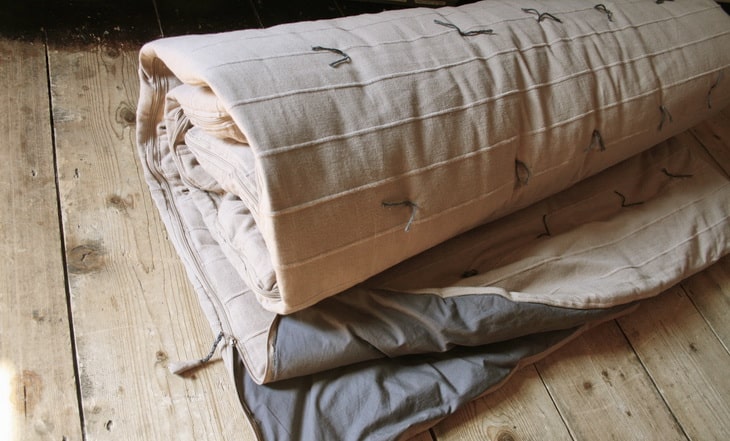
Most people prefer them, but when you think about insulation and weight, they cannot compare with silk liners.
Silk Liners
These offer better absorption and also dry up easily. They have superior thermal insulation properties, soft on the skin, easy to pack and are lightweight.
For these reasons, they are available at a fortune, but they are worth every penny.
Silk-Cotton Liners
Being a blend, they are cheaper than pure silk and are light and less shiny.
They also drape well with the sleeping bag hence providing a comfortable night’s sleep.
How to Make a Sleeping Bag Liner
Sewing your own sleeping bag liner is a great idea since you can make as comfortable as you want. Knowing how to sew, also gives you an added advantage that you can sew an extra liner at no extra cost just to be safe in case accidental dirt lands on your current liner.
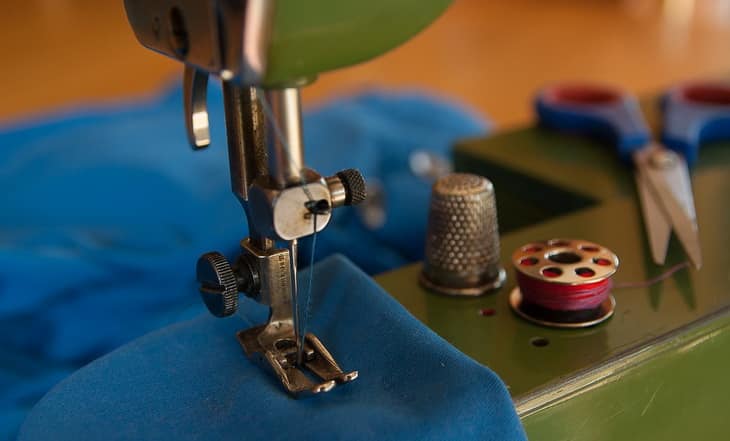
Requirements
- Desired material type with color to match your sleeping bag. Determine the size guide by the size of your sleeping bag.
- Matching thread
- Scissors
- Sewing machine or strong needle
- Packing paper or newsprint- This will be useful in tracing the pattern.
- Marker
- 8-10 tab snaps for attaching the liner to the sleeping bag
Steps for Sewing DIY Sleeping Bag Liner
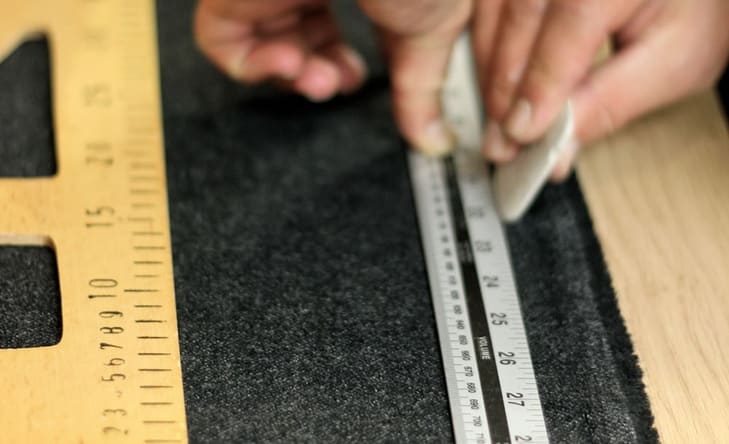
- Lay the sleeping bag on a flat surface and determine its size when the zipper is closed. Double the size to determine the amount of material you will require purchasing. Once you have all the supplies at hand, roll the packing paper on the floor and place the bag on top completely zipped. Using the magic marker, trace the shape of the bag on the paper. Ensure that even after tracing the hood, you also draw a line just below the chin marking where the top side of the bag ends.
- Remove the sleeping bag and cut out the shape to create a paper pattern. Now lay your textile on a flat surface and double it just like a folded sheet. Lay the paper trim on top of the sheet and make sure the pattern edges are near the folded edge of the fabric and pin it down if necessary.
- Carefully cut the fabric long the open side of the pattern and the open side, but do not cut the folded side.
- Using a yardstick, draw a rectangle on one side of the material to make a pillow pocket. The rectangle should have the same width as at the top of your sleeping bag, but with a 20 inches extension length so that it leaves enough space for the pillow. Use this pattern to mark and cut the head opening on the other side of the material. Cut the top side of the fabric in a straight across so as to allow flush with the sleeping bag.
- Once you are done cutting the fabric, fold it into half such that the side you don’t want against your skin is exposed. Approximate about an inch from the edge of the fabric and stitch the bottom and ¾ on the open side.
- While still in the same state, sew short pieces of ribbon or snap tabs on both sides all the way down the liner. These will help secure the liner to the sleeping bag suing two equally spaced attachments at the bottom and three on either side. They will also play a great role in helping remove the liner from the washing machine.
- Now, turn the sleeping bag inside out and place your newly mend liner on top of it and make marks on the fabric where the ribbons or snaps will go. Use a tack to stitch the attachments on the side of the bag and also hem the top side of the liner to prevent it from sliding when you get inside the sleeping bag.
- Hem the areas where the pillow pocket will go on the opposite side of the liner. To make sure it fits on the sleeping bag hood, double the hemmed extension into a rectangle. Make sure the rectangle is closed on three sides by sewing once vertical side, along the bottom and attached to the fabric underneath. The open vertical side will be for stuffing fleece or a puffy jacket to make a removable pillow.
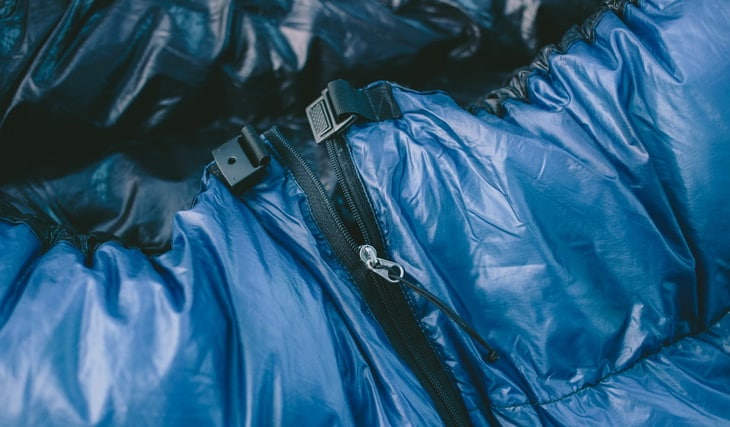
Making a Zipper Sleeping Bag Liner
You can also choose to make a zipper sleeping bag liner, and while the two types serve the same purpose, a zipper one is a bit complicated to make. These are the steps for making such a liner;
- Fold your sleeping bag lengthwise and use your sleeping bag to trace its pattern on the newspaper roll using a magic marker. Make sure you include an extra 2-3 inches on each side for the seams.
- With the two sides still folded together, cut the folded side of the fabric. Then pin one of the sides fully before using a basting stitch to sew along that side with your sewing machine. A basting stitch is rather loose but not to worry since you will be removing it later.
- With one side of the fabric sewn, open it with the seams facing upwards and butterfly the edges. Where you want your zipper placed, and its length will determine the positioning. You should, however, make sure that the top edge of the zipper is close to the top of the bag. Also, leave excess material at the top of your fabric for finishing the edge of your liner opening.
- Line up the zipper with the lining you just created while it’s facing downward. Pin it in place and sew each side of the zipper. Once done, you can now remove the basting stitch made in step 2 above. Carefully pull and remove by cutting, the excess thread on the front side of the zipper. You can either use a seam ripper tool of sharp scissors if you don’t have the latter.
- With the hardest part of making your DIY sleeping bag liner, realign the edges so that you will have the right side of the liner is facing inwards. Then pin the open edges of the liner and sew the bottom and sew the seams. This last step gives you liner its shape, and it is almost complete.
- Fold and sew the top edge to finish your liner. Pull the pattern side of the liner such that it if facing out and hurrah, you are done.
Sewing a sleeping bag liner can take you approximately 1 hour, but if you are a sewing machine guru, then it will take even less.
Making your own sleeping bag liner is better than buying since it saves you money.
Caring for your Sleeping Bag Liner
After sewing you handmade sleeping bag liner, you need to take good care of it to avoid repeating the task anytime soon. Make sure you regularly clean your liner to keep it fresh of sweats and body oils. While buying sewing fabric, make sure you choose the one that you are comfortable cleaning either by a washing machine or hand wash. It is also advisable to let your liner dry in natural air.
Make sure you are conversant with the right detergents to use on your liner. While most cleaning detergents are permitted, fabric softeners may interfere with your liner’s ability to absorb moisture, so use them sparingly. If you are using a washing machine, prevent the drawcords from being entangled in the machine by wrapping them in a pillow case. That way, you will have your liner in the right shape even after washing. Likewise, sleeping bags must be kept clean so read the piece on how to wash your sleeping bags.
Although liners are meant to absorb the sweat and body oils, it is advisable that you sleep in clean clothes to prevent it from getting dirty quickly. No matter how tired you are feeling after a long day’s walk, make sure you change into clean clothes before getting in your sleeping bag. While washing, use the right shampoo and later rinse it properly using lukewarm water and remove as much water as possible through squeezing not wringing. Read our article on the best backpacking sleeping pads for more insight.
Wrapping It Up!
While sewing your DIY sleeping bag liner, make sure you make your measurements well, such that it perfectly fits in your bag. A well-fitting liner absorbs moisture and provides better comfort that a liner that is larger than the bag. Since there are different shapes of sleeping bags, you will need to use the exact sleeping bag you will be using the liner when tracing the shape of the liner you are about to sew.
Another thing that you need to be cautious about is the material of your liner. While buying the fabric, make sure you know the kind of weather that is in the region you plan to go camping and as well as the season.
With the knowledge on how to make your sleeping bag liner, you can make several liners for different seasons and locations. Making your liner gives you the benefit that no matter which material you choose to use, you will end up saving compared to buying a ready-made liner.
For tips on how to clean your own sleeping bags, see our article on this topic.
We hope that you found our article interesting to read and that you actually learned something new from it. If yes, feel free to share it on social media, and if you have some thoughts on this topic that you would like to share with us, don’t hesitate to leave a comment in the comments section below. Thanks for reading and now get those fingers busy!


This sounds like a fun weekend project, I like that you can make it as simple or as complicated as you want. As a hiker it’s easy to get wrapped up in buying all the perfect gear but we forget that sometimes DIY is better! Thank you for this tutorial!
You are welcome. Have fun.
This is such a cute and easy project, but I think I might end up using it inside another bag liner instead of just on its own. I would miss the insect shield on my store-bought sleeping bag liner. It just adds an extra layer of security that I wouldn’t want to be without on a night in the wilderness.
Sounds great!