
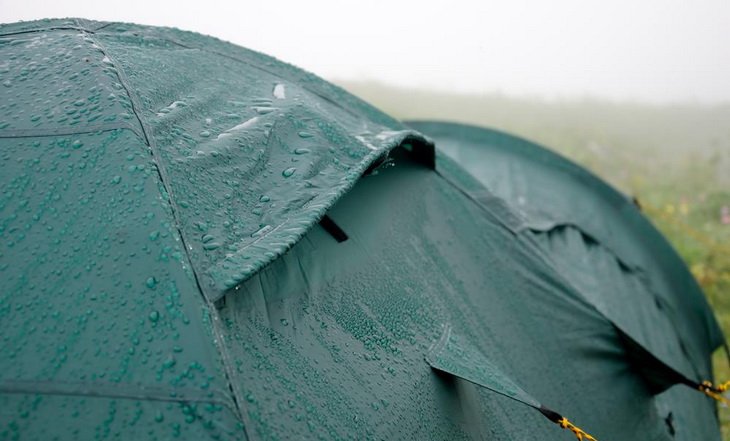
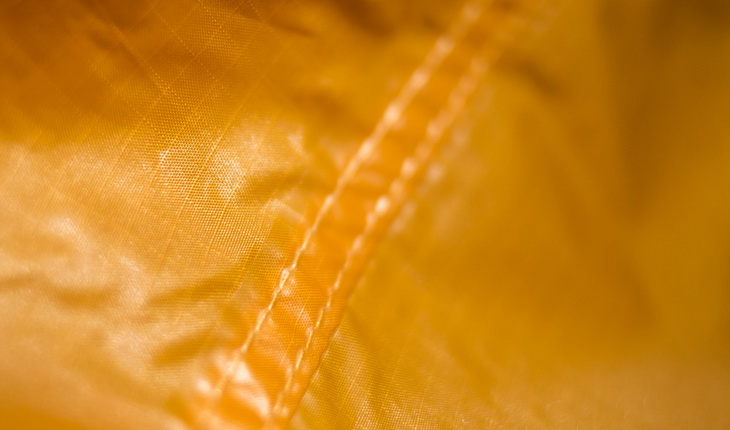
When camping in the rainfall-frequented areas, you are more vulnerable to the penetration of water through the seams depending on the quality of your tent whether it is brand new or second hand. This is, however, not something that should bother you for long, making your nights a misery when thinking about the downpour. The fact is that, by knowing how to seam seal a tent, you can upgrade your tent to repel any water drop through the seams. Normally, water drops can penetrate the tent or the tarp through the needle and the thread holes at the seams, more especially if your tent is not factory-seam taped.
There are fortunately some tents and tarps that come seam-taped as a form of waterproof on their seams. With such tents you might not see the need to seam seal them at first. But the fact is that, as time goes on, the seams might peel away or deteriorate. For this reason, you need to know how to improve your tent, in case that inconvenience materializes.

As for the tents that come unsealed at the tents, you must prioritize the seaming process to them as you prepare to hit the road in a couple of days. Failure to that will only expose your valuables to water damage in the wilderness. After all, it isn’t a complicated to be able to seam seal your tent once you are versed with the techniques. The primary aim of this article is to equip you with the techniques needed.
What is to seam seal a tent?
For a beginner, it might not be clear that what we talk about when we discuss about the seaming process. This is basically the process of adding another layer of a seal on the exposed seams of the tent to repel water drops from leaking through. Manufacturers do use needles and threads at the joints of the tents. Those areas are the first to suspect when there is any water leakage into the tent, well unless there’s a pinhole done mistakenly. The seam seal can still help with that.
So, seam sealing the tent serves as the precautionary measure anticipated to stop the miserable nights propelled by the heavy downpours into your tent. There are products used in this regard. But, the different fabrics are treated differently. You therefore have to apply only the sealant materials that are compatible with the fabric of your tent. Watch this video on YouTube to get an idea about the procedure.
Let’s get started with the process below.
How to prepare for a seaming process?
Before we can continue, you need to understand that tents and tarps are made of different fabrics. So, there is no standard seam seal to be used across all the tents. The best advice is to follow the manufacturer’s recommendations. Check the fabric used. Some may have used the silicone-coated nylon (silnylon), nylon, synthetic materials, and other fabrics. They all need specialized seam seals that can attach securely on the seams. On the other hand, other tents come with recommended seam seals in line with the fabric used.
If your tent doesn’t have any recommendations as to which seam seal to use if not already sealed, please follow the recommendations we give below. For the best tent seam sealer, we recommend the McNett products, which are popularly used by many manufacturers. Other brands may include the Kenyon and the Aquaseal.
But make sure that you follow the seam sealant specifications for a perfect project. For our project guidelines today, we will focus on the SeamGrip and the SilNet as the McNett Products. Let’s first compare them below:
| SeamGrip | SilNet |
| It is for fabrics made of synthetic materials, nylon, waterproof laminates, natural fabrics, vinyl and leather | It is for fabrics that are made of silicone-coated nylon (silnylon) and others. |
| Can be used to repair pinholes | Can also be used to repair pinholes |
If you check very well, these seam sealants basically the same, but applicable on different fabrics. Even when applying them, the process is the same, mutatis mutandis. All you need to do is to determine the exact fabric used as per the manufacturer’s guidelines. Randomly applying any brand and any composition of the seam sealant may not yield great results because each fabric is different.
Now that you know that which seam sealant to use on your tent, let us get started with the procedure. Just follow the steps below in preparation of your tent. Our procedure can either be applied to a brand new or an old tent. We have tried to demystify the process as much as possible for a beginner to comprehend.
Preparing the tent
- Secure an open space in favorable weather conditions to undertake this procedure
- Clean the tent/tarp and the rain fly. Use water with a non-detergent soap to thoroughly clean it, or simply follow the manufacturer’s recommendations. If the manufacturer’s seam tape has peeled away or has deteriorated, we recommend using the 70% isopropyl alcohol to thoroughly remove it before reapplying the new seam seal. Make sure you clean all the seam areas such as the tent floor, the bottom of the tent, and the rain fly. Leave the mesh alone.
- After cleaning your tarp or tent, rinse well so that no chemical remains on the seams
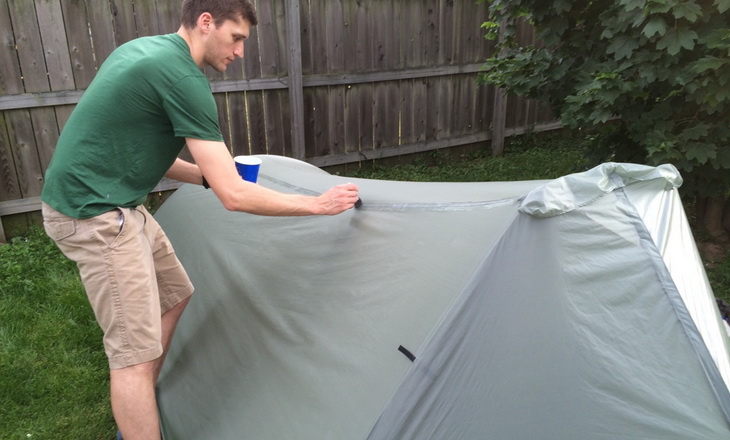
- Taut your tent by pitching it so that it can dry thoroughly. Do not use any machine dry.
- Leave the tent pitched to start with the seaming process.
Our piece on tent care and cleaning will help you, so check it out.
Now that you’ve completed the first step of cleaning the seams, let’s proceed with the seam sealing procedure.
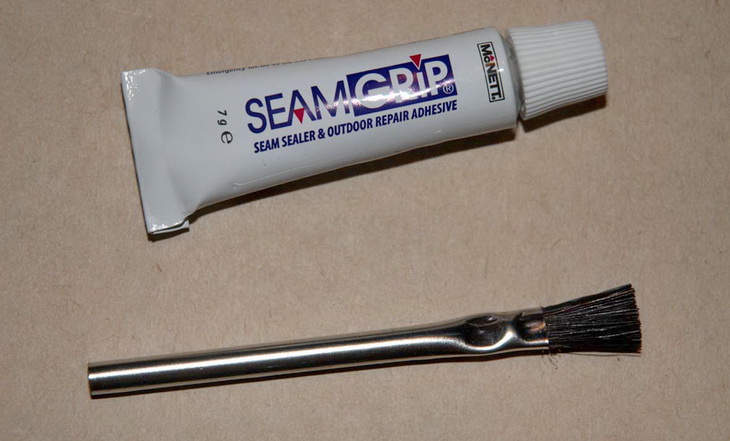
Make sure you have the following tools before you can start:
- SeamGrip/SilNet – depending on the fabric to seam seal
- Paintbrush
- Damp cloth
- A mug or bowl to mix up
- Paint thinner (optional)
Procedure to seam seal the tent
Firstly, if your tent wasn’t seam sealed before, or its seam seal has worn out, you will need to seam seal all the seams simultaneously. The ones ot the floor, in particular, are more vulnerable to the leakage of water. Well, if you have spotted an area of a leakage, you can seam seal it alone instead of applying the SeamGrip on all the seam areas.
Provided you have stretched out the tent efficiently, all the seams should be visible. The rainfly interior seams may be exposed by putting it upside down. For an effective repellent of water, we recommend both the exterior and the interior joints. But please leave out the zippers when seam sealing the tarp, or the tent. Let’s get started in applying the seam sealant:
- Apply the painter’s masking tape for a size of about ¼ an inch in the interior walls. This will prevent the spill of the seam seal and pave a way for a great project that is professionally pleasing.
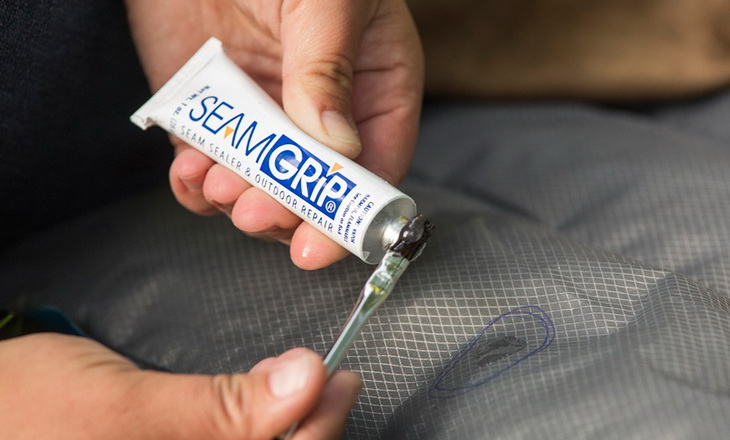
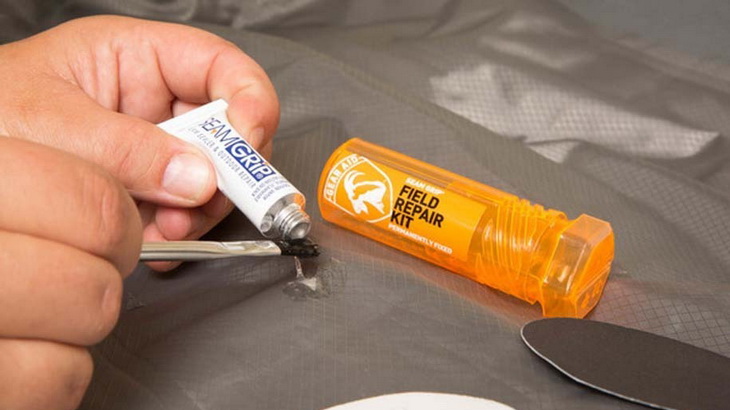
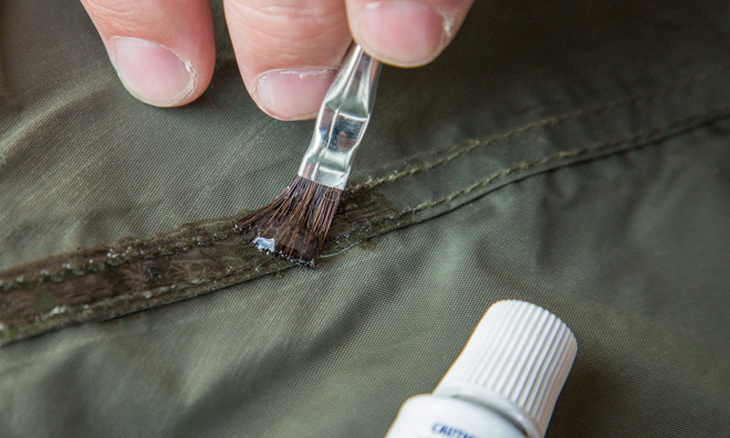
- Then apply the seam sealant on the interior walls of your shelter
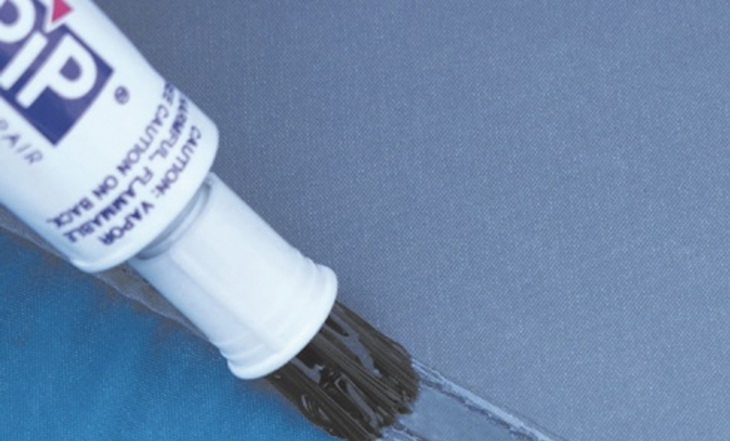
- Apply a thin layer of the seam sealant with the same size of ¼ an inch past the seams. This will help it to soak effectively into the stitches.
- Do the same on the bottom of the tent. Apply the same seam sealant.
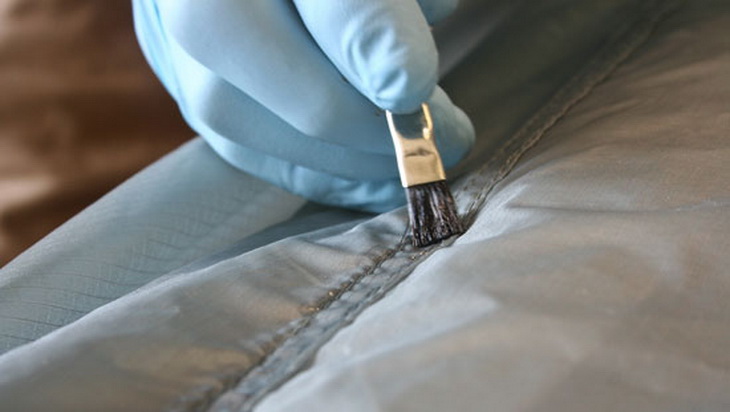
- Then attend the exterior seams. Apply the same size of the sealant on all the exterior seams to enhance the waterproof feature. If you have spotted an area of leakage, we recommend you continue applying the sealant just to strengthen the water repellent property. It’s highly likely that the manufacturer has used the same seam sealant. Otherwise, to avoid ruining your project, inquire further because there are many brands that can be used.
- After applying on the interior or exterior seams, leave the tent or tarp in favorable conditions for the seam sealant to cure for a day. You can also leave it to dry out overnight. Just make sure that there are no anticipated downpours.
- Repeat the procedure on your rainfly seams. As stated already, turn the rainfly upside down to expose the interior seams while still attached to the tent.
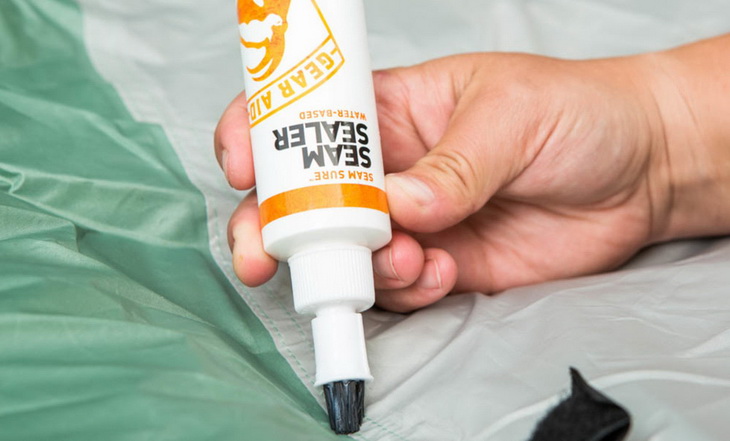
The SeamGrip is urethane based. So bear in mind that you need an open space with sufficient ventilation because it could be detrimental to your health. For a water-based seam seal, there is the SeamSure product, manufactured by the same company, the McNett. But this product is recommended to be applied on camping tents that are not used frequently. These could be the family tents as they’re rarely used regularly as compared to the small hiking tents.
In order to apply this product, you should follow the same procedure. Prepare your tent by cleaning the seam areas, preferably with the 70% isopropyl alcohol. This chemical will make sure that there are no previous seals or adhesives remaining before you reapply the SeamSure that is water-based. To apply it on the seams, squeeze its contents and apply on the seams using the paint brush for an even application. Then use a damp cloth to wipe out the excess sealant. Unlike the SeamGrip, it can take a maximum of 4 hours for this solution to cure, and you will be ready to go.
Going back to our SeamGrip procedure as our main focus, we have to put a closer eye on the procedure. After letting the seams dry out, it doesn’t mean that we are all set up to hit the road. What if the project has not been successful and there are still some drops that penetrate the seam joints? You may still be subjecting yourself to miserable nights in the wilderness where there might be no more an opportunity to reseal the seams.
We therefore need a quality assurance procedure thereafter as outlined below:
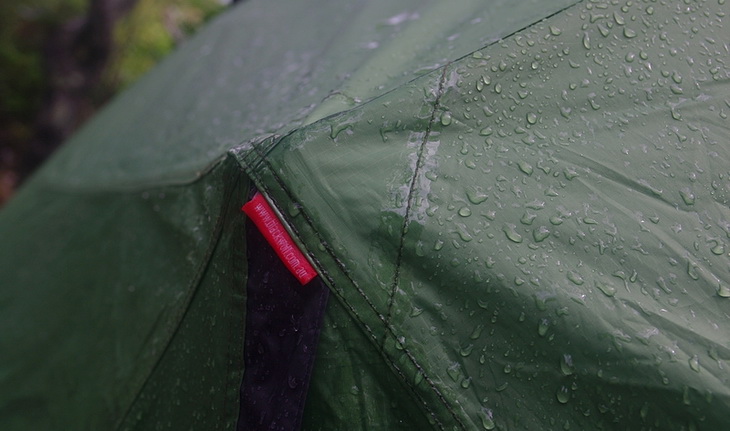
- After leaving the tent and the rainfly seams to cure, it’s time to undertake a simulated downpour experiment. But first make sure that the sealant has cured completely.
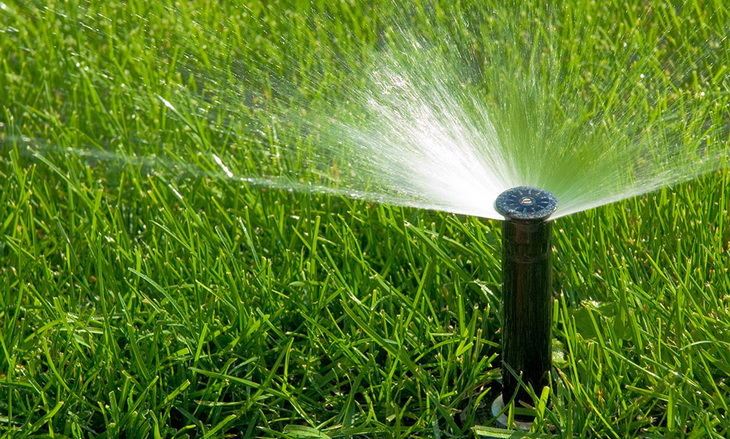
- Leave the tent pitched without any wrinkles. Then ask someone to set the sprinkler while you got into the tent. Otherwise, do it on your own and get into the tent.
- The sprinkler will help you observe if the seams are perfectly sealed. You can reduce or increase the amount of water to make sure simulate the varying rainfall fluctuations. Do that as long as possible because, sometimes, shorter rainfalls are repelled with ease.
- If there are any drops leaking into the tent, repeat the seam sealing procedure and be careful this time around. Try to increase the amount of the SeamGrip mixture.
- Then repeat the quality assurance procedure as well. If all are fine now, it’s time to store your tent.
- Pack your tent in a good condition to wait for the next adventure outing.
How often should I seam seal my tent or tarp?
In actual facts, the frequency with which you should seam seal your tent depends on how frequent you use the tent. Other factors such as the quality of the seam seal applied initially also take the center stage. So, if the quality is in doubt, then the seal can wear out quickly, which will then prompt you to reapply frequently.
Normally, you may be required to apply the seam sealant at least twice a year. Alternatively, you may decide to apply it at the beginning of your outdoor adventure just to err on the side of caution. Otherwise, put the tent to test and set up the sprinkler again to see if the water doesn’t penetrate the seams. If that’s the case, then re-seal the tent accordingly.
If you like camping out in the areas notorious of heavy rains, applying a seam seal on your tent may be an order of the month, especially if you frequent that place. To prevent this, you will have to shop with a meticulous focus on factory seam-taped tents unlike going for the unsealed seams. Either way, it is relatively cheaper to apply the sealant on your own.
Why are other tents not seam sealed?
When purchasing camping tents, you might find out that some are not seam-sealed or seam-taped. If you can remember very well, such tents are often affordable. The manufacturers might have evaded the additional costs incurred and the time of sealing such tent seams, or, quite frankly, the manufacturer has designed the tent for a particular purpose whereby waterproof features were not even prioritized. That’s why if you’re planning to buy a tent, why not read our article first on the best 4-season tents for all year camping?
The factory-taped seams can still be seam sealed just to enhance the waterproofness quality in case the original one wears out. It’s a fact that waterproof coated seams do wear out after multiple uses. So taking the tent to the manufacturer for a re-coat, is maybe unaffordable, compared to purchasing the SeamGrip or SilNet to do it on your own.
Is it safe to seam seal a factory seam-taped tent?
Unless you doubt the quality of the tent, then do not carry on the procedure. As encompassed in some terms and conditions, some manufacturers regard any other alterations as a void of warranty to the product sold. So beware of that before thinking about sealing your brand new tent unless it’s an old tent. We reckon that you do not seam seal the brand new tents immediately. Rather put them to a test first to inspect the effectiveness of their waterproof property. If it’s unsatisfactory, then seal them.
But please check with the manufacturer first to see if there are any recommendations. If not, then follow our procedure before by carefully analyzing the type of the fabric in line with the MCNett product to be used.
Additional Tips and Recommendations
Before planning a hiking adventure in a certain place, please check the weather forecasts of that place beforehand. This will guide you if you have to seam seal your tent or not. For tips on how to plan a backpacking trip, see our article on this topic. If you like hiking predominantly during winter, it is recommended that you certainly seam seal your tent because winter is known for its ubiquitous rainfalls. Focus predominantly on the floor seams because of the possible snow surfaces whereby water can penetrate with ease.
In spite of the tent coming with factory-taped seams, we still recommend to seam seal the tent just to improve the waterproofness for in case. It’s better to be prepared up front, than to be sorry afterwards. But, warning, you have to inspect the quality of the tent before because the manufacturer might not help you with product warranty after you have done some personal alterations on it. Anyway, if the seam seal is perfect, it may not be visible as an add-on when returning the product to the manufacturer in the case of quality defects.
Whichever seam sealant you apply, just make sure that you apply in an open space that has enough ventilation. The odor may be unpleasant if you do that in a small space. Furthermore, do not perform a seam seal amid anticipated rainfalls. The weather conditions should be favorable.
Wrapping Up!
We have discussed, perhaps the most important procedure to all outdoor enthusiasts. The outdoor camping adventures need substantially waterproof tents and tarps. The factory-taped seams alone may not be sufficient in a long run. So it was long overdue for people to know about how to seam seal their tents. It saves more money to do this procedure on your own. We have explored the topic to an extent of demystifying the preparation process and recommending the MCNett’s SeamGrip and the SilNet as the popular products used.
Do you know any other products that are capable of repelling water through the seams? Please share with us below for our readers to learn more. If you have any question regarding our discussion, please leave them below and we will attend to them as soon as possible.