
Hiking sticks are not only sticks we use to hike around, some of the sticks are made with love and are passed through generations, holding a lot of emotional value to their owners. In this article, we will teach you how to make a hiking stick on your own, and be proud of it. Many people love to write lovely notes, names and much more on their sticks. That way, even when they are no longer hiking, their daughters, sons or even grandchildren will remember them.
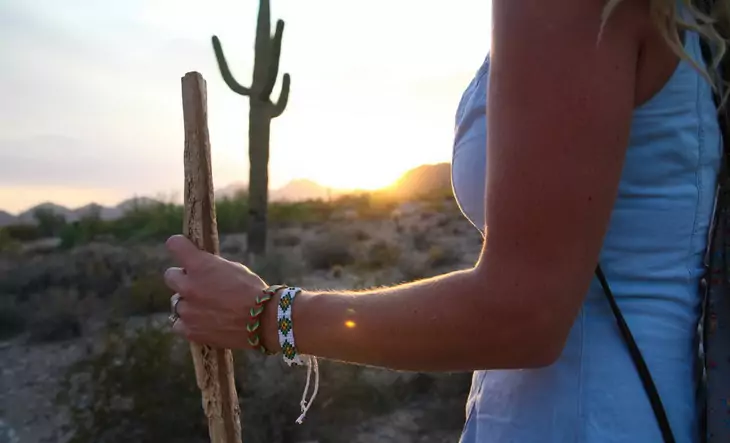
Every now and then you might catch yourself in need of a good hiking stick, it does not have to be perfect and new, right from the store. You can actually make one on your own, and it will probably serve you well enough. Making a hiking stick can be a truly rewarding and extremely fun experience. Being able to develop and improve your own hiking stick is a big plus for those who hike very often and very often need a good hiking stick.
Important things to consider
- Creation of the good hiking stick requires a decent amount of knowledge related to woodcutting and design. The hiking stick has to be a very versatile and utilitarian instrument, used for an everyday walk, or a true hiking adventure with your friends and family.
- The hiking stick created by you can have various details and be designed so it fits only your needs and ideas. You can crave in various words, shapes and drawings to show off to your family members or friends – doing so will surely make everyone laugh and motivated to make their own hiking stick with their name carved right into it.
- Before you decide to actually give it a try and make your own hiking stick, there are many things you could take into consideration and learn. After all, you want to make a good hiking stick which will be in good condition, strong enough to keep you standing and much more. Selecting the right kind of a stick for your creation plays a huge part when it comes to hiking sticks and their creation.
There are a couple of important factors to take care of when picking the proper stick
- Diameter, weight, knot, branches, insects and the wood sound – these are only a couple of things you can think about when picking the stick for further development of your hiking stick. The length of the hiking stick depends on how you plan to use your stick, if you will be casually walking around, a stick which reaches your wrist will serve you well enough. If you are hiking up the mountains and things alike, you will want to have a stick which reaches your shoulders, that way you will have it easier to climb up and go down whenever it is needed.
- The girth or the diameter of the stick depends on the weight of the person – the heavier you are, the diameter should be larger, that way you get the most support. Take into the consideration that the bigger and heavier your stick is, the harder it will be to carry after a while of hiking.
- Depending on your strength, time of use and condition, the weight plays an important part. If you are a healthy adult person, this should not be an issue at all, but in case you have health issues and problems carrying certain weights, you should avoid heavy sticks and equipment and speak to your doctor for further advice.
- In case your stick lacks of character, knots are always a great way to make it look entertaining and interesting to use. If using knots, make sure you know how to tie them properly, otherwise this might be slowing you down and making your stick less versatile than it should be – looks are not everything we look for.
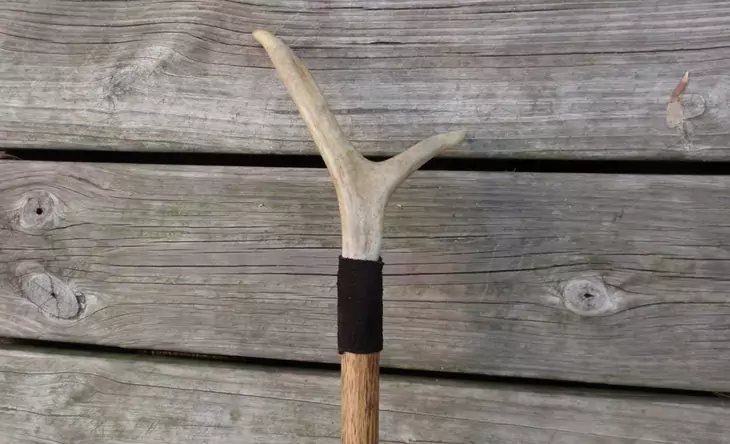
- Branches are an awesome thing, do not just cut all of them and think that now you have the best hiking stick in the world. Some of the branches can be used as handles and second foot at the end of your stick.
- The wood sound can be very useful when picking a stick, to test out your stick just place the end of the stick at the crotch of the tree and press as hard as you can towards the other end of your stick. Be careful, though, the stick can snap and cause injuries.
After picking the right stick for your needs, there are five simple steps to follow in order to make an amazing hiking stick.
How to make a hiking stick
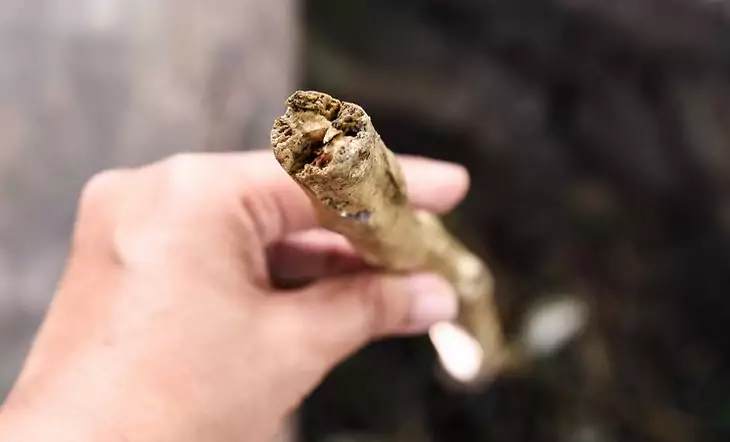
Try picking a fresh wood stick not a dead, dry wood since dead and dry wood is usually less strong and will break easily in your hands as you walk and climb around.
The tools you will need:
- Five-minute epoxy glue
- A sharp pocketknife
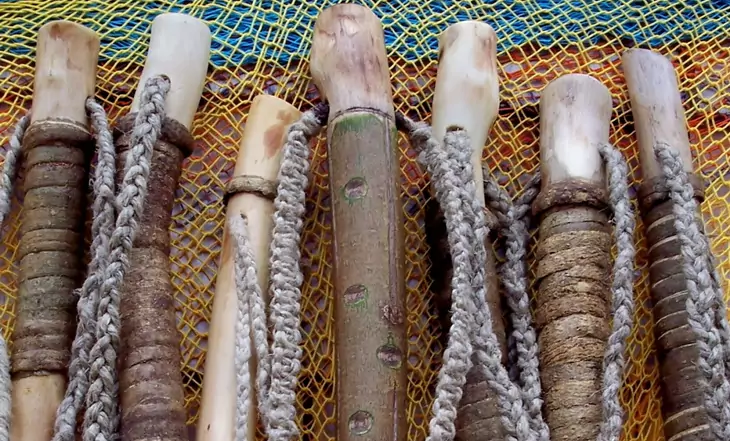
- 1-inch-long piece of 3⁄4-inch diameter copper water pipe
- A wood burning tool and a spokeshave (both optional)
Steps to follow
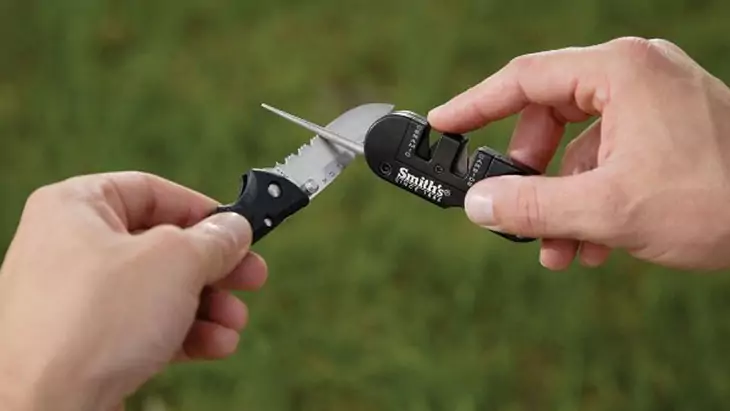
- Trim the stick carefully: With proper tools and knowledge related to woodcutting, you should be safe enough, while trimming the hiking stick you are creating, in case you lack experience and knowledge to do so, please visit some of the various woodcutting websites and see what are the things to take care of when using wood cutting tools and equipment. Hold the knife at a tiny angle and apply strokes extremely gently. The deeper you go into the wood, the more additional touches you will have when it comes to sanding the stick for a smooth finish – make sure to not overdo it. The wet fresh bark is believed to be removed rather easily. On the other hand, a dry bark is much more complicated to get rid of. Little branches you might find on the stick you want to create, should be removed with care right towards the stick so there are no branches left which can cause an injury. Always use gloves when trimming the stick, it protects your hands and skin from the dirt and sharp edges. See our article on the best camping knife for more insight.
- Removing the bark and drying the stick: Start off by removing the bark carefully, reaching a red layer or removing it, it is optional and is related to the looks of your stick only. Removing the bark is important because it will not peel the bark and keep it on your hands as you hold the stick and hike with your friends and family. Dry your stick after you removing the bark and peeling it off as you wish. You might discover your stick has an inner layer of bark. Carve it away too, otherwise, your stick will darken as it dries. The slower the drying process goes, the stronger your stick is going to be. Don’t rush and dry your stick, for example – placing wood in the hot sun. If the certain parts of wood crack way too much, try drying your another piece at a little bit cooler temperature. In order to protect your stick from splintering at the bottom, you will want to whittle it down until the piece of copper pipe slips easily onto it. The copper tip should be secured with a couple of screws without any issues at all. You can also use the hot glue.
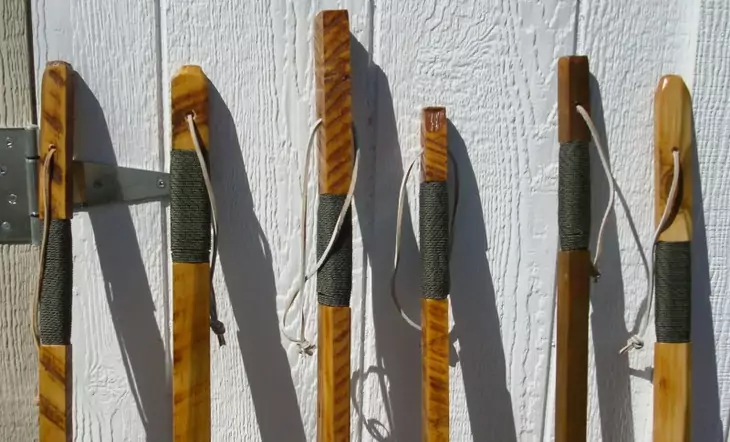
- Smoothing the knots: Sometimes it might be rather annoying and complicated to smooth stubs or knots where twigs used to be, using a decently sharp knife. Using a good bench grinder, a grinding wheel, in order to smooth the wood. A flat wood rasp will surely get the job done as well. You can also just whittle what you can and start with sanding. Your stick is now ready for use unless you want to let it dry for a month and then use and apply a protective coat. Using sandpaper or a spokeshave (if you have or wish) to make the surface of your stick even smoother.
- The sanding process: Starting with coarse grits and going further down to finer grits. To make the sanding process a lot easier. Red cedar is surely very nice. Finding a good straight piece from that species will not be easy, but it is extremely important and worth all the trouble. Hang your stick in a clean area and prepare for sanding. Most of the people will pick the linseed oil, which is usually the very best choice for wood tool handles. For walking sticks, it is advised to be way better to use full gloss polyurethane in spray cans. 4 coats are usually more than enough. Slowly and carefully sand your hiking stick between every coat with approx. 200 to 400 grit.
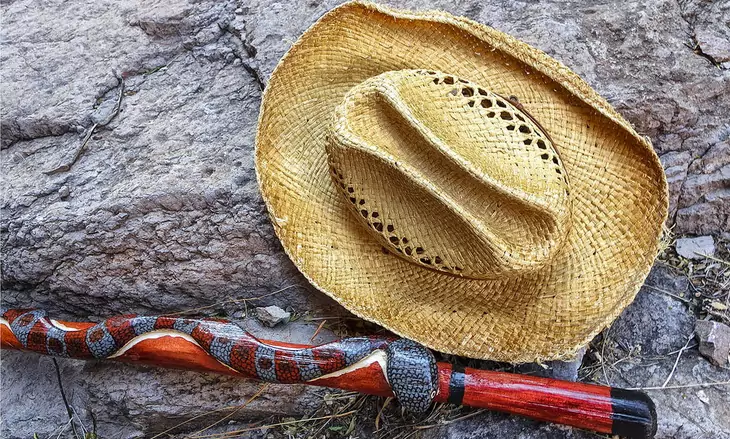
- Decorations: If you edit and take care of your stick every year or two, you could even pass the stick down to next generations and friends. With enough care and effort, your stick could last for a couple of centuries. If the stick is done well enough, you might wish to sign your name for someone or gift the stick to someone in the family who also hikes often as you. Now when you are finally done, you can put various details, words and things on your stick and finally brag to your friends how you have gotten the best hiking stick out there.
Interesting facts about hiking sticks
- Which wood looks the best when turned into a hiking stick? One of the extremely interesting looking woods, after the sanding was done, is Japanese maple, but sadly, it is said to be very heavy and hard to use for hiking on a long distance.
- Why do people buy wooden sticks over metal ones? Wooden hiking sticks are popular, and will always be because of their natural look and holistic appeal which will never be given by an ordinary metal hiking stick you can buy in any hiking equipment store.
- What differences do men and women make when buying a new hiking stick? Men prefer a taller stick with a lot more ‘’beef’’ on them, while women like to pick a little bit lighter sticks, like bamboo for example. If you need more options, check out our article on the best hiking poles to take with you.
- Which is the lightest wood to use in the creation of a hiking stick? The lightest wood you could use is cedar, it might feel very fragile, but a stick made out of it should not be used for prying and long hiking trails due to possible breaking.
The best things about making your own hiking stick are:
- It’s not pricey
- You don’t need to know anything about curing, types or collecting wood
- You don’t need to be a true wood working expert
- You need only patience
For tips and guidelines on how to use walking sticks, see our piece on the topic to give you more ideas.
Conclusion
Now that you are well informed about the creation of a good hiking stick, try to organize an event in your family or between your friends and have everyone create a hiking stick of their own, maybe you can teach them and give them a couple of useful tips? Maybe you get to know something new that you can implement and improve your own hiking stick? No matter what you do, you will surely have an amazing memory and material things you will keep useful and even maybe pass to the next generation.
Remember that a good hiking stick doesn’t have to cost a lot of money, if it’s made with enough care and love, it will surely be the best one for your needs.
If you prefer buying your walking stick, see our reviews of the best hiking poles to help you with more options.

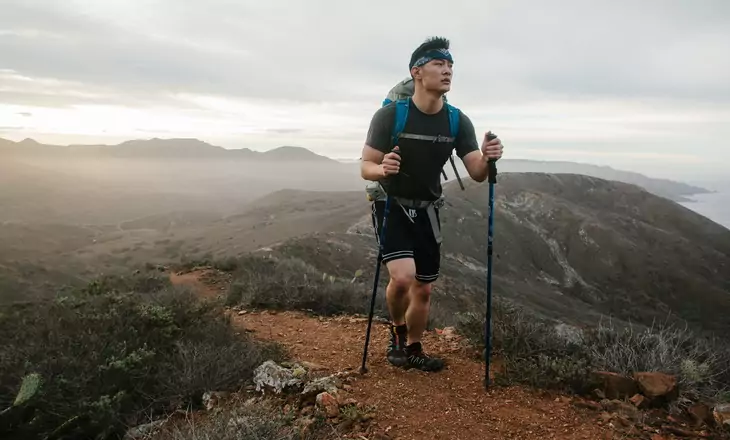
You might be crossing a river and you accidentally lose your trekking poles. In such a situation, you can easily make new poles with your handy skills.
During hiking, walking sticks will help you preserve your joints by reducing stress on your spine, hips, ankles and knees.