Since the birth of man, there has been constant speculation pertaining to the constellations that reign over us from the skies. As our minds grew, and our technology advanced, we have been able to ascertain a better understanding of what we can see above us. Once lights in the night sky, holes in the floor of heaven, are now known as stars. Suns from other galaxies. It has always been in our nature to want a better look. This article will act as your need to know guide on how to photograph stars, so that you can add to the better understanding of our place in the universe and learn how to better capture the cosmos.
Those of you who have already tried to take photographs of the stars will already know how there are many factors that can cause your shots to come out less than perfect. From the settings of your camera, the gear that you use may not be the best for the task at hand, or it could even be the lighting (even at night, the light can still get you, so you have to take special care to accommodate for the light).
This brief guide will take you through all you need to know before you take to the stars, and capture your cosmos. From the basics of the shoot, to an advanced look into the editing of the stills – or the streams, as you will soon see.
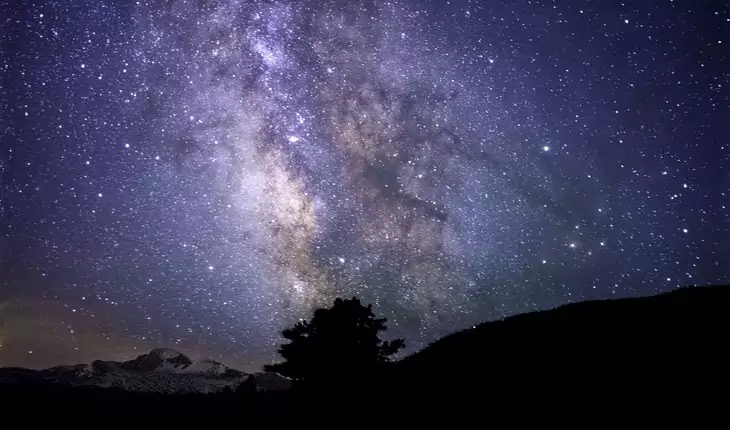
So, let us start the expedition, and research how to map our trail as we go – hanging loosely in the never ending void that is our universe at large.
Pre-Planning the Scenery
A lot goes into bringing out the best of the stars in the technology we use, so you must make sure that you have found the right spot to photograph the right patch of sky. Planning and scouting around for the best places to keep your tripod sturdily holding your camera, and a place in the sky that the camera should be gazing to.
Take note of the surrounding areas, making sure not to take your shots too close to areas affected by heavy light pollution. The best places to be for Astrophotography are out in the wild, open spaces, with dark stars hanging above them.
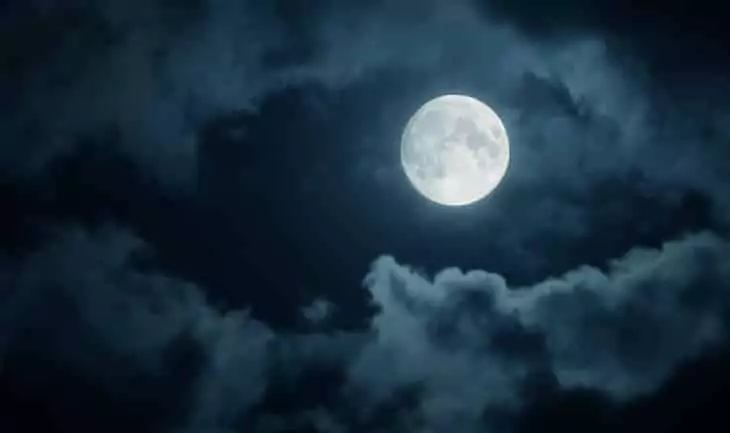
Calculating the phase of the moon, will also be a massive help when it comes to light exposure. The lighter the moon, the better the photograph. So it is recommended that you plan your shoot for the closest day you can make it to the New Moon. A week before, or after, still works.
Basic Setup: the Gear that will be Needed, and to what Specification they need to be
No matter how you approach capturing images of the stars, there are a few items that are universally required to do it correctly. The minimum of photography equipment needed includes, but are not limited to;
- A Tripod
- A Camera
- A Wide-Angle Lens
These three items are a must have for any stargazer turned to star-photographer, and many people would scoff at the need for their inclusion – or even just reminding people that a camera is needed – in this guide.
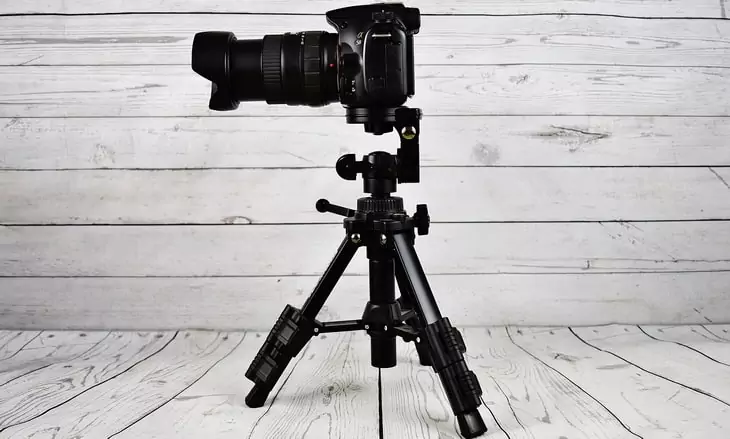
But we found it necessary to mention, especially since we are about to delve into the specifications of each piece of equipment.
|
Tripod |
You will be in need of a sturdy, and reliable tripod to achieve the best stability for your shoot.
As the camera will be positioned in such an angle for the long-exposure shots required, the tripod must be dependable as well as gyroscopically sound. |
It is important to try and branch away from the common carbon-fiber made tripods, and inch closer to the aluminium side.
The added weight of the metal provides a nice rigid stance for your camera to mount on. |
|
Camera |
In this case, no just any old camera will do.
The camera that will aid you capturing the images that you want during a shoot should be one with Manual Mode Functionality that can also shoot in RAW format. |
It has been vastly debated, and concluded, that the full frame camera trumps all others when image quality is in question.
Having the manual mode function that shoots in RAW format helps to work with long exposure times. |
|
Wide-angle Lens |
The use of a wide-angle helps with the progression of this project drastically.
As you are shooting a whole lot of sky, you will need a lens that will allow the shot. |
A lens that shoots between 12-30mm is recommended for a shoot of this magnitude. To help capture everything you want to capture. |
Owning these basic components, married with the specifications provided, will give you all you need for a successful night of photography. There can always be room for improvement with little additions of your own style and needs, but don’t forget to use a sturdy metallic tripod, a full frame camera, and a wide-angle lens, as the foundation of the equipment you use.
For the best tripod that you can use for the outdoors, click on the link to the topic.
Setting your Camera Accordingly
Unfortunately, unless you have the world’s most accurate telescope lens, you cannot just point and shoot toward the stars, hoping that all will turn out well. That is not how to take pictures of stars. The settings of your digital camera need to be succinct and able to handle the task at hand.
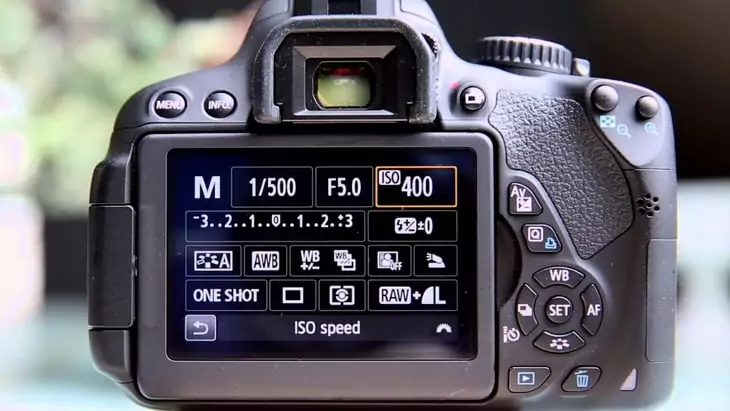
There are many variables to consider, so choosing the correct performance for the job is necessary to maximize results.
Here is a list of our recommended camera settings that should give you the best photographs of stars, and the night’s sky:
- Aperture value – You do not want anything that goes above f/4. Keeping the aperture value, low, helps expose your lens to most amount of light for the least amount of time. The real sweet spot for night sky shots is at f/2.8.
- Focus – A good amount of focus to use during a night shoot can depend on the camera that you are using, but a general rule of thumb would be to mark your focus down as infinity.
- Focal length – When using a full frame camera, the best focal length to operate with for astrophotography would be 14-24mm. If you are on crop sensor camera (though we do not recommend that as much as a full frame), then the 10-20mm will do you well.
- Exposure time – Many photographers have many different ways of dealing with the problem of star streams, and in keeping your pictures looking sharp. The most common technique is the 600 rule, but this is again only a rule of thumb and is best used as a guideline as tinkering will be required.
To achieve this, some math is involved. You need to take the number 600 and divide it by your Focal Length. By how large you have set your focal length, the smaller the exposure time will be because of this rule, so keep the size of lens into consideration. The wider the better. - ISO setting – The sensitivity of your camera’s sensor of light should range at ISO2500-6400 to best combat the natural lights of the night’s sky.
- Shoot in B mode – Whilst in bulb mode, you can control the length of the exposure shot by determining the shutter speed. Merely apply B mode to your camera, and hold down the shutter button for how long you want the shot to last.
Simplified version
| Aperture | f/2.8 – f/4 |
| Focus | As much as you wish |
| Focal Length | F-F = 14-24mm, C-S = 10-20mm |
| Exposure Time | Apply rule of 600 (divide your Focal Length by 600) |
| ISO Setting | ISO2500-6400 |
| Shooting mode | Shoot in bulb mode |
Suitable Environments
We spoke a lot about the lighting in your images and how it is best to control them in your ISO settings and focal length. But the lighting of your surroundings, of course, need to be taken into consideration as well.
The light that surrounds you at ground level (i.e. light pollution), and that of the moon’s shade, try and accommodate for these different light sources and alter the ISO accordingly.
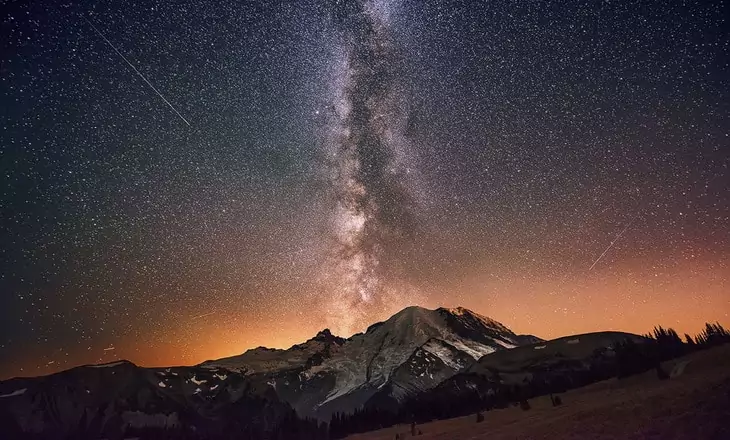
The environments that yield the best results when it comes to astrophotography are that of vast open spaces, far from the dreary glow of the light pollution a city or a well populated area exudes into the atmosphere.
Shooting Long Exposure Pictures
Now that you have turned all of your settings appropriately for this task of shooting at night, you can begin the shooting process. By using long exposure photography (a shutter speed with a long duration) you can capture the stars forever digitally, as they zoom past us. Different effects of the imagery – like star trails or whisps of cloud – can be added to the long exposure process by altering the shutter speed, aperture, and ISO speed.
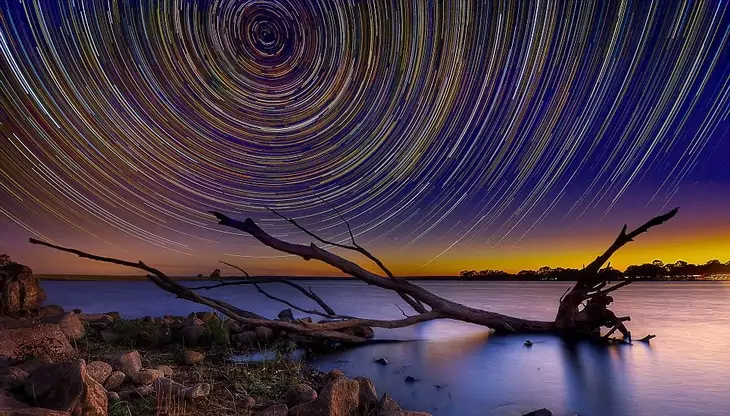
That requires some trial and area alterations from the information that we have previously recommended.
Why not see our list on the top cameras that are best for outdoor use – it’s a piece that you ought to read before going on your trip.
Editing: Changing your Stars
Not every photograph comes out the way you want it to; bursting at the seams with perfection, with the right white/dark balance shining through, showing your cosmos through your lens effortlessly.
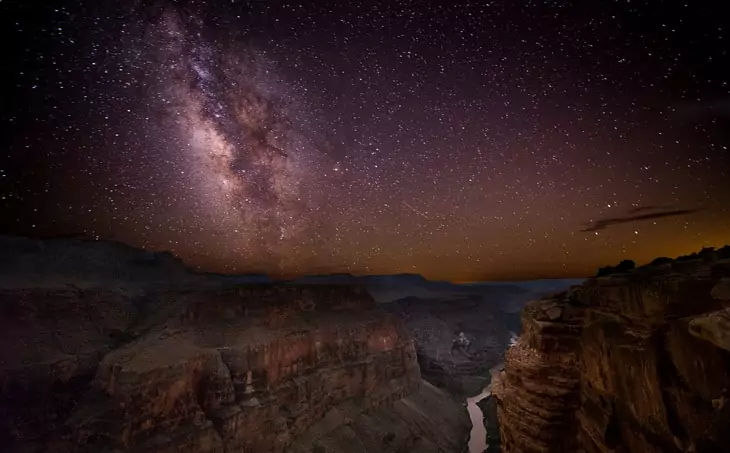
Editing and post-production of your night time photography session, is the make or break of the final images. Having gone out and shot a beautiful canvas for you to work upon, you need to apply the right final flourishes in order to achieve a fuller image. The same can be said about most modern photography. The real skill in achieving the final image, lies on the edit room floor in tatters and incremental modifications.
Cleaning up your Images
As most of the process of astrophotography is bathed in its lighting, so is the editing process. Learning aspects from both the Adobe Lightroom editing station and a basic use of photoshop, will help bring those stars furthest away from us, the closest and as sharp as the others.
Adobe’s Lightroom program is the perfect place to minimize unwanted noise from your images. All of those red, blue, and even the far too bright white pixels that are produced as a result of a high ISO, can be taken away through Lightroom using its Noise Reduction function.
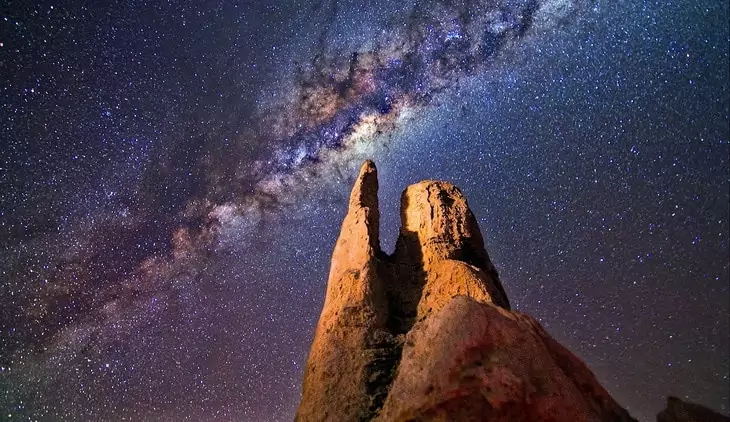
What Lightroom can also offer you is a free space to have fun with the editing of your images lighting, so you can see all the differences available to you and proceed from there. Playing around with the temperature and hue tint sliders make sure for some incredible results out of even the most mundane of long exposure shots.
With the uses of Lightroom having been offered, you can take your images to the much more commonly used and simple to grasp additions that Photoshop has in store.
Editing these images to your preference may take some time, so remember to keep it light and fun. Play around with the settings in Photoshop and Lightroom until you stumble on something that feels and looks right.
Mapping Your Way
Make that you are aware of what you are mapping in the skies as you go about your photography. Either for your own sense of direction, to help you tag and catalogue your pictures, or even just to learn more about astrology through cartophotography.
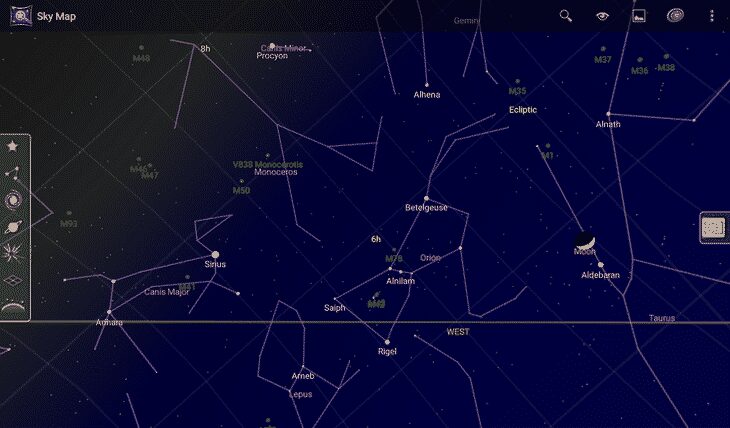
The downloading of a simple star map to your phone will easily do the job when it comes to guiding you through the galaxy.
Shoot for the moon. Even if you miss, you’ll land among the stars
Through this brief introduction into how to photograph the stars, we have looked into the gear needed for the job, certain settings that are required of your equipment, and the editing process that will help you create the most out of your images. If you’re camping out, see our featured tent especially suited for star gazing.
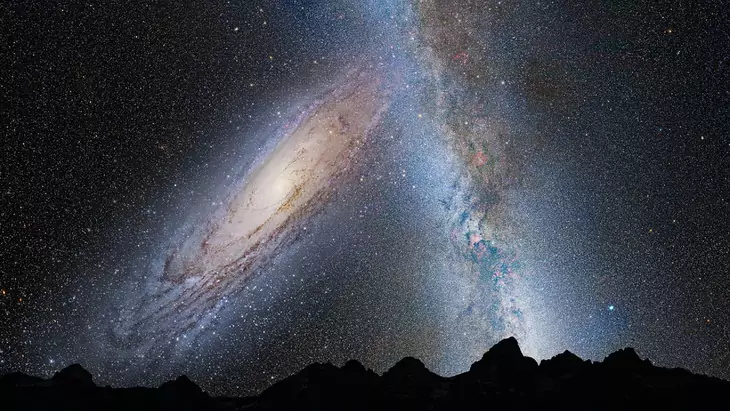
Hopefully, this article will have given you a boost in confidence that will help you attempt astrophotography and hone it into another skill to add to a growing portfolio of techniques. From experimenting with shutter speeds to better create star trails in your images, to playing around with the lighting effects so much that the Milky Way has never looked so bright, the joy of being able to capture the cosmos is now a skill that you retain.
To help you get prepared, here’s a must-read on tips and guidelines for night hiking.

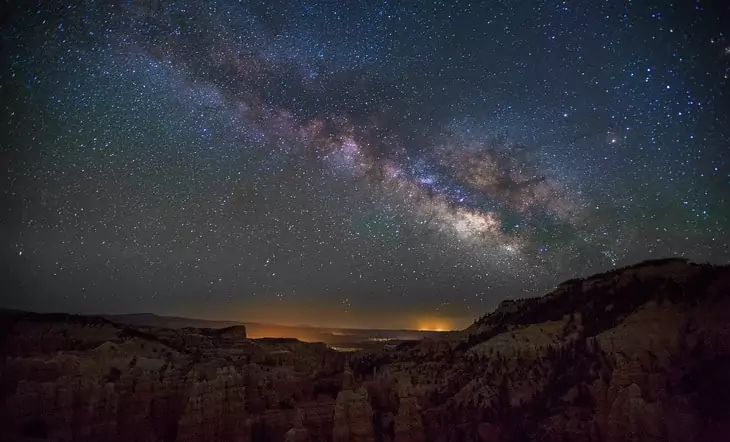


Generally, photography is easy, but it is not entirely simple when photographing stars. This article will help you with this problem.
There is no better way of passing your evening time than photographing stars. The key to photographing stars is planning, and that is what this article is all about.