Past the bustling car campground and the busy local trail lies quite an immersive experience. Backpacking as an outdoor activity presents a richer and more gratification of the world around us. If you are going on your first backpacking trip, it’s important to know how to plan and what to expect. Carrying life’s essentials is a backpacking 101, which can be liberating and physically challenging as well.
Before you can hit the trail, you need to know about the basics of backpacking, especially if you are a novice and doing it for the first time. Here’s a backpacking guide that will be helpful whenever you’re planning to go on your first backpacking trip.
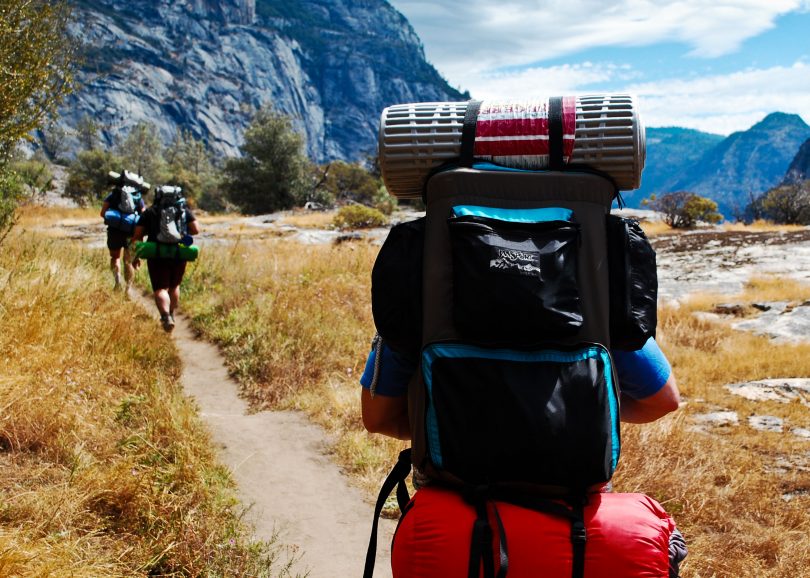
If you are ready, follow these pointers:
- Choose an experienced partner
- Select a route for beginners
- Gear up
Choosing an experienced partner
If one or two of your friends are experienced in backpacking, ask them to accompany you on a trip to the outdoors. There’s a high chance that they’ll be more than excited to share their experiences and expertise with you. If you have no gear, you may choose to buy or borrow from your friends.
If you do not know any backpacker, look for a friend who’s willing to register for backpacking classes. It’s fun and smart to take at least a friend with you on the first backpacking trip for security and assistance.
Select a route
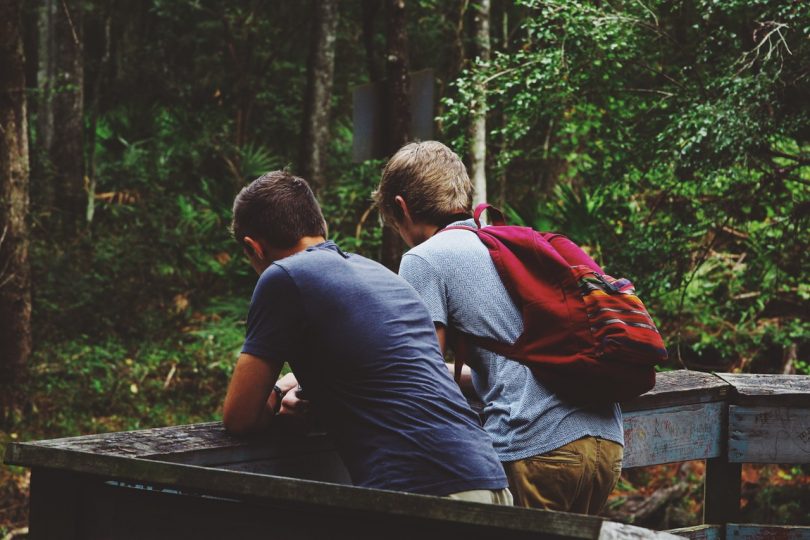
Your backpacking destination will depend on some factors:
- Your level of fitness – Evaluate your shape and fitness and determine the amount of time you’ll need to train before hitting the trail.
- How much time is at your disposal – You might only have a weekend to prepare, but this could be sufficient for your first trip
- Distance – Decide on the amount of hours and the distance you’ll be comfortable hiking in a day, especially with a heavy pack on your back. If you’re a novice, a distance that would be comfortable for your case is within the range of three to eight miles. If you are hiking with kids or have significant elevation gains, you’ll need to stick to the shorter routes.
- Elevation gain – What is the amount of elevation suitable for your case? If you’re a hiker already, you may have an idea of the amount of elevation gain you’re comfortable tackling. Just remember that carrying additional weight to what you’re accustomed to can slow you down. If you have problems handling elevation gains, it’ll be advisable to stick to the relatively flat routes.
- Season and weather – When dusk falls early in autumn, leave early or plan a route to avoid trekking in the dark. Check with the weather house to see if a storm is moving in and if that is the case, cancel your trip.
- Logistics – Decide whether to do a point-to-point route or hike a loop trail. If your decision is to embark on a point-to-point mission, you will have to shuttle cars to the beginning and end sections.

Choosing your backpacking gear
A great advantage of backpacking with your experienced partner is that they will likely have the communal that will be helpful to you, as a three-person tent, kitchen supplies, and stove. If you are backpacking with a huge group, it’s prudent to carry more stoves and tents.
Apart from that, your experienced partners can you about how to go backpacking, what not to take, and many other hiking basics so as to minimize the weight in your bag. Here are additional pointers in group gear you’ll require:
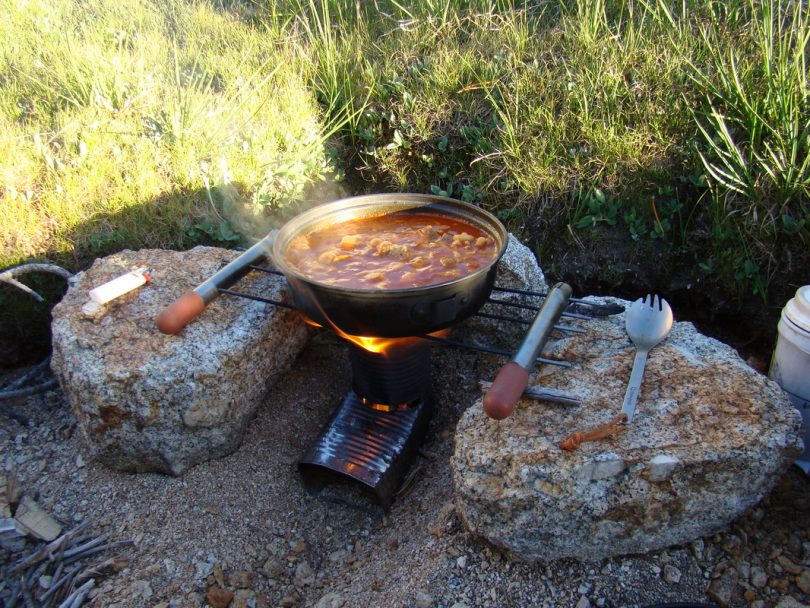
Stove
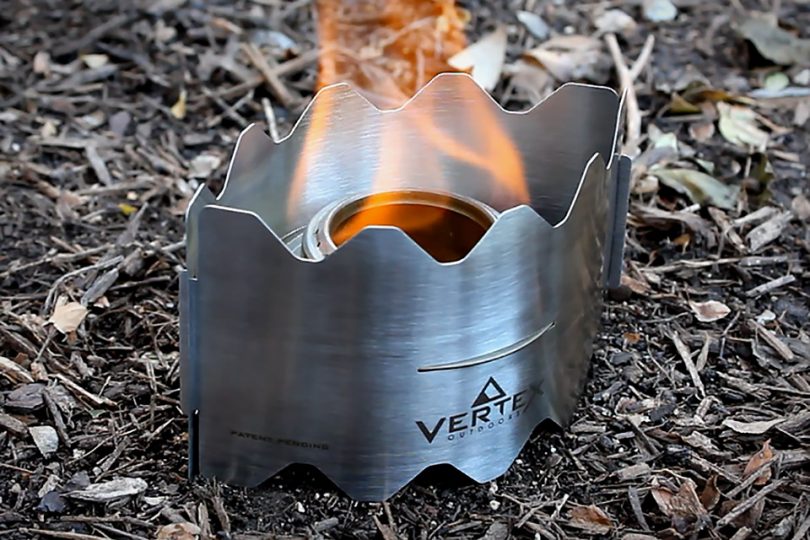
A compact stove which boils water fast, like in the case of an integrated canister system, is ideal for group dining. All that will be required is to add boiling water to your freeze-dried food and allow the meal to sit for about ten minutes. If you have a group larger than ten individuals, consider carrying two stoves. This will ensure that no one is left hungry waiting for the next round of cooking. Here’s our review of the best solo stoves for your camping adventure, check it out.
Tent
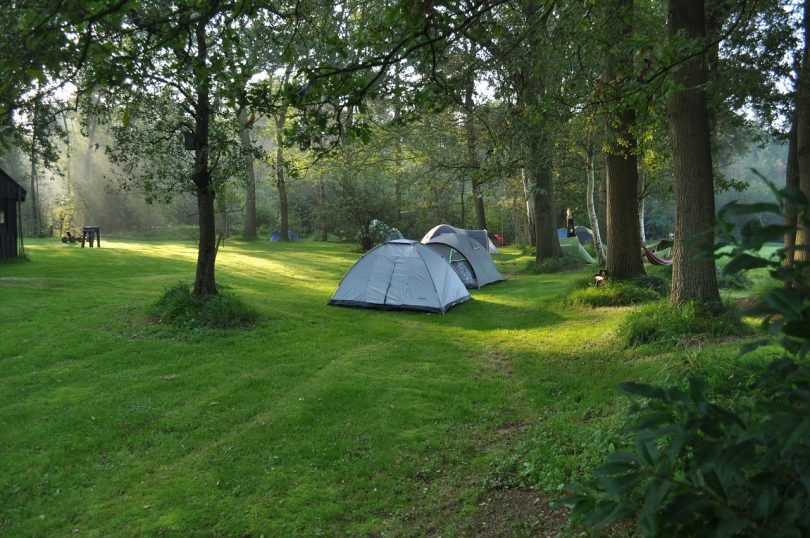
Backpacking tents are usually lighter as opposed to car-camping tents. This is the case because they are compact and often made from super light material. When choosing your tent, consider size. A three-person tent is usually lighter and suitable for three individuals as opposed to three, one-person tents. If you are setting a base camp for a few days, a larger tent would be ideal and can be worth that extra weight.
Water treatment
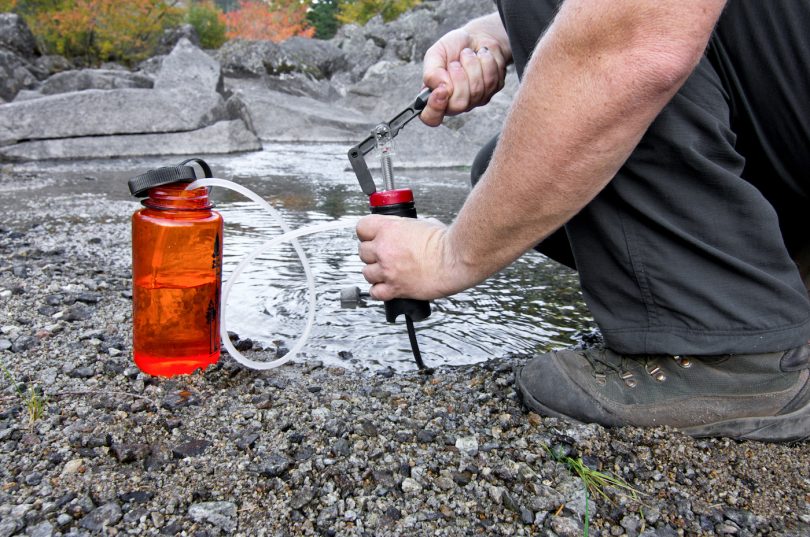
You may opt to carry all the water you think you’ll need for the days you’ll be out camping. However, you need to know that this will increase the weight of your pack by a significant magnitude. By treating or filtering water from the back country lakes and streams, you’ll be able to save significantly. Make sure you both have some water filter you and your backpacking partners can use. It’s important to carry more than just a filter for a group. You may also need to take some water bottles depending on the type and model of filters you’ll be using.
Kitchen supplies
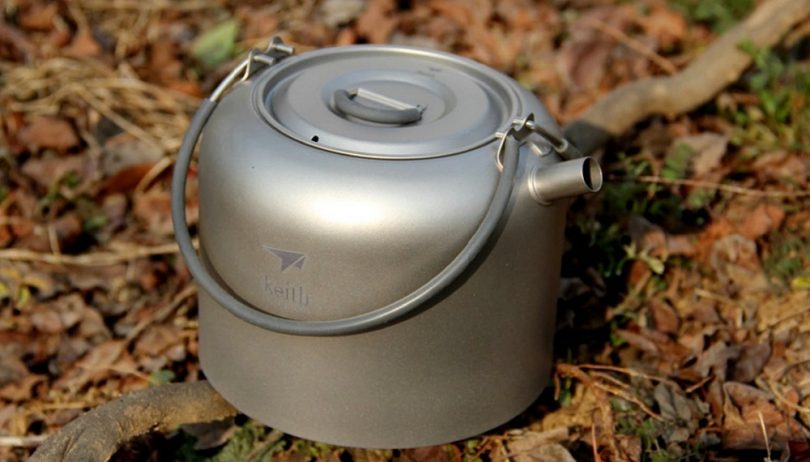
When utilizing an integrated cooking system, it means you are using a stove with a built-in pot. Otherwise, at the bare minimum, you’ll require a kettle or pot you can use for boiling water. Each will also require a bowl, mug, fork, and spoon. You may create a kit which will contain the basics: a small spatula for frying pancakes; a long-handled spoon for stirring; a sponge and biodegradable soap for washing the dishes.
When you are exploring the great outdoors, you’ll need to make a backpacking packing list that would be ideal for your personal preferences. If it’s your first backpacking trip, you may need to rent or borrow gear, such as a sleeping pad, and backpack, so you can begin learning the features that will be most significant to you.
Backpacking clothing
When you are planning your backpacking tour, choose clothes that are made of moisture-wicking, quick-drying fabrics. Do not pick cotton as this material takes time to dry when exposed to moisture.
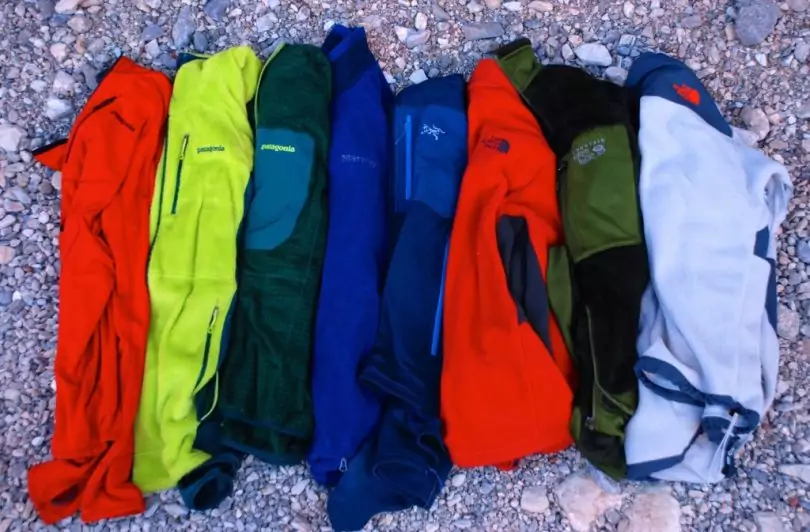
Think of the attires as separate systems:
- The base layers – These are ideal for cool and cold temperatures
- Insulation – Puffy jackets or vest, warm hats, gloves, lightweight fleece pullover
- Hiking layers – T-shirts, nylon pants, sun hat, sun shirt
- Rainwear – Carry a waterproof jacket. Pants will depend on the weather forecast
- Sleep clothes – Pick cleans bottoms, T-shirt, and socks for sleeping
Footwear
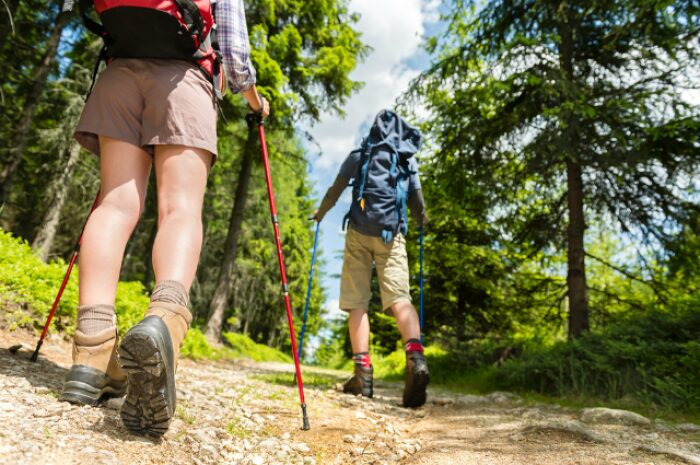
Since the feet are usually critical for a successful backpacking tour, your footwear is perhaps the most significant gear you’ll have to select. This choice is also quite personal. There are people who prefer supportive over-the-ankle shoes while some others go for the lightweight running shoes. The choice of your footwear may also depend on the trail you’ll traverse – will it be soft and dirt duff, or will the trail be mostly rocky?
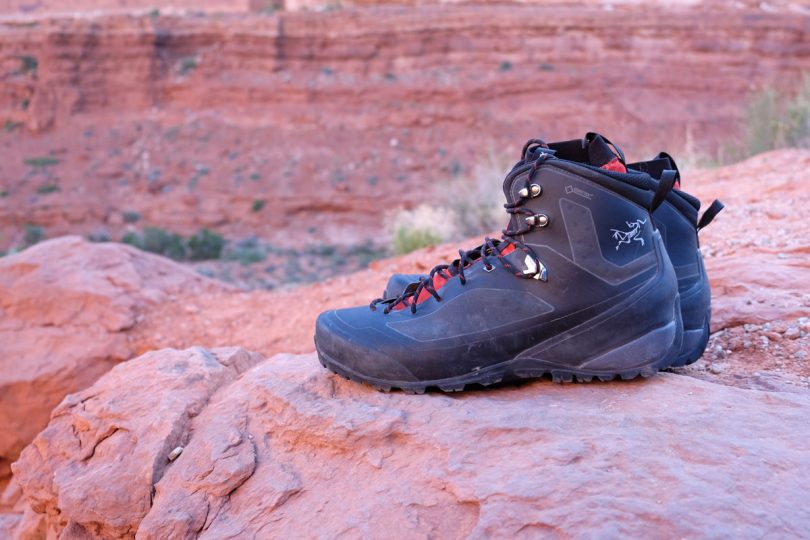
Any shoes or boots you put on should be broken-in to make them comfortable for the long distances. Put on synthetic or wool socks and stop periodically to air your feet out and change into fresh socks. If you prefer, you can carry some lightweight pair of shoes such as water sandals for fording creeks and wearing around the campsite.
Backpack
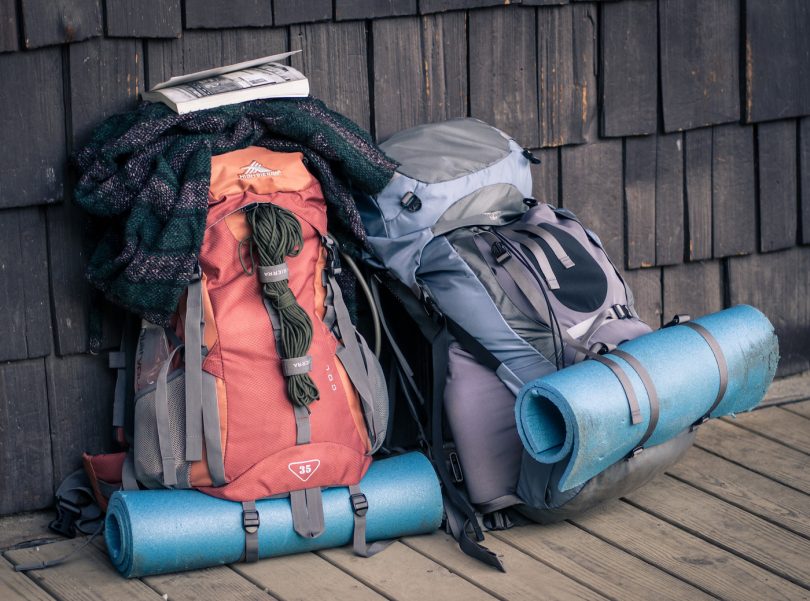
If you happen to borrow a pack from your friend, make sure to try it first so you can be confident it fits comfortably. The pack should have a capacity of up to sixty liters. Load the pack up with bottles of water and other items to approximately thirty pounds, and test it on a long hike. If the bag is comfortable at the shoulders and on the hips, give a try on your backpacking tour. If you are buying a new pack, make sure you have the specialist measure your torso to get a perfect fit for you.
Sleeping bag
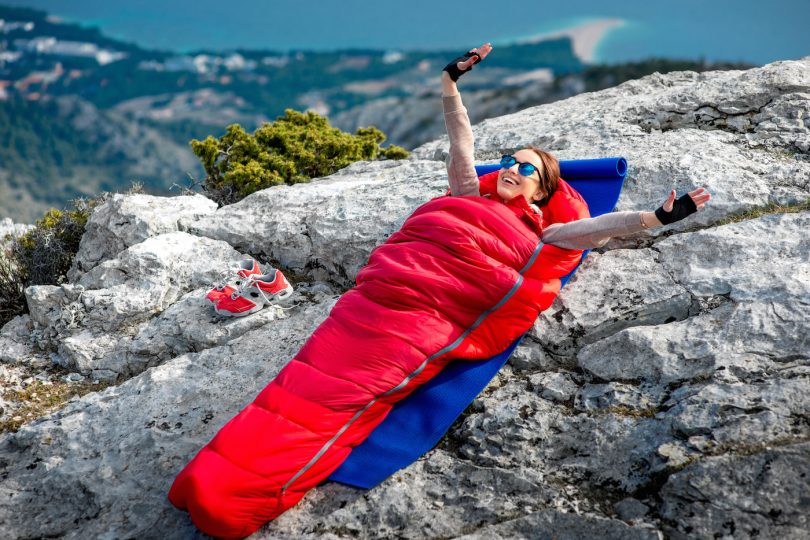
When you are planning to go on a backpacking trip, make sure you go for a compressible, lightweight bag. If you are getting one from your friend, you might need to make or buy a liner for the bag. If you want to buy a sleeping bag, make sure you do your homework and learn the advantages and disadvantages of the synthetic versus down fill, particularly in terms of temperatures and weather you’ll encounter while on the trip.
Sleeping pad
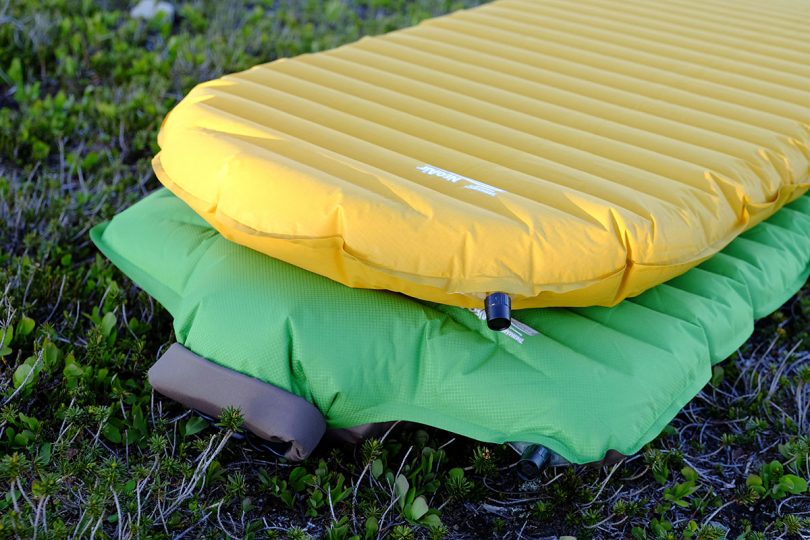
The insulation and cushioning of the pad are critical aspect if you are to enjoy a good night’s sleep. If you are buying a pad, there are three kinds to select from air inflating, closed-cell foam, and self-insulating. You should check the packed size, the weight, and the insulation factor of the sleeping pad to determine what is ideal for you.
Food
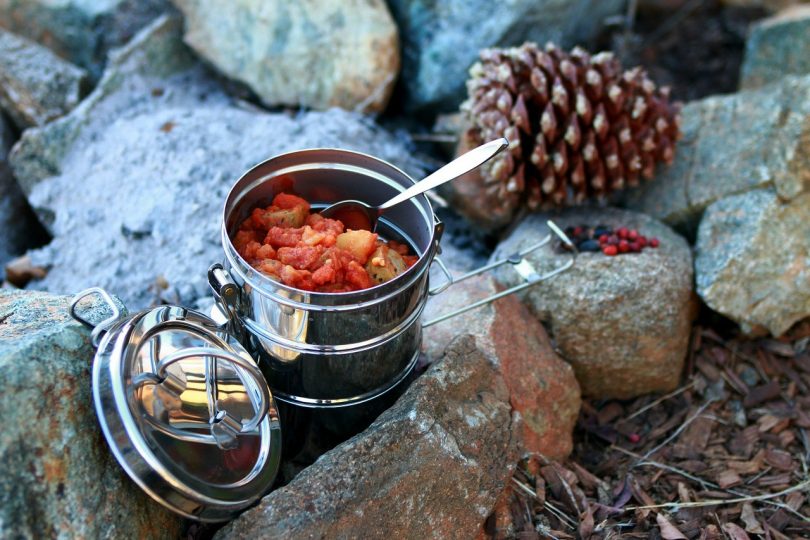
To keep a lot of loads light, a lot of backpackers carry freeze-dried food which only requires the addition of hot water. If you prefer, you can carry additional ingredients for a gourmet meal, carry high-protein energy and high-calorie snacks and bar to munch during the day.
PLANNING YOUR MEALS
Planning and shopping
Planning for your meals during your backpacking trip is about stacking sufficient calories to fuel the high-output days carrying extra tons of weight in the pack. Whether you decide to buy pre-made dehydrated food in a bag or prepare your own meal, it’s important to have a plan for every trip day.

A water gallon weighs over eight pounds; therefore, one of the simplest ways to cut calories and some weight from your load is to dehydrate the meal. Vegetables, pasta sauces, mushrooms, and chunks of fruit can be placed into dehydrators and reconstituted in the camp. Select foods with dry ingredients such as couscous, oatmeal, and rice. Even when your goal is to save weight, do not forget the little extras such as the hot sauce, a block of cheese, or the chocolate bar, which are significant in elevating your regular camp meal.
Water
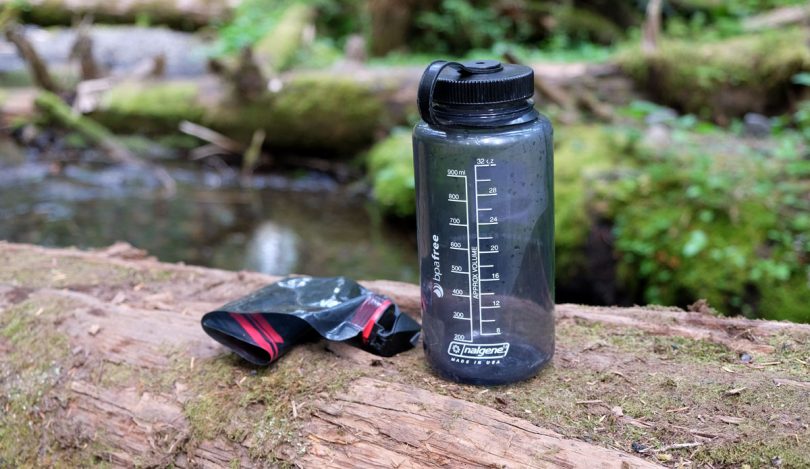
When backpacking, carry at least 2 liters of water a day for every person. If you are hiking in hot weather, you may take more than the standard two-liters. Do not forget to bring your water filter as well as the purification tablets. Check the maps before beginning your tour to see if you can identify water sources along the trail so you can be certain you can aren’t carrying water unnecessarily. Also, you can head to the local ranger station to ascertain the status of springs which usually dry up during certain periods of the year.
Protect your food
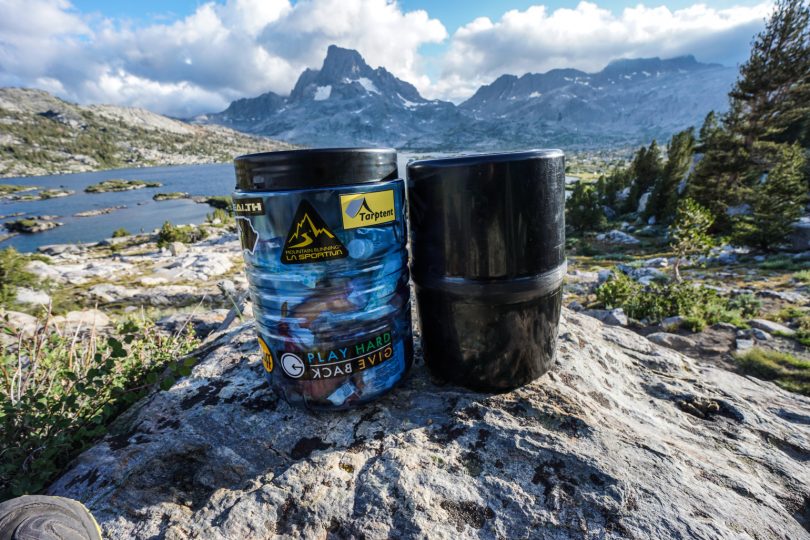
Whether it’s grizzlies or chipmunks, you’ll definitely want to protect your meal from the wild animals. When on the outside, you’ll need to store your food in a secure and durable sack, and when you are exploring the bear country, hang the food high on a tree or use bear proof canisters.
HOW TO REACT IN CASE OF AN EMERGENCY
Remain on radar
Backpacking is all about getting away from everything else. However, when that is said, do not forget to leave a trail itinerary that includes where you plan to camp, to your relative or friend. Also, remember to give them the contact information of the local authorities in case you do not get back home.
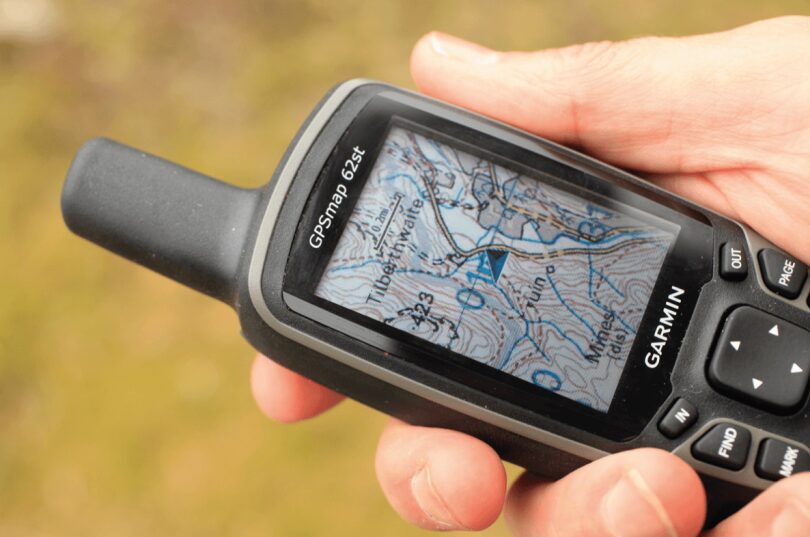
In the challenging and remote terrain, it can be beneficial to have a Personal Locator Beacon that will help in tracking your progress through GPS. When activated, the PLB will send a signal to the Search and Rescue teams and the local authorities.
Have the skills and the right gear
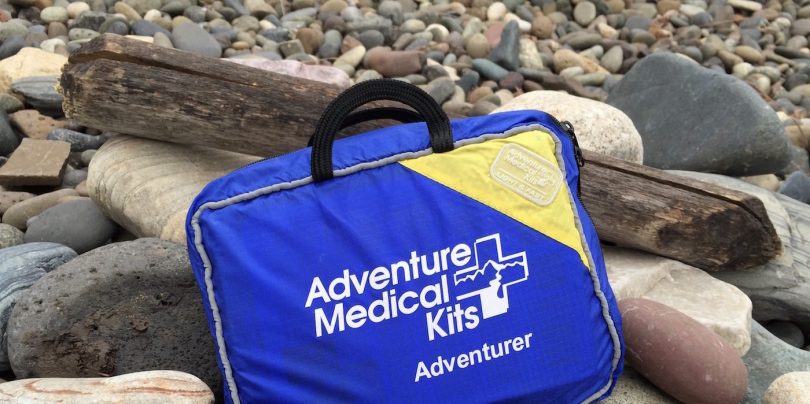
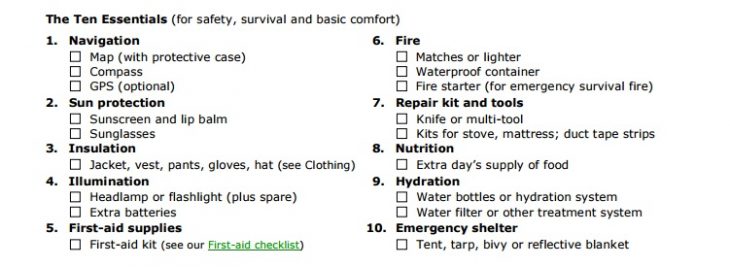
Hitting the trail with all the right equipment including a first aid kit and the fire-starting kit can be crucial to your outdoor survival. Also, you need to have some basic first aid skills that will help you safeguard yourself against the minor mishaps. Have the necessary skills of starting a fire, know where to fetch water, and different ways of building a basic shelter.
GETTING READY TO HIT THE TRAIL
Before you can head out for your backpacking tour, take a short overnight trip, a car camping trip, or just a camp out in the yard with the gear you intend to use for the extended tour. It’s important to be familiar with your outdoor gear so you can save yourself problems on the trail.
Putting on a fifty-pound pack and trekking for miles in new boots can turn out to be a blistery nightmare. To avoid these situations from taking place, put on your hiking boots and take some short walks before the trip so as to break them in. Address the ‘hot spots’ with immediate effect to prevent the formation of blisters.
Quick tips
- Make a checklist – Print out a list of the most important things you will need for your tour
- Learn about the “Leave No Trace” principle – This is an important concept that will help in preserving the environment for every person to enjoy
- Fit your backpack – Make sure your pack has been well-fitted before you can set out. A perfect fit will prevent the formation of sore spots as well as back pain
- Take off the toilet paper from its roll and fold the paper into small accordions. Give everyone their piece in a re-sealable bag. This technique is convenient and can help save space
- In some places, the Forest Service or BLM will require the capers to take out their waste. Find out about these aspects before you can leave. You can also purchase trash bags if that is needed.
- Check the weather and always prepare yourself for down time. Consider carrying a deck of cards and a small book. These items do not add any significant weight to your pack.
For you to know how to go backpacking, you need first to make all the necessary preparations. Prepping for your first backpacking trip can take some work, but if you do your homework and get the right equipment, you can open the gates to a lifetime of epic expeditions.
STAYING HEALTHY WHILE IN THE WILDERNESS
Eat and drink a lot
When planning your daily mileage, always consider fuel, water and clothes break. You also need to consider the terrain and make the appropriate supplies and clothing readily available in the pack. If you have sunscreen, food, and garments readily available, there are high chances you’ll stop using them.
Rest occasionally
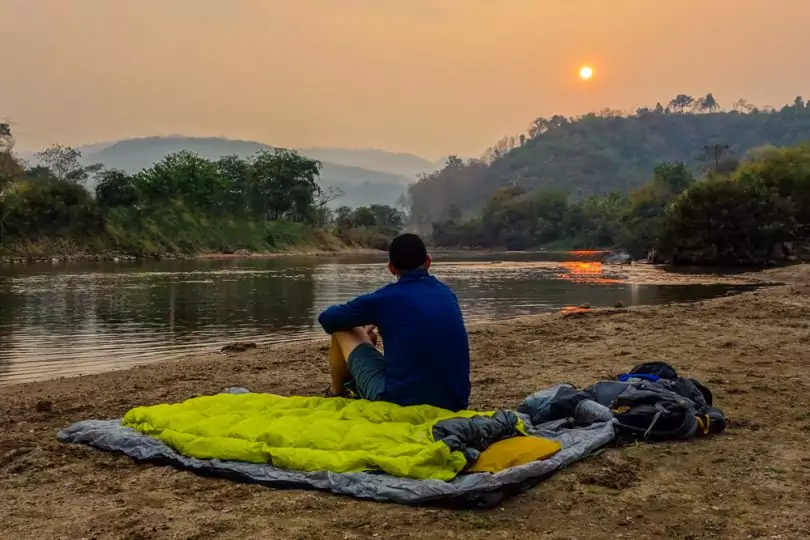
Whenever you get weary, or a member of your group gets tired, it is advisable to stop and rest. It’s advisable to stop before anyone can get exhausted. A tired hiker is a person who is highly prone to injury. Be flexible in your plans and be willing to stop whenever someone gets tired, rather than pushing on and risking injuries.
Protect your skin from sunburn
Make sure you use hats that have wide brims that will protect your face and eyes. Frequently apply sunscreen lotion to prevent your skin from tanning in the sun.
Prevent and treat blisters
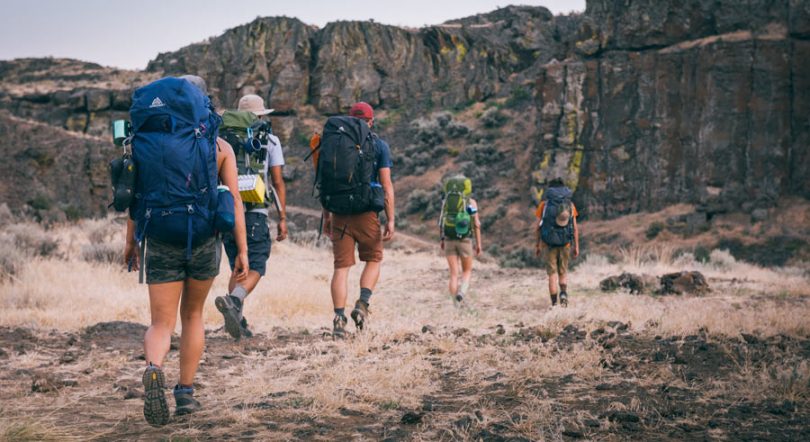
When your shoes fit perfectly, they’ll less likely encounter blister. An excellent fit will be snug in the heel section and spacious enough at the toe sections, such that the toes don’t jam up at the boot’s front when moving down the hill. These are the areas of your feet where blisters are more likely to occur.
If you have a problem of developing blisters, make sure you apply moleskin in the blister-prone sections when hitting the trail. While on the trail, make sure you stop whenever you start experiencing ‘hot spots’ as this is a sign of blister formation. If you stop to apply moleskin immediately the red spots begin to form; it could develop into something too painful to walk on. For tips and guidelines on how to treat blisters, see our past article on this topic.
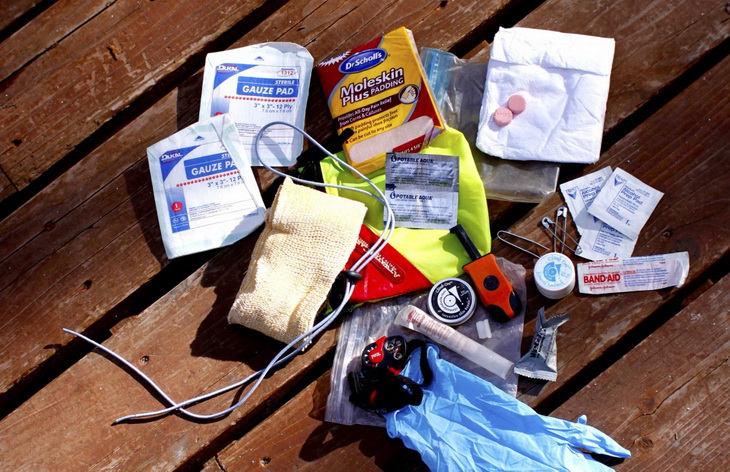
In case a full-blown blister occurs, you might as well drain it at the base, and apply an antibacterial gel. After that, apply an adhesive bandage to the place to protect it from external objects. Alternatively, you can leave the blister as it is, and cover the area using a mole foam. That way, you’ll be able to protect the blister from any further abrasion, and now you can continue on your journey.
Bugs
When on a backpacking mission, you’ll have to deal with bugs, particularly bites from mosquitoes and black flies. There are a lot of bugs-off solutions including creams, juices, sprays, and gels. You can also decide to buy bug-net attires. That is probably the reason why you’ll need to carry a tent. There’s no magic solution to outdoor survival. You’ll just need to discover ways to wade off bugs and protect yourself from bites. For DIY mosquito repellents, see our article on this topic for more information.
Ticks and Lyme illness
Lime disease is a serious problem that is transmitted to humans by ticks and mice. Therefore, while on the outdoors, keep away from these pests. When backpacking in a tick zone, make sure your entire body is covered with clothing. Put on attires that are lightly colored so it can be possible to spot ticks.
Check regularly for ticks on your clothes, hair and other parts of the body. If there’s a tick that is embedded in your skin, it’s recommended to remove it immediately by using a unique tick-removing tweezers. Pinch your skin below the head of the tick and twist it to prevent the regurgitation of germs into the wound.
Moreover, do not attempt to harass or burn the tick as this could force it to burrow deeper into your skin. Once you have removed the tick, carry out first aid to the affected areas. You may opt to save the specimen and take it to a physician when you return home so they can determine whether or not the bite is harmful.
FINAL WORDS ON THE TOPIC
Before you can embark on a backpacking tour, it is important to make sure that you have everything in order. If you are a novice who is doing this for the first time, do not attempt to explore the wilderness without assistance from someone with experience in backpacking. Also, make sure you have the right equipment to use while in the outdoors.
See our article on the hiking essentials to carry on your backpacking trip. It’s a must- read for everyone.
So, are you a novice in outdoor exploration? Did you find this backpacking guide helpful? Please let us know by leaving your comments below.




I really liked the part about the choosing your own path. As a rookie hiker, I’m seeing too many articles written for pros, while I can’t find many for the beginners. Hiking Mastery always delivers on this point. What were some mistakes you made as a rookie?
Some mistakes that a rookie can make include not being prepared! You need to make sure you have everything you need in order to complete your trip. This can range from food and water to a first aid kit or having the right gear necessary for the journey. You need to watch yourself, be very safe and be prepared!
This article almost covered everything which are important. This is really useful for beginners where they can start from the step one get the whole idea about what they need? Can you add some reference links form your other posts so they can find other products as well.
You can easily search at the top where the search bar is for links to our other great articles.