A paracord lanyard is a very versatile and useful thing to have. It can be used to hold any number of items that you want within easy reach. It can be woven intricately to be worn on your neck as a necklace, on your wrist or to clip onto your belt.
Paracord lanyards are great because they help you hold on to your valuable and frequently used items especially when you are in the outdoors and you don’t want a situation where these items or gear are falling from your grip or are difficult to reach at a moment’s notice.
Lanyards help make it easy to clip these items to your belt loops, easy to wear them around your neck or wrist, and easy to reach and grab from your pocket so it is very important to know how to make a paracord lanyard.
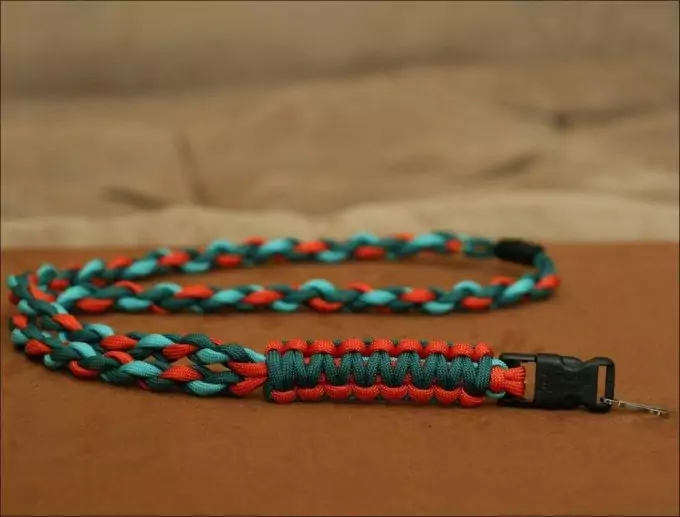
There are so many lanyard patterns and braiding designs. The one you use will depend largely on what you want to use it to hold and how you want to wear it.
This article will cover the most popular and most useful designs and knots which you can use to make your own paracord lanyards and with the paracord lanyard instructions outlined, you can’t go wrong if you follow them. In no time you will know how to make paracord lanyard for any piece of equipment or item you want to have it attached to.
You can even make your own paracord survival belt, check out the link to our article.
Of course, if you don’t have the time to make your own lanyards or lack the materials, you can try custom lanyards online. The lanyard can free your hands and make your life convenient, You can add your favorite fashion elements to the custom lanyard to design unique accessories for your phone, keys, or water bottles. If the following DIY lanyards can’t meet your needs, you might try customizing your own lanyards on GS-JJ.COM.

Paracord Lanyard for your ID badges
First on the list is the paracord lanyard which you can use to hang your identification badges on your neck.
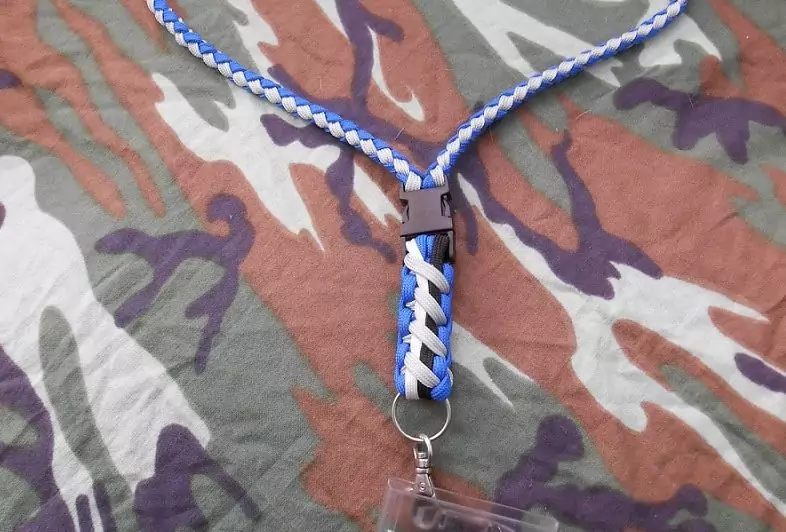
This lanyard will serve you for a long time and it will remain intact for that duration if you do it properly because it is very durable.
Materials you will need to do this:
- 4 feet of 550 paracord
- Key ring/clip
- Release
- Scissors
- Lighter
- Paracord connectors
Instructions:
- Insert the paracord connectors into each end of the paracord and use the lighter to melt the ends of the paracord to stop the connectors from falling off.
- Attach the two ends with the male and female paracord connectors and measure the length or size. You can place it around your neck to measure and place the clip at the point where you wish to start weaving.
- Insert the two ends of the paracord into the clip and pull them through the opening. Stop at the point where there is a loop big enough to go over your head and round your neck. With each end, make a small loop around the clip and re-insert into the loop by going behind and into the loop. These will serve as your first knots.
- From this point on, you can start weaving and braiding. A simple cobra braid will do in this case. To do this, pass one piece of paracord across the two middle cords and over to the other side. Take the other piece of paracord at the other extreme end and pass it over the extended piece, beneath the two at the middle and into the loop at the other side.
- Pull at both ends to tighten and continue the knotting process all the way down till you have your desired length of knots.
- When you have braided up to where you wish to stop, use your scissors to cut off the two outermost ends which you have been passing across and behind the two at the middle. Use the lighter to melt the ends so they are melted firmly in place and thus don’t unravel the weave.
- At this point you have finished making yourself a paracord lanyard which you can wear over your neck. With the detachable clip at one end, you can easily wear and take it off and you can clip your identification badges to the clip at the other end.
Paracord Lanyard for Pocket Knife
The paracord lanyard can also be made to be used with your pocket knife.
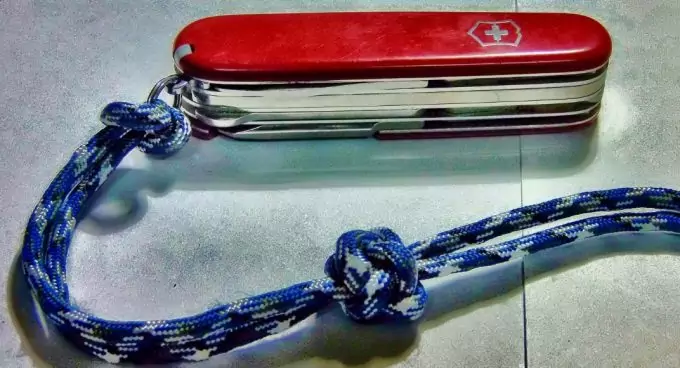
Although there are so many different kinds of braids that you can use for this purpose, this article will focus on the square knot as it is a very suitable choice.
Materials you will need to do this:
- Pocket knife with lanyard hole
- 2 different pieces of paracord
- Scissors
- Lighter
Instructions:
- Pull the two open ends of each paracord together and run your fingers through the length to find its center. Hold that center point and run one end through the lanyard hole of your knife. Lay the knife down and pull one end of the paracord over the knife and the other end to the bottom.
- Take the second paracord and find its center like we did with the first. Lay t across the section of the first paracord that runs down and away from the knife and make sure they intersect at the center.
- Bring the paracord at the bottom upwards and over the horizontal cord. Bring the cord that runs over the knife down and over the horizontal cord. This will give you a sort of an S pattern over the horizontal cord.
- Take the left side of the horizontal paracord and go across the first two adjacent cords and into the loop on the right hand side. Do the same loop with the right side of the horizontal cord but this time, you’re going over the top and into the loop at the top left hand side.
- Pull evenly all four ends of open paracord. You need to do this carefully. Ideally you should find a way to pull all 4 at the same time. This will be your first square knot.
- Now that you have the base, you will start to build on it. Separate all the cords such that they fall upwards, left, right and downwards.
- Take the cord that goes downwards and bend it over so it now points upwards while creating a loop. Hold it in place with your thumb.
- Take the cord that goes to the left and pass it over the first cord that you pulled upwards. Pull it across till you get to the end. You don’t need to make a loop on this side.
- Then take the cord that was pointing upwards and bring it down and pull tight. Again, no loop is required here.
- Then take the last of the 4 cords on the right and loop it over the cord you brought down from top to bottom and through the first loop that you made at the beginning.
- Pull all four ends of the cord tight and you have successfully added another layer to the stack. You will continue this process until you have your desired length of square weave.
- When you have reached your desired length, use your scissors to cut off the excess ends and use your lighter to melt the butt ends to keep them in place. When you heat up the ends with your lighter, use the metal part to smash the melted ends down and you are done.
The paracord lanyard comes in very handy with pocket knives because they give you extra grip on your knife as you can now extend your hold to the lanyard. They also make it very easy to pull out of your pocket with the lanyard being easy to reach.
You can check it on YouTube in the above video.
Paracord Lanyard for keys and keychains
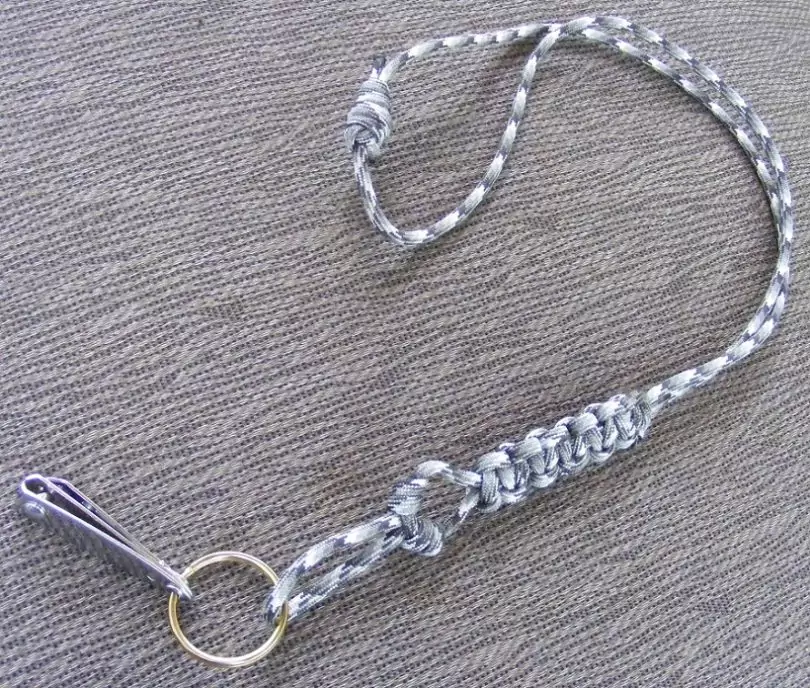
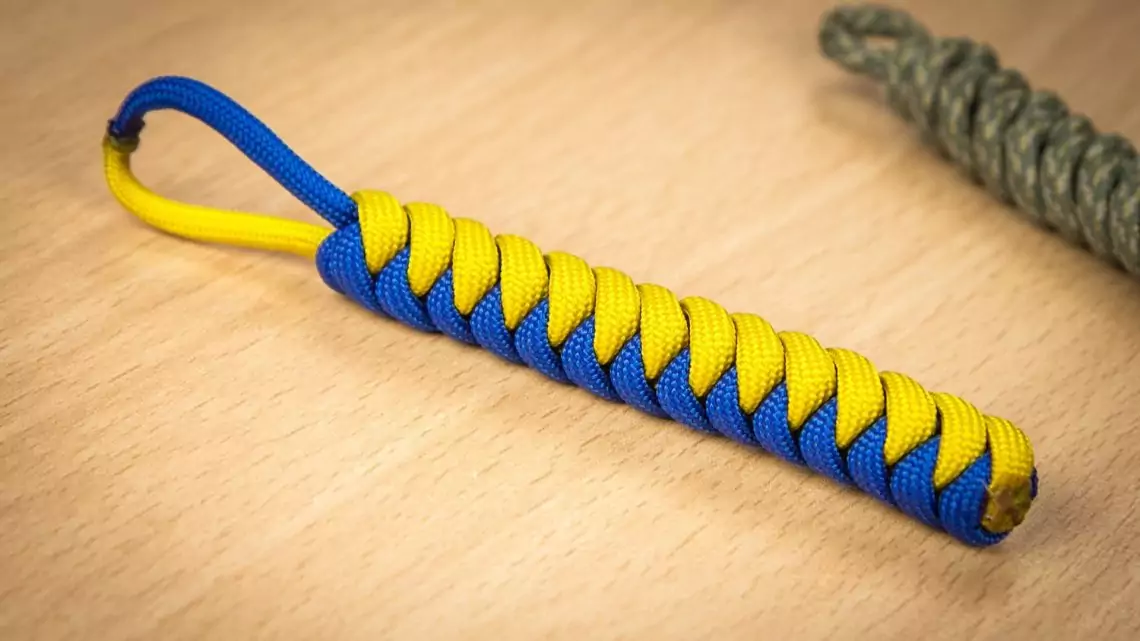
Here we will take a look at how to make an easy cobra weave that can serve as a keychain for your keys.
Materials you will need to do this:
- Key ring
- Paracord
- Scissors
- Lighter
Instructions:
- Start by inserting the paracord into the key ring and finding the center by holding the two open ends together.
- Place the key ring on the table so that it faces you and the cords are pointed upwards. You will start weaving the cobra knot at your desired distance away from the key ring and work your way down.
- Take the right cord and make a loop on the right by passing the cord over the two center strands and extending to the left.
- Take the left strand over ten w extended string from the right now on the left. Then take the left string and pass it beneath the two cords at the center and back up the loop at the right.
- Tighten it down and this will be your first knot. Continue this process till you get all the way down and close to the key ring.
- When you get to the end, cut off the excess cords and melt the stubs with your lighter and press it down and you’re done.
You can attach whatever you want like say a clip for instance to the key ring at the bottom of the keychain. For more tips on how to make your own paracord keychain, see our informative piece on the subject.
YouTube Resource above.
General Purpose Lanyard
Here we will be showing you how to make a general purpose lanyard with a round braid ending with a cobra weave and a side release attached to it with a lanyard string termination.
With this lanyard equipped with the lanyard string and side release buckle you can tie it to any equipment like your camera, binoculars or name tags.
Materials you will need to do this:
- 120 inches of paracord of two different colors
- Lanyard string with side release
- Scissors
- Lighter
Instructions:
- Take the two pieces of paracord and find their centers. You will make a round braid at their center point by crisscrossing them.
- Fold one cord over the other and back around and then pass the opposite cord underneath it. You will continue this process back and forth until you get around 12 inches of paracord left for you to start the cobra weave. Notice you now have 4 open ends of paracord.
- Use a pair of forceps or any piece of metal to open up a little loop at the base of the round braid we just made and pull two of the open ends of paracord through that loop.
- When you pull them tight, you now have the two pieces going through the loop and downwards and this is where we will be installing the side release buckle and the other two pieces will make the cobra weave.
- Attach the side release buckle to the two cords at the center. Slide the buckle to the point you want to begin weaving the cobra. You can then start to weave the cobra following the steps already outlined in the instructions for paracord lanyard for ID badges. But just to make it easy for you to follow, we will still outline it again here.
- Take one of the outermost open cord and pass it over the two cords at the center and over to the opposite side. Then take the other outermost cord at the other side and pass it over the alternate cord that has now extended and then beneath the two center cords and into the loop on the other side. Pull the two open ends on the left and right tight and you have your first knot for the cobra weave. You will continue this process and continue building on this first knot.
- Weave down until you get to the buckle and then cut off excesses and melt down with your lighter.
- If you follow all the steps properly, you will have a lanyard long enough to hang around your neck and clip to any gear and personal effect you wish to hold on tight to.
YouTube Resource:
There are several other paracord lanyard designs and uses but the most popular and most useful ones have been discussed here. Even with the already outlined designs for the keychain, ID holder and pocket knife lanyard, you can still get more creative and try out various other weave patterns and knots to get differing results.
For tips and tutorials on the different paracord knots, see our informative article on the subject.
It all boils down to your creativity and how much time you are willing to invest into making them. With a little effort and time you can start making far more complex designs for yourself in less time than you know.
See our article on how to use the lanyard for survival, it’s a must-read if you enjoy camping and trekking outdoors.


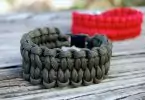

I like the idea of having a bright-colored paracord lanyard for my knife for retention or better safety against slippage when cleaning fish or dressing game animals. The paracord lanyard will also help me to easily find my knife when I set it down in the middle of some task or drop them while hiking. This easy-to-make, inexpensive paracord lanyard can save you from losing your best survival tool.
I find lanyards really helpful for retention of small knives. I use a coil parachord lanyard for my knife when I go kayaking, fishing, or hiking out in the woods. One end of the lanyard is clipped to the D ring on my pants and the other on the knife so I won’t lose it.
Hi Brian and great idea for the paracord handle lanyard for your knife. I’ve recently made one for my survival knife, too and the convenience of handling the knife is so awesome. The paracord is a hiker’s best buddy – don’t leave home without them! 🙂
Good tip Joshua and thanks! There’s a lot of use for the paracord and our imagination is the limit! One time, when I was out camping, the paracord even held my pants up when the top was torn (that’s another story for another time, though LOL).
Thanks for dropping by and giving such valuable input!