Have you ever hosted a backyard gathering ruined by the presence of bugs? You would agree with us that flies and mosquitoes are not only annoying but can also be dangerous since they spread diseases. If you are looking for some easy ways to catch insects then you need to know exactly how to make a bug catcher.
Why overpay for some halfway decent traps when you can make your own with domestic supplies? A DIY bug catcher is a great contraption and the process of making one can involve the whole family for teaching purposes. Never again worry about a bug infestation in your kitchen, pantry or backyard.
Read our guide in which we give you not one, not two, not three but four amazing homemade bug traps thanks to which you will spare yourself a lot of headaches. We will also highlight the main areas in which insects appear and will share additional tips on how to get rid of insects without using dangerous chemicals.
Before We Start Constructing Stuff
Any home is threatened by the emergence of all sorts of insects. These pests have various eating habits and depending on the environment that you create, you can expect different species to breed.
Before we get to talk about a few types of bug catchers we will share a few tips on how to prevent bugs from appearing in your household in the first place. There is no 100% guarantee that you will never see an insect flying casually around you and completely annoying your whole family. However, you can minimize the chance for pests to show up by doing the following.
Basement
Food plus moisture are sure to attract insects so you need to make sure your cans and jars are properly sealed. No cracks should be left visible as bugs will surely smell food and swarm in. Not only that you have to wipe your bottles but you also have to make sure there is no rotten fruit and vegetables there.
Kitchen
The place at which you prepare your meals is just as exposed to an insect invasion as your storage areas. People are often sloppy when it comes to processing and cooking food. If you leave a mess behind after each meal, then you will be in trouble.

Make sure the dishes are washed regularly and that all boxes are shut. Don’t leave crumbs on the table or on the floor. All sorts of spilled liquids need to be wiped off the floor no matter the surface – hardwood or tiles.
Garbage
It goes without saying that your trash cans and bags have to be really airtight. Rotten food is the main reason for the occurrence of pests and you simply cannot make any compromises with your trash.
Also, do not neglect the trash can itself. Rinse it off every time you empty it. The residue will remain on it and it will start smelling.
Let’s Construct Stuff
The bad thing about bugs is that no matter how careful you are, they will likely appear and ruin your life. The first step is to try and prevent that but we already covered it above.
Next, you can rely on chemical substances, pesticides etc. but such options might be a little bit too radical as they are definitely harmful to human beings as well as bugs. So the next solution is to make your own bug catcher.
We will take a look at how to construct 4 of the more popular bug catchers. It is impossible to list all the contraptions that people can build in order to trap insects but we surely can give you a few pointers on how to deal with the more widespread pests.
- Flies
- Crickets
- Mosquitoes
The Jug Flycatcher
Here we kick off our guide with a popular outdoor trap for flies. Its effectiveness is beyond any doubt and it is fairly easy to build.
Here is what you need:
- A plastic jug
- A plastic bottle
- Bait
- A hook/stand or a branch
This bug catcher is excellent for your backyard. It will allow you to have some insect-free family gatherings and barbecues. It can also trap a significant number of flies because of the volume of the jug. It isn’t going to work instantly so you want to let it stay there for days and even weeks but it will be worth it.
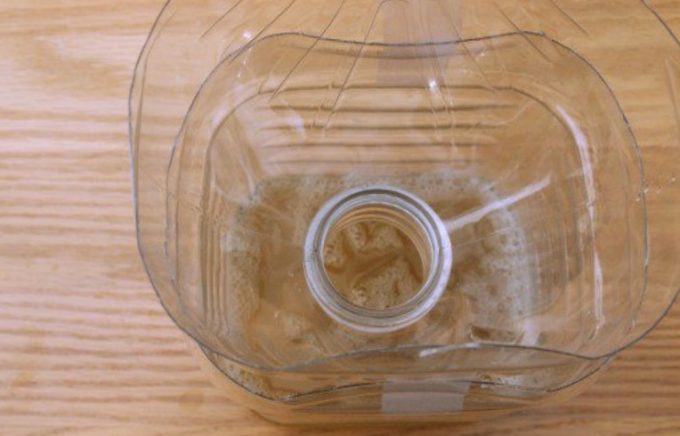
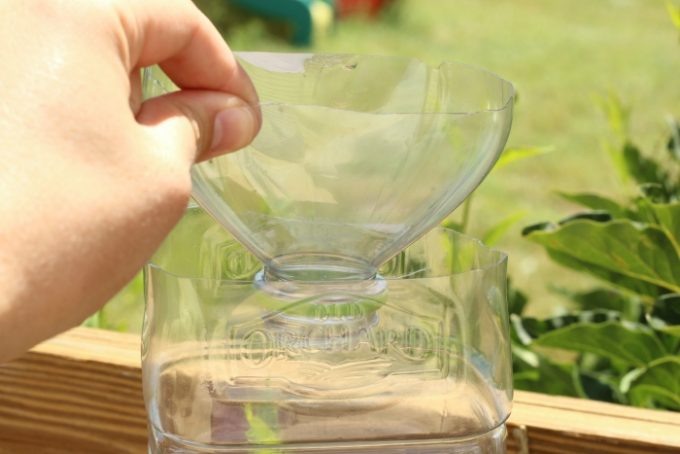
- What you want to do is cut off the top of the opening of the bottle. Then you take your milk carton or jug and carve a hole in the middle on one side. This is the hole into which you are going to insert the opening of the bottle.
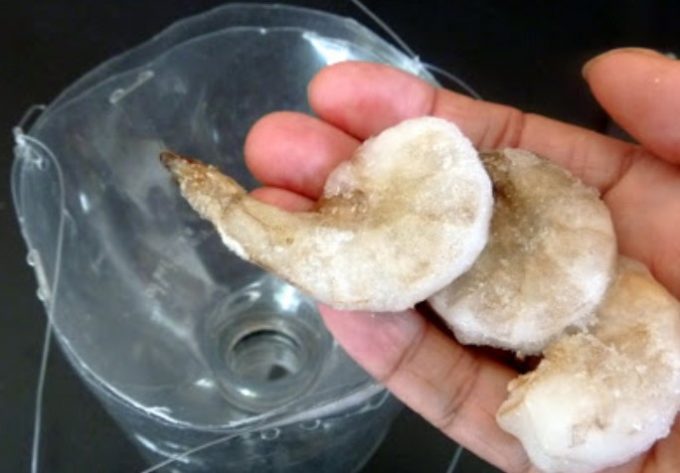
- Once you do that, you now have to fill the jug with bait and water. Don’t pour a lot of water as it will come out through the opening on the wall.
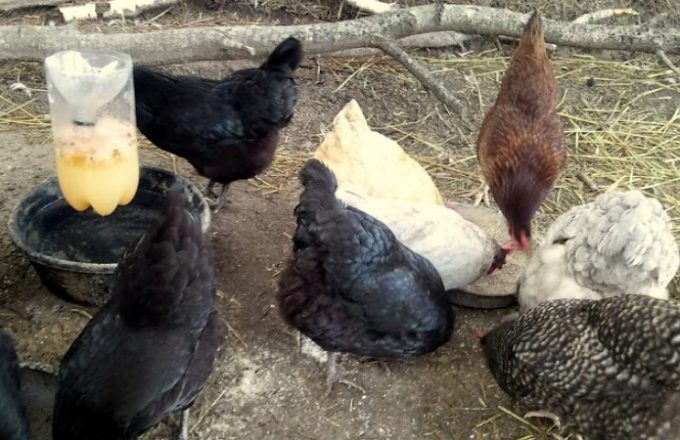
- As far as bait goes, any sort of meat will do just fine. You can use
- Chicken Meat
- Dog food
- Pork Chops
If you happen to be located in Australia, Vegemite is the best choice because of the smell, but really – get some raw chicken meat and put it in there.
- What you want to do next is seal the top of the jug and hang it somewhere in the yard. Please note that this trap should be used only outdoors because of the smell that is about to ensue. The smell is both a blessing and a curse. It will attract insects but it will also become unbearable after one point.
Don’t be afraid to just dump the whole thing and make a new one. It basically comes at a zero cost because these are things that people use and then dump anyways. Repeat the process and have a flycatcher in your yard at all times.
The trap works well because flies are easily attracted by the strong smell. Their natural instinct is to fly up but that’s where the cap of the jug stands sealed. They will eventually start flying around the inside of the jug and will end up in the water.
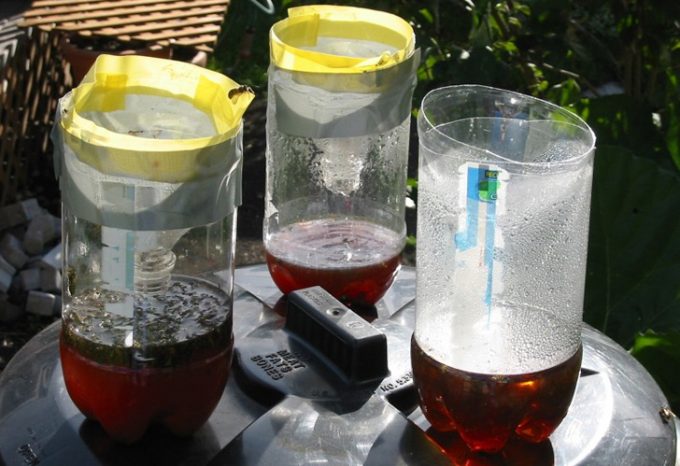
The Bottle Fly Trap
This next trap is also about catching flies as we can’t just give you one outdoor bug catcher and say that we have provided you with sufficient knowledge about how to get rid of flies, period. So this is why now we will focus on an indoor contraption which will make your afternoons a little bit more pleasant.
If you do not want to be constantly on the lookout for flies while holding a fly swatter then make sure you grab the following:
- A 16 oz. bottle
- A pair of scissors
- Bait
- Duct tape
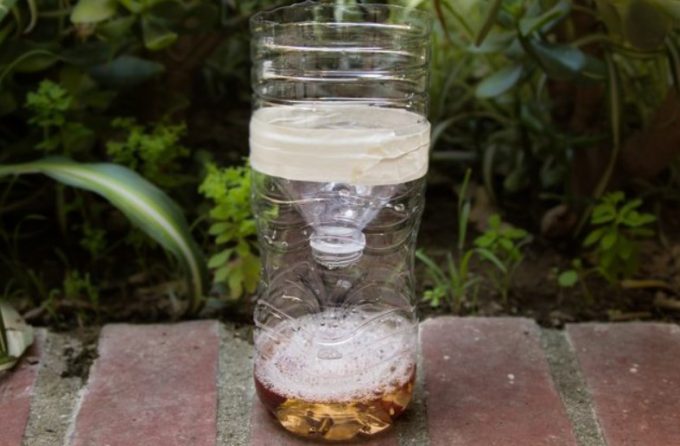
- So first you have to cut the bottle in half. Well not exactly in half. Go just a fraction above the middle of the thing so that it is not exactly evenly split. Now turn around the top part and lay it inside the other part of the bottle. The opening is now facing downward toward the bottom thus creating a well of sorts.
- After you’ve pushed the top into the bottom you are now basically ready to fill it with bait and water. This formula is similar to the one we described above. However, this flycatcher does not need to be hung on anything and can just rest on the table.
As for bait, decaying meat is always a great option but you might not enjoy the smell in your kitchen or living room. So go with some spices and sugar in order to create a delicious concoction which will attract insects. It’s best if you run to the store and by a pack of Fly Trap Attractant. That’s a special powder which serves perfectly as bait for flies.
Two more problems left to solve
- How to glue the trap together
- Remove all the labels and stickers
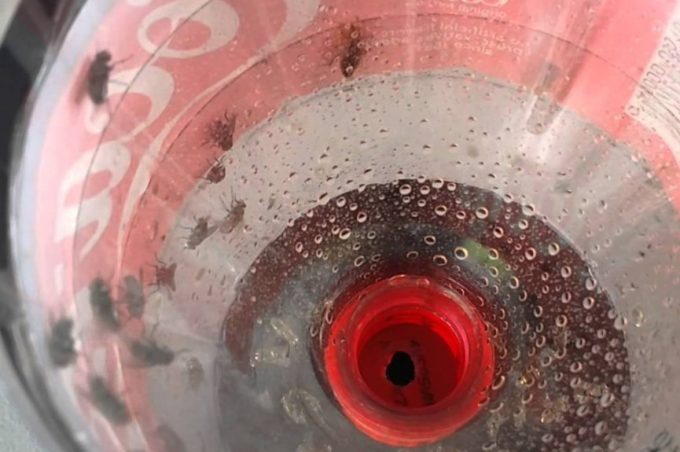
If the bottle is not transparent i.e it has its stickers on then the flies might be able to escape through the hole. This is because they will see the light in the hole and will fly through it.
Since they aren’t the most intelligent species, if the bottle is perfectly clear, flies won’t recognize their escape route and after they get tired from flying around, they will drown in the water below. You want to hold the two parts of the fly trap together and you need to do this by using clear duct tape.
Some people go further and even apply some silicone. The simplest thing to do is to use paperclips but that might not be very stable. Stapling the catcher together is also a fine option. Whatever you do, just do not impair the clarity of the bottle or otherwise, this won’t be a flycatcher but a fly feeder.
The Mosquito Fan Bag Trap
Mosquitoes are generally tougher to catch because you cannot simply lure them with meat or some other sort of bait. This is why we will catch them against their will by using these things:
- A large fan
- Cardboard
- Rope
- Mosquito Netting
So we will basically use physics to trap these pesky insects. Since the fan blows some air in front, it actually sucks in a lot of air in the back. Our goal here is to make a bag in front of the fan so that mosquitoes can get sucked in as they fly behind the fan.

Then after they get pulled in and launched into the bag, the fan will keep them pressed as it will continuously blow. This will dry them out instead of smashing and killing them. The frequency at which you change your bag is completely up to you.
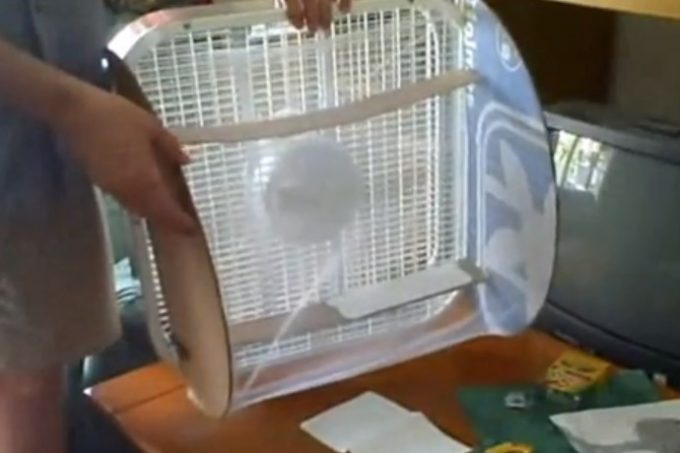
- Cut a circle of cardboard and then split that circle in half. The 2 halves should have their bases long enough so that they can align with the sides of the fan. You basically make two walls on the sides of the fan.
- You can attach them by using glue or duct tape. In case the blowing power of the fan is too strong you might want to use some wire or even silicone. Whatever you can do to hold those walls together – do it. Now you need the mosquito netting.
If you can’t find any, then here is a quick tip from us. Use some tulle cloth. You know, that’s the stuff people use for wedding dresses. If you aren’t that much into weddings, then this will be a fantastic mosquito net. You can either staple it to the cardboard walls or you can glue it to them
If you make that permanent, though, you will struggle to open it and get it clean. Again duct tape might be a good option but you can always change the whole netting when you want to have your trap cleaned. Before you get to that stage, however, see if the walls require some extra support. You might have to run 1 or 2 cardboard lines across so that you can hold them together.
Even if you leave this thing running for a full month, the change in your electricity bill should be neglectable. In terms of safety, keep this mosquito trap away from moisture and don’t leave it outdoors when the weather is bad.
The Cricket Catcher
The last bug trap we will review is actually the most interesting looking one and the way it works differs from the aforementioned ones. This is because it is meant to catch ground bugs and doesn’t focus on trapping any flying insects. These are the supplies you need:
- A plastic bottle
- A pipe or 4 small pipes
- Scissors
- A saw (if needed)
- Bait
The construction isn’t hard at all and the finished product looks quite awesome.
- What you want to do is have 4 little pipes ready to go. Each can be about 6 inches long and just an inch in diameter. If you have one long pipe, then simply use the saw to cut it into 4 pieces.
- Next, you want to make 4 holes in the walls of the bottle. Don’t make the holes one under another. You want all 4 of them to be next to each other on the same plain. This is where the pipes will go. No need to glue them or attach them in any way.
- You only have to make sure that the pipes do not meet in the bottle. You want them to have some space between one another so that bugs can fall on the bottom. This is basically how the thing works.
- Dig a small hole in the ground so that the bottle can go in it. It should be shallow enough so that the pipes can be basically lying on the ground. You do not want your pipes in the above the ground because no crickets will make their way in.
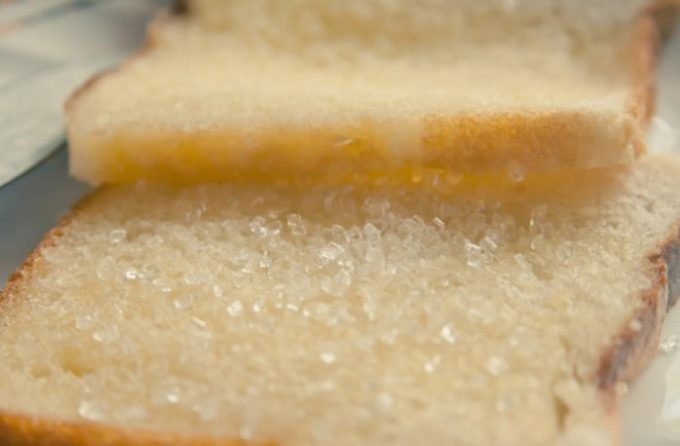
You can use bread mixed with sugar as that’s the best bait for crickets. You can also add some salt or pepper and that’s fine. Make sure you distribute the bait evenly not only inside the bottle but at “the entrance” as well. You want to have some smeared in the pipes.
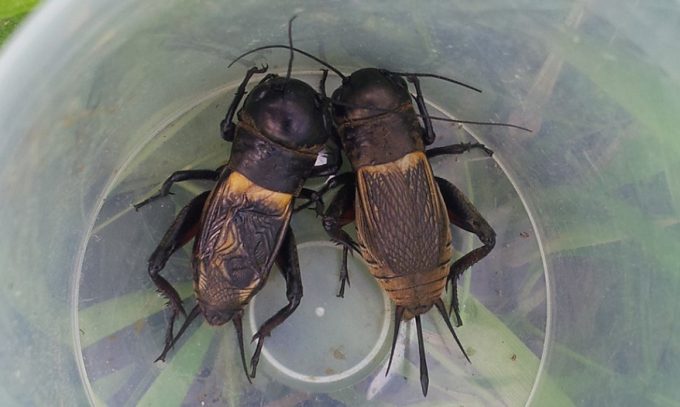
Leave the bottle on the ground in a bushy area of your yard or simply at a place where you see a lot of cricket activity. Bear in mind that the bottle will likely fill with other insects as well. Expect to see cockroaches and beetles as well.
The Locations
All 4 of the traps we shared with you are not going to function well if you do not place them at the right locations. Of course, it all comes down to preference as you want to address the areas of your home at which you have the most bug problems.
The mosquito trap will best work around animals as they attract a lot of these pests. You can put the fan in the stables or around your dog house. It is unlikely that the fan will yield great results indoors. Not to mention that it also makes some noise.
The Jug flycatcher is strictly for outdoor usage. It will help you have a peaceful barbecue in the backyard or a nice fly-free family gathering. Don’t place that thing indoors or the smell will kill you.
The Bottle flycatcher can be placed in the kitchen or the basement. Use it in rooms with food and liquids. If you have premises which emit a strong smell of vinegar or oil, then these are your spots.
Beetles, cockroaches, and crickets are typically found outdoors. The Cricket trap goes into the ground for a reason. It won’t work inside of your house but it will do wonders in the fields, bushes or backyard.
Wrapping Up
Don’t waste even a minute and rush out making the right bug catcher for your needs. We hope that we have shared enough knowledge with you so that you can have a bug-free environment at home or in the yard. Our guides are always aimed at helping you achieve great things with simple tools and supplies and this was also the main purpose of the guide above.
Tell us if you liked what you read but don’t hold back in case we missed anything that you find important. Share and comment our guides, spread the word and as always – stay put!