

You are planning to go on a hiking trip on a wet terrain or a weatherman says it is going to rain and you don’t have a waterproofed tent, but you need one quickly? What are you going to do? Buying a new waterproof tent can cost you hundreds of dollars and you can’t afford a new one. You are going to learn how to waterproof your old tent, of course. If you are not that enthusiastic about waterproofing your tent by yourself and you are thinking of giving up, we believe that we can reassure you to continue your planning.
It is possible to waterproof any kind of tent (even the old one that was used for years) and, fear not, it is not that hard. We are going to show you and explain everything you need to do to go on a happy hiking adventure even if it’s pouring outside. Let’s start!
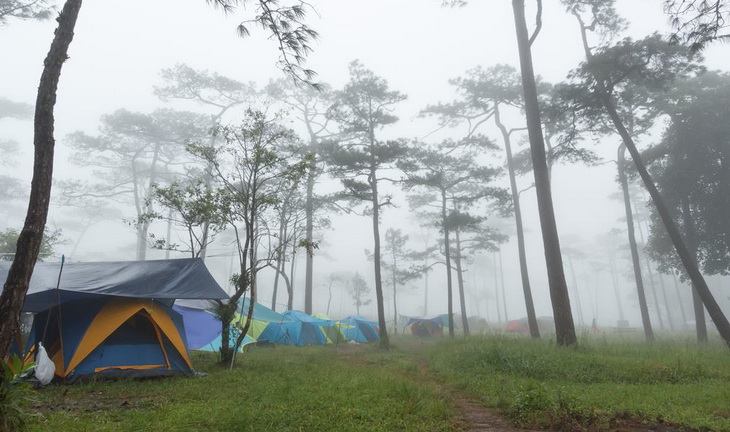
First, we need to stress the importance of having a waterproofed tent if you are planning to go on a hiking or a camping trip on rainy days, so, this is why we will mention some of the things that can happen if you don’t follow the rules and bring your old (not waterproof) tent for your trip.
First things first – A few tips before you start waterproofing your tent
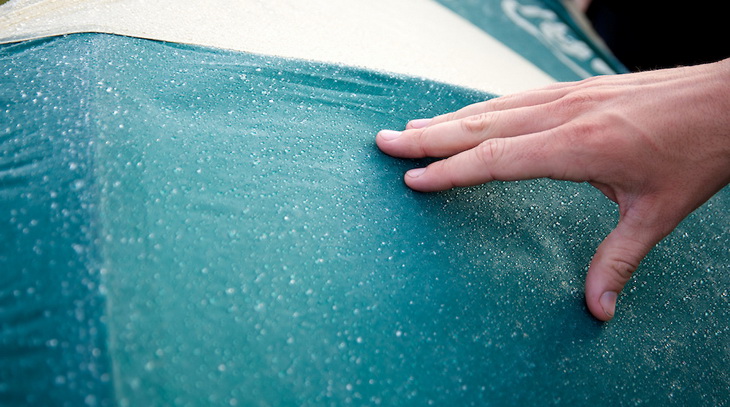
Let’s start from the beginning. The first thing you need to do before you start with waterproofing is to know exactly which tent areas need to be waterproofed. If you previously had a waterproof coat did it come off? Does the floor of your tent leak? Do you think your tent needs a waterproof fly? The golden rule here, doesn’t exist, and it is pretty simple – different parts of your tent will need different types of maintenance and care, and in order to determine the area, there is one thing you can do and we’ll share that tip with you (and other tips as well).
Inside is safer than outside
Fill your bathtub with water (if you don’t have a bathtub, a small children’s summer pool will do). Put your tent under the water and if you see air bubbles coming to the surface, that’s the spot that will leak and the spot you have to take care of. Take out the tent from the bathtub and place it in the shades to dry out (or if the weather is already bad, hang it over something in your garage). Why we say to put your tent under the shades is because some tents don’t have UV resistance. If you are 100% sure that your tent is UV resistant, then feel free to leave it under the sun to dry out (it will surely be faster). If you are not 100% sure, don’t risk it, it’s not worth it.
Another important tip we need to share with you, is to do all waterproofing techniques, inside your home in your tub, or place the small kid’s pool inside the garage. You never know when the rain can start or what can happen outside. It’s better to be safe than sorry, and even if you encounter some problems, it will be easier for you to handle them inside than outside of your home.
Clean it before you start working on it
This is common sense, you have to clean your tent before waterproofing it. If you did the technique of searching for leaking spots in the bathtub above, then it is okay for you to only make sure that your tent is dry enough. If not, keep in mind that any part of your tent can’t be waterproofed if it is dirty or wet. Layers that you will later apply will cover that dirt and fall off at the first use. You surely don’t want this to happen, right?
You can simply use warm water and a sponge that you probably already have at home. Use the one that has a soft side, never use a rough sponge or the rough side as you may tear the fabric of the tent. Also, we don’t recommend washing the tent in a washing machine as the perpetual rocking and turning can damage your tent once and for all – it will stretch and tear the material, so the only thing you’ll be able to do is to throw it out in the trash. For more tips and guidelines on how to clean your tents, read our article on the topic.
Steps on how to waterproof a tent
What if the floor of my tent is leaking?
This is the most important part of any tent, especially if you’re planning to go camping or hiking on wet terrain, and when it comes to waterproofing in general. Even if the weather is nice, you can have your tent wet if it has a leaky floor. Wet terrains will make the vegetation and the ground moisture, and it can appear inside your tent. In order to prevent that from happening, you can put a tarp underneath your tent when you’re setting it up. Generally, this is a good idea to do. This way you will prevent any dirt, vegetation and rocks from getting stuck underneath your tent and damaging or ripping the floor.
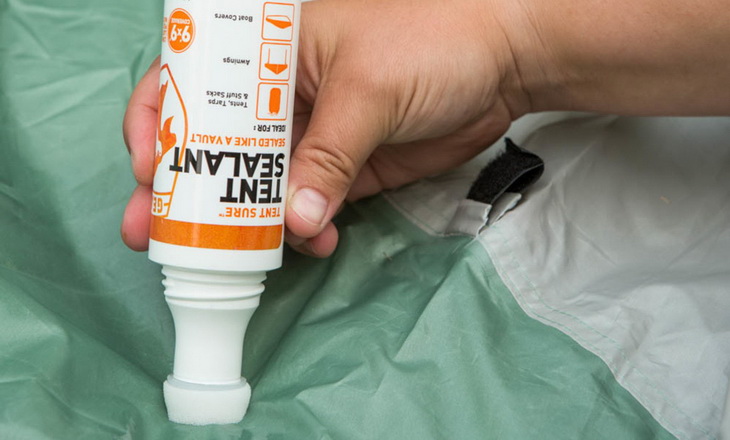
Most manufactured tents are taped, but they are not factory sealed, which means you can have water penetrate at places where the floor and the walls are connected. If you have a factory taped tent, then your tent is probably made of materials that are waterproof on double stitches. Read the label carefully. We agree that it is better to have something than nothing, but it doesn’t mean that it will be perfectly waterproofed, so we suggest applying a seam sealer.
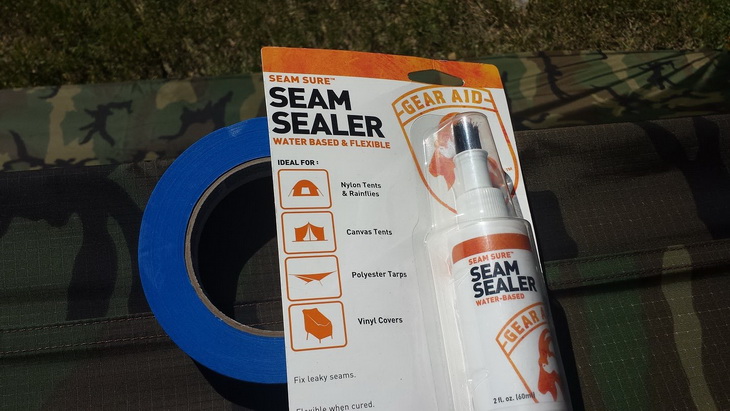
A seam sealer can be bought online (on Amazon, for example) that can be easily applied to the seam. We suggest applying it in a thick layer and leave it to completely dry off. This is a great waterproofing solution for your tent and will provide you dryness because the seam won’t let the water enter your tent through small cracks. Here are the steps on how to do it:
- Determine the spot that leaks and which needs to be sealed.
- Read the labels and instructions carefully in order to determine which side of the material should be sealed.
- Use a toothbrush to prepare the seams before you start the process, remove any leftovers from the previous sealant (you can use swabs dipped in alcohol)
- Apply a coat of seam sealer that you bought in a gear store or online
- Leave it to dry
- Place your tent under water or a sprinkler in order to see if there are any more spots that need to be sealed. If there are spots, repeat the process.
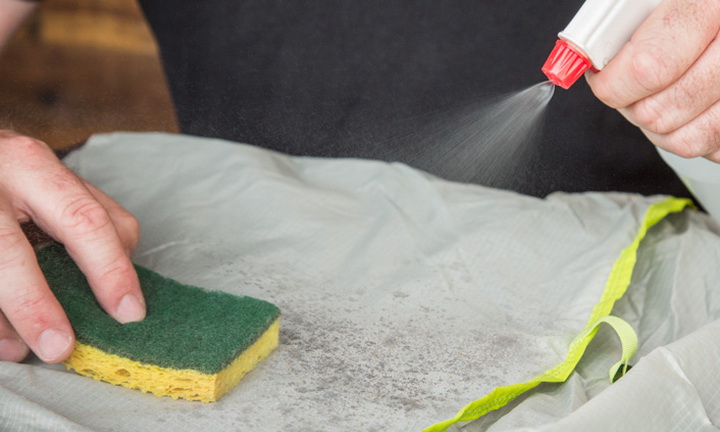
The second step to waterproofing your tent floor is to apply a spray that is meant to be used for waterproofing materials (it can also be bought online). Apply it to the entire floor inside the tent (soak it!). After you do that, use a cloth to spread out the fluid. Leave it to dry off.
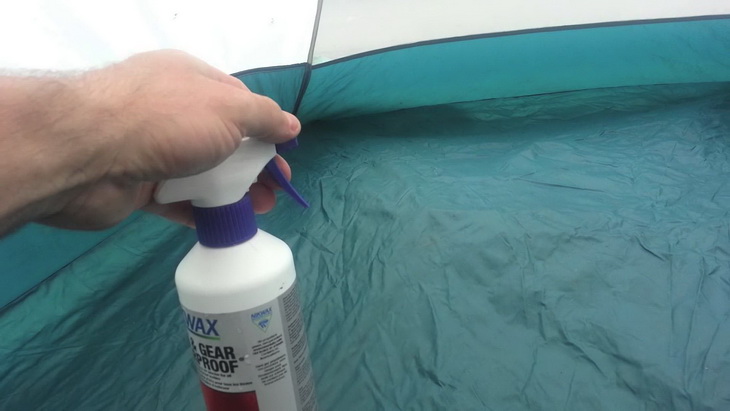
It is always better to do this process outside on the open as most sprays are not healthy to inhale. In order to get your tent dry faster open all the windows and doors. When the tent is dry, repeat the process.
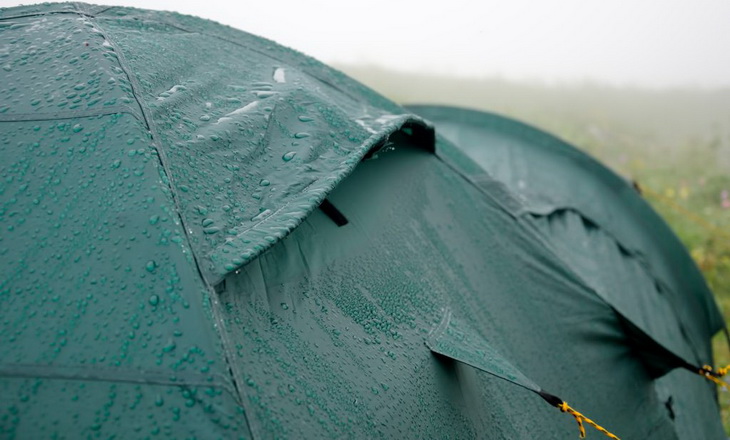
What if the walls are leaking?
This issue can be solved in a similar way as we suggested waterproofing the floor above and you can use the same waterproofing spray for the walls and the floor too. The process is no different from the one for the floors. Spray the walls of your tent (also soak it) and spread the fluid with a cloth (you can use the same cloth you used when waterproofing the floor). Generally, you don’t have to spray that much if you previously waterproofed the floor, so you can simply spray a little bit on the cloth (or if you use liquid to just pour or squeeze a little bit of liquid onto the cloth) and spread it all over the walls.
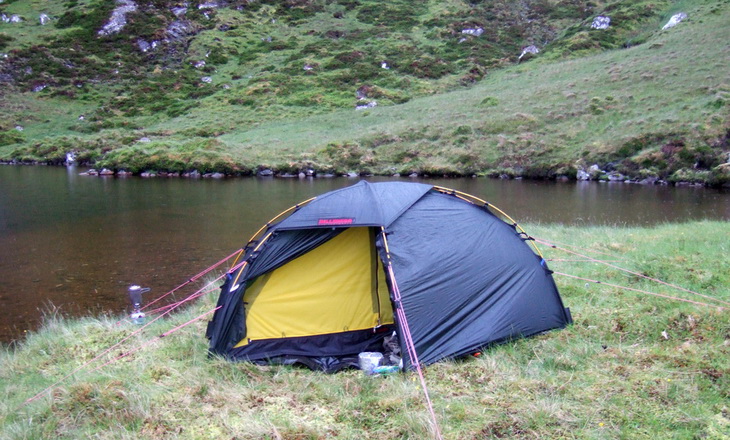
We suggest it’s best that you use a rainfly as it is made out of plastic and basically, it covers the entire tent surface which adds an additional layer of waterproof to your tent. Today, almost all tents that can be bought in gear stores come with a rainfly as an additional gear. A rainfly can be found as an addition to almost all tents when bought, but in case your tent doesn’t have it, there’s no need to worry about it.
You can also buy it online or if you have 2 tarps, you can use one under your tent and the other one as a rainfly. Just keep in mind not to have your rainfly touch inside of the tent (the inner walls). It is a bit easier to work with a tarp as you can simply use rocks (found near your camping place) and fix tarps place on the edges. It’s not that hard.
Considering the fact that today’s post is all about tent waterproofing, we cannot leave out the standalone ground feet. The rainfly is necessary, but in addition, a standalone or customized ground feet should be in every hiker’s waterproofing gear arsenal. It protects your tent’s base and keeps it moisture-safe. We recommend looking for a high-quality tent footprint made of polyethylene coat that you can add to your tent. If you already got some ground sheet with your tent, it usually won’t last longer than one (or max. two) camping seasons as these sheets that come with tents are usually too thin. If you’re determining the differences between a tarp and a tarp footprint, check out our latest article on the topic.
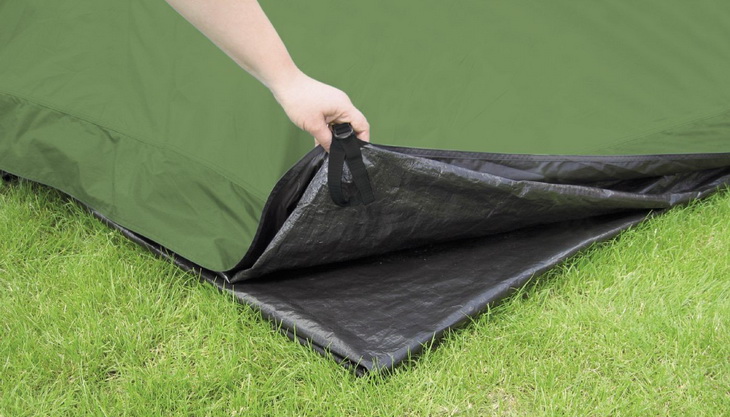
If you’re not a big fan of hiking and you are going on one trip with your friends, colleagues or family than the one you got with your tent will suffice. If you’re on hiking trips more than you are home, invest in a good tent footprint. They can be bought online and if you find them expensive, it is easy to save some dollars and make one out of a thin tarp by yourself. This is a simple DIY process which everyone can do it. With a combination of waterproofed, sealed tent, rainfly and a ground sheet there is no way you will get wet as you will not have double, but triple protection.
How to know which spray to buy?
We are not big experts on sprays, but we surely heard a lot from hikers and campers who recommended the Nikwax TX Direct Spray. As a matter of fact, most of the people said that this is the best waterproofing spray on the market. We tried it and we have to say that it is on our Top 5 list, especially because it has several features such as enhancing the breathability of the material and its scent.
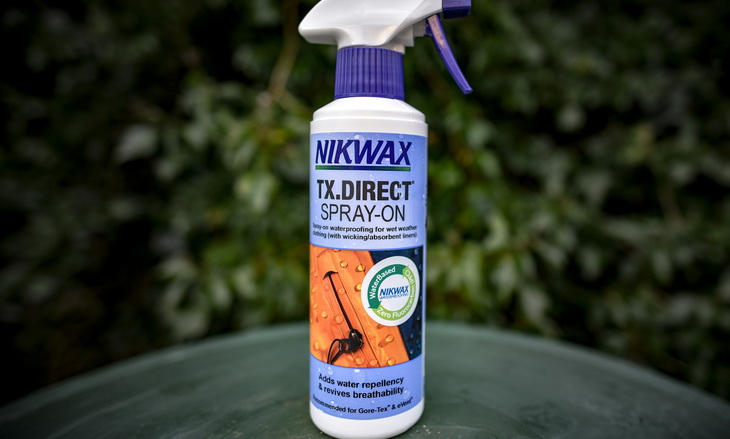
Most of the sprays have a really bad smell, but this one has a very soft, modest scent. All in all, it is water repellent, serves its purpose and is highly recommended by the professionals.
What to avoid?
Although you can read everything on the internet today and some advices are strange, our suggestions really work, but if you plan to use that tent for a relatively long period of time we need to warn you that almost all processes will ruin your tent over time.
Some people say that, in order to waterproof your tent, you just need to apply lard or grease to the rainfly. This is not an entirely wrong statement as lard and grease will keep the water out of your tent, but it will also ruin the waterproof coating you already have on your tent. Plus, the smell and the feel is not that pleasant, especially when sleeping and trying to pack it. It also attracts insects, so if you don’t want to wake up covered with ants use lard or grease to waterproof your tent.

Another advice that can be heard or read on the internet is that you apply a duct tape. We don’t suggest this also as, when removing it (it’s pretty hard to remove the duct tape of the tent’s material), it can rip the walls, especially those made out of fine materials.
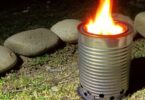
Then, there is advice to waterproof your tent with a candle. Supposedly you should take lighten candle and drop the wax on spots where you noticed that your tent has holes. We find this process and advice, very risky, as it is pretty obvious that you can set your tent on fire. Also, the hot fuzz will destroy tents with plastic walls because they’re not heat resistant. It’s better that you spend a couple of bucks than ruining your tent or setting it on fire.
Find out how you can seam seal a tent to deter water by reading our informative article on this topic.
How to know when your tent is ready to use on rainy days
After you worked on all those suggestions to waterproof your tent above, there is an easy way to check if your tent is ready to use on rainy days and we already mentioned it above – simply sink it in a water-filled bathtub or under a sprinkler. If you see that inside of the tent is completely dry, you’re ready to go.
If you simply need to patch a small hole use a waterproof nylon that is a bit wider than the hole and use a contact cement to apply it. After you stick on the patch you can use a pot of hot water to place it on top of the patch and a book or a board underneath the patch. Leave it rest for 30 minutes.
What have we learned? (Conclusion)
Old tents can be easily waterproofed and the process we explained is cheap and useful, especially for those who are not regular hikers or campers. There’s not much of a point to buy a new waterproofed tent if you know you’re going to use it once, maybe twice. You don’t need to be “fancy” while going on hiking. Simply, buy a waterproofing spray, a seam sealer and a tarp.
These three things will cost you a few dollars and you’ll get the same good time with your friends and family as you would get with a new fancy waterproofed tent. If you plan to go on hiking tours regularly and still don’t have a tent, then it’s best that you invest in one that is factory sealed and waterproofed.
We are hoping you enjoyed this post on how to waterproof a tent and that you find it useful. If you decide to try the process and our tips, please feel free to let us know how you managed to do it. If you have any other suggestions or ideas we would also love to hear them as there is not many pieces of advice that work.
Before you leave for your next adventure, check out our piece on the best lightweight tent for camping.
Please leave a comment below this post and share it on Facebook, G+ and Twitter. Share pictures of your tents and tag us on Instagram. We can’t wait to see them! Good luck with waterproofing your tent and happy hiking!


It had never crossed my mind that I could actually make my hiking gear waterproof. Rain water always leaves me cold and wet while in the wild but from now on, that’s a story of the past. Quite an insightful article, I will be sure to try out one of these waterproofing techniques.
Awesome! Thanks!
If only I knew about the sprays before I bought another tent for the rainy season. But I am glad I came across this article because I can use my rainy weather tent sparingly and carry the lighter one even in wet weather. The guide was also quite insightful, I think I will be doing this pretty soon.
Most tent manufacturers claim that their tents are completely waterproof, but that is not usually the case with most models. So, you need to know how to waterproof a tent in case yours need reinforcement.