If you want to try something more exciting with much more adrenalin than hiking then rock climbing is definitely worth the try – but we can all agree that it can sound scary and almost impossible in the beginning! However, learning how to rock climb is not as difficult as you may think!
As long as you are fit, follow the instructions and have the proper equipment then you can easily learn how to climb and improve your techniques. On top of that, knowing the various rock climbing techniques does matter, because you need more than muscle strength to get to the top and good techniques save your strength.
This is exactly the purpose of our article – to teach you rock climbing along with the rock climbing techniques. We went through plenty of websites and guidebooks in order to prepare step-by-step guidelines that can help you acquire, improve and even improvise with your rock climbing techniques. Read on to learn more!
When and Where to Start Climbing?
You can start learning how to climb anytime you want, but depending on your preference – whether you are more interested in indoor or outdoor climbing – you can approximately adjust your beginnings to the season and your wishes.
If you are looking forward to outdoor climbs and find rocks more attractive than the gym climbing wall, then it would be better to start in winter when it’s cold outside – until summer you would feel secure to climb rocks. However, you’re certainly welcome in the climbing gym also during summer – many climbers visit the gym in this period also.
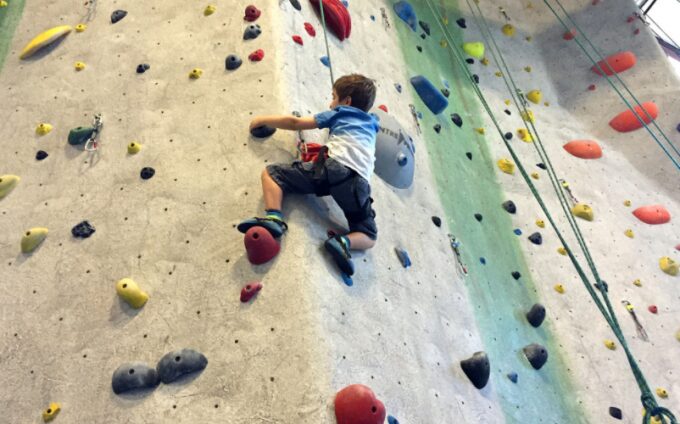
Most often, it’s advisable to start climbing in a climbing gym. Yet, there are many climbers who first learned how to climb outside on the rocks and then went to a climbing gym. This depends solely on your preference – there are no strict rules where to acquire your first climbing techniques.
However, it’s better to start climbing in the gym – the climbing gym offers more precise ways to acquire, train and improve the climbing techniques. Also, you can gain strength easier and faster in the gym than on the rocks. On the top of that, there is more room for mistakes in the gym than outside on the rocks – your safety is on a higher level in the climbing gym.
Finding a Guide
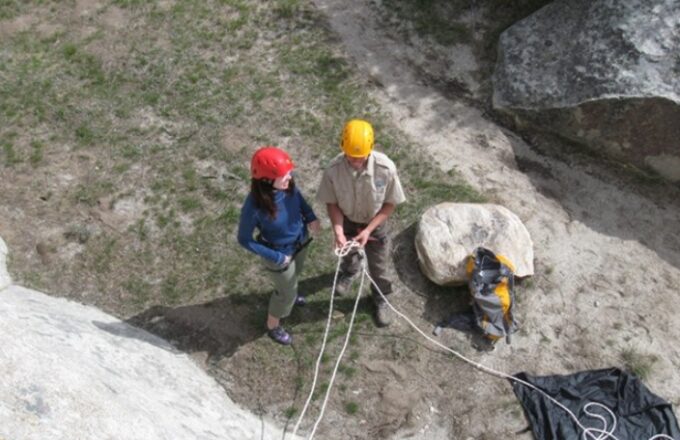
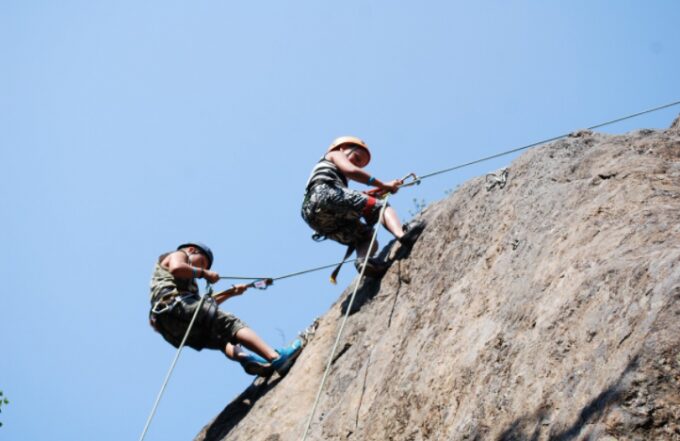
The first thing to do before you start climbing is to find an experienced teacher or a professional guide. Learning to climb on your own is not impossible, but it’s not smart. The guide will help you to acquire faster the rock climbing techniques, correct your moves and help you progress faster.
Many people also try climbing and learn how to climb with their experienced friends. This is also an option – you can ask those friends who are climbing actively to join them in the gym or to take you on one of their outdoor climbs – this way you can watch them climb and be sure that they will also watch after you.
The most important reason for finding a climbing teacher until you become independent climber is your safety. You need a professional to teach you the rock climbing techniques, to watch your moves and to help you learn how the gear works.
Also, you should not head into the mountains by yourself when you’re a newbie – an experienced guide or friend will accompany you and help you stay safe.
Gear Up Properly!
Like every other sport, rock climbing also requires a certain type of gear. Actually, climbing requires a very special type of gear – and this gear must be properly stored, carried and kept.
To start climbing you don’t need all parts of the climbing gear – you only need some basic stuff. But, as you’re becoming more independent, you certainly must carry almost everything from your climbing gear. The gear you’ll need is:
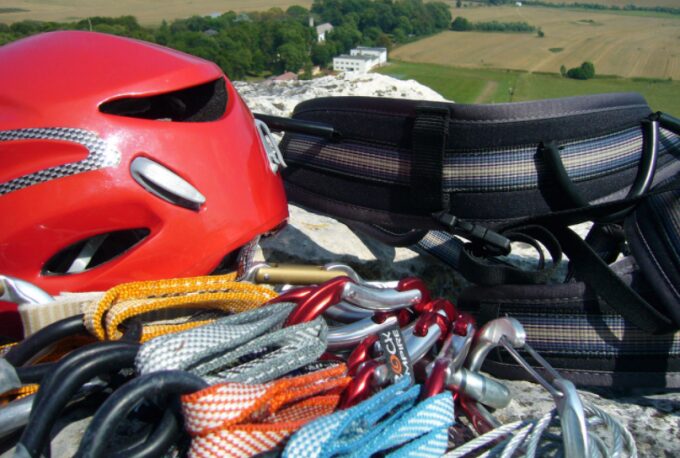
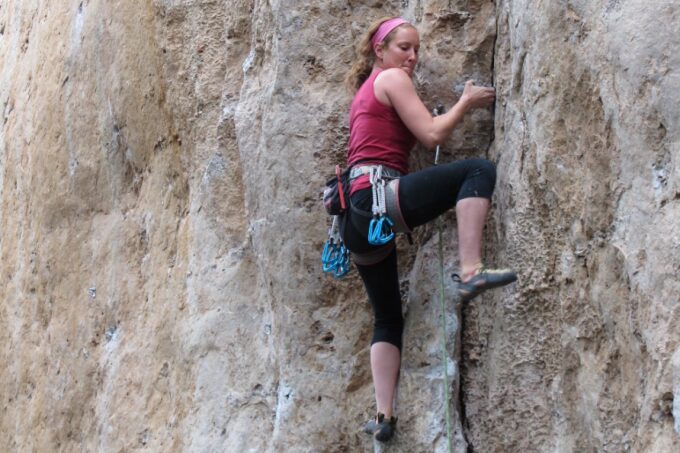
- Climbing harness – you will need this from your very first day. Though you may not use it while bouldering in the gym, you will need it when you would want to climb up the wall in the gym or when you learn how to tie the climbing knots
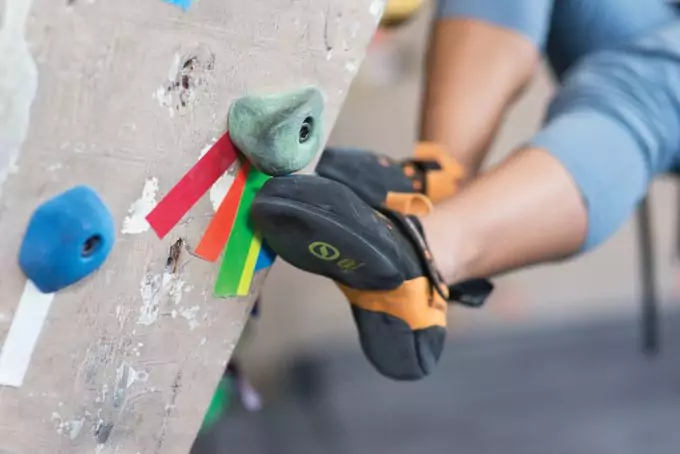
- Rock climbing shoes – those are also a beginner’s must-have. The climbing shoes protect your feet while giving you foot elasticity and freedom of movement. It’s essential to choose the proper climbing shoes on the basis of your technique and the places you intend to climb
- Chalk and chalk bag – definitely a must-have, especially for indoor climbing. The chalk is used for absorption of the sweat on your hands – so the chalk improves your grip and lets you hold a grip a bit longer if needed. It’s carried in small bags – chalk bags are tied around the climber’s waist
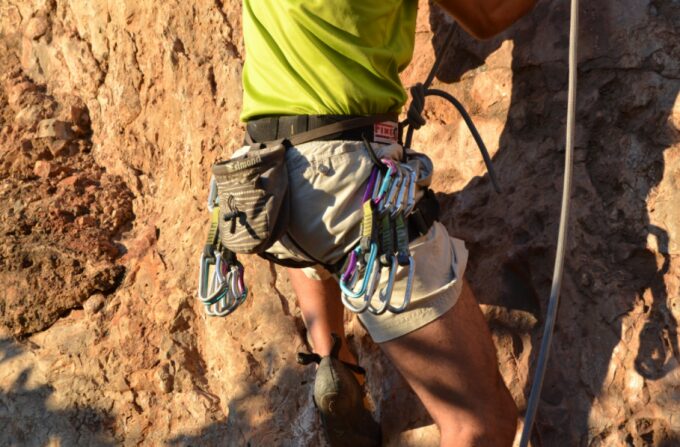
- Carabiners – used for climbing and hanging the rope. At the beginning, you’ll only need one locking carabiner used together with the belay device or used for practicing climbing knots. Later on, you’ll certainly need plenty of these.
- Belay device – used for lead climber’s and belayer’s safety. It allows the belayer to control the rope, to help catch a fall or lower the climber. The belay device should also be bought during your first training
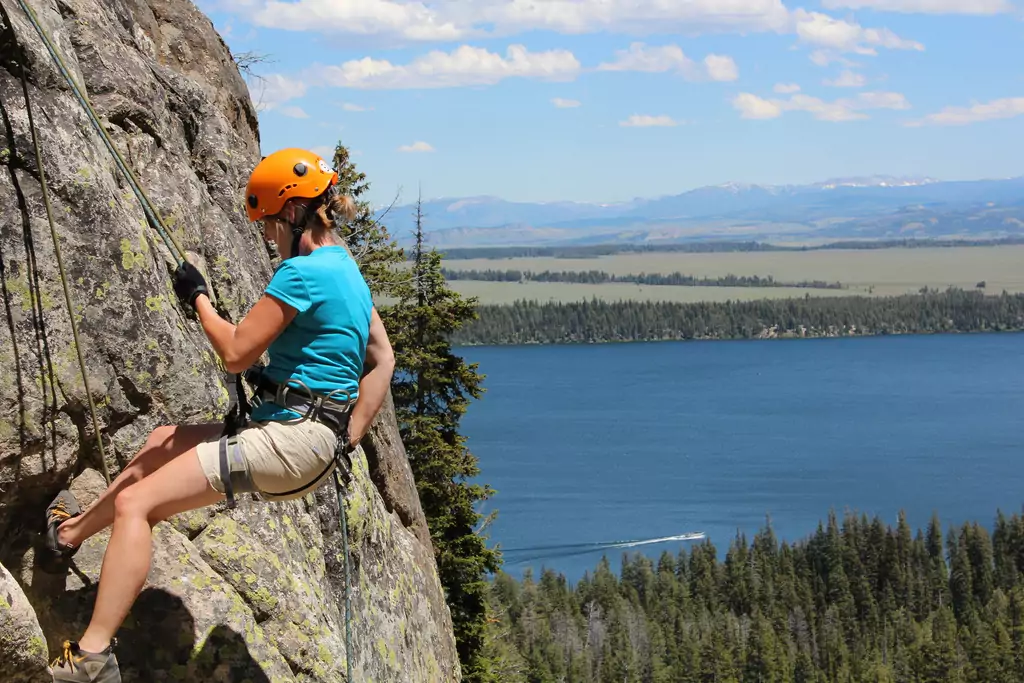
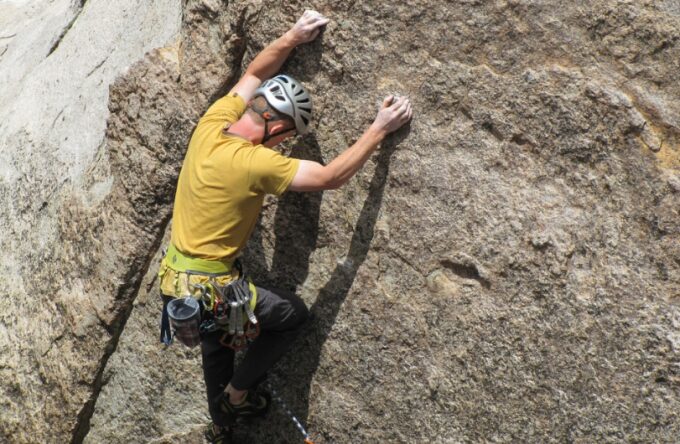
- Climbing helmet – a must-have during an outdoor climb. No matter if you’re a beginner or a professional – you must wear one. The climbing helmet protects your head from falling rocks and protects the climber during a fall. It must be comfortable, not too tight and sit flat on the climber’s head
- Rope – as a newbie you don’t buy your own rope – you use the ropes and slings in the climbing gym or those provided by your guide. As you are becoming more independent climber you’ll choose the timing for buying one – until then you’ll certainly have to lead many routes
- Climbing protection – part of the gear that you buy when you’re an independent climber. Beginners are not allowed to place protection alone – they are supervised by the teacher. As a beginner, you’ll watch and learn how it’s placed and used until you start climbing without supervision
Rock Climbing Techniques
At first, the term rock climbing techniques sounds like something complicated – they also seem complicated and challenging – but only at first. Actually, if you follow the teacher’s instructions and train properly you can acquire these techniques in no time.
In order to acquire these techniques faster, you must also watch other climbers or watch your teacher and copy their moves. The advantage in learning the climbing techniques lies in the fact that while learning you also improve them every training a bit more. When you become an independent climber you can also try and apply new moves.
Footwork Technique
The footwork technique is the most important technique in all types of climbing. This technique is the one which allows the climber to save and balance his strength while making his way to the top. So you just put your body weight not on your hands, but on your feet.
Important to note is that you climb mostly with your feet – not with your hands. This is a common beginner’s mistake – almost every newbie puts their weight on their hands while hugging the rock or the wall. What you must remember is that your legs are stronger than your arms – you should practice how to lift your body weight with your legs and climb up.
Edge Footholds Technique
Edges are semi-flat ridge-like holds where you put your foot on. You just simply put your front foot part using the inside edge of your climbing shoes.
The outside rubber edge of the shoes can also be used – depending on the position you balance in and also on the direction you want to make your next move in.
Smearing Foot Technique
The smearing technique is a bit harder to master than the edge footholds technique. This is especially the case with the beginners – in this case, you don’t have an actual foothold, but you use your shoe’s rubber for friction against the rock. This situation seems a bit scary and it requires training in order to start relying on your shoe’s rubber.
The key to smearing is maximizing the rubber-to-rock contact while using the upper ball of your toes. Putting enough pressure and weight on your foot will guarantee a non-slipping position. However, if you feel you’re slipping you shouldn’t make a fast next move – simply put your body weight on your legs.
Hooking Foot Technique
The hooking foot technique is used rarely, but it’s extremely useful on overhangs. You can implement two hooking styles – toe-hooking and heel-hooking. In both ways, you help your body take the weight of your arms and put it on your feet.
Heel-hooking means setting your heel on a hold and then simply pulling with your foot. The foot is usually placed at a level with your waist. Toe-hooking requires wrapping your toe top around the hold and pulling upwards.
Handholds Technique
What you must have in mind, especially if you’re a beginner is that the hands are additional help for your feet and not the other way around. Climbers tend to say “straight arms are happy arms” – if you bend your elbows then the weight is on your hands and not on your feet.
Jugs Handholds Technique
This is the easiest handholds technique – the jugs simply require a grip with your hand. Yet, it’s important to hold your arms straight and not over-grip the jug. This technique is perfect for beginners, for acquiring the feeling of safety. Jugs are used for saving energy and taking a rest.
Crimpers
Crimping is the most powerful hand technique in climbing, but also most stressful for the fingers. To crimp you should put the fingers on a hold and curl them in a position where finger joints are bent up. You’ll gain more strength and stability if the thumb is wrapped over the index finger.
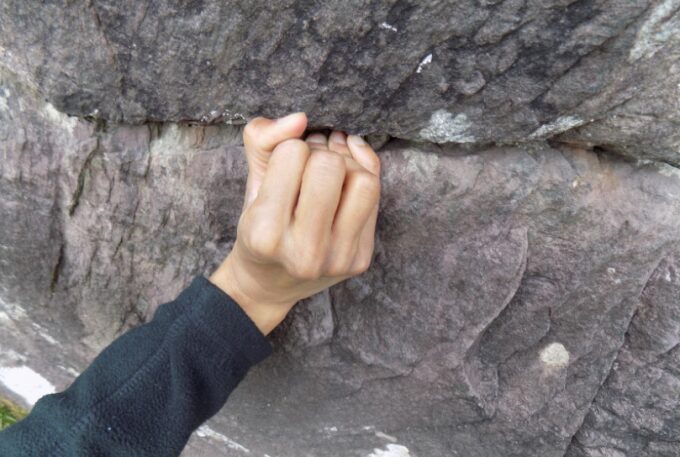
Image credit: outdoorsireland.blogspot.com
There is also an open-hand crimping where you grab the holds with an open hand. This position is easier for the fingers and puts less stress on them. However, it’s not that powerful as a normal crimping.
Slopers Handholds Technique
Slopers are rarely angled holds that are difficult to use. So, in order to hang onto these, you must rely on friction only. Slopers climbing requires using a lot of chalks.
In order to hang on slopers place your hand on a sloper and pull with your body weight downwards. Also, join the fingers for more strength. Another note for these handholds – they can’t be used warm due to slipping.
Body Positioning
Having muscle strength and strong forearms won’t help you much in climbing to the top of the cliff. No matter if sports or trad climbing you must balance with your body. Climbing as a sport is about balance and synchronized movements.
There are numerous body positions and styles – important is to try at least once every one of them. While climbing there is no rules how to position your body – this depends on the rocks and on the climber’s style.
Stemming
Stemming means pressing the feet against two opposing holds and bridging the gap in order to take the weight off your arms. Stemming relays on your feet and it’s easy and secure way of climbing, even for beginners. Any type of hands and footwork can be applied during stemming. Additionally, you get more rest with this technique.
Mantle
When you push down on a hold and bring your foot to meet your hand, then you’re mantling. Mantling is used when on big handholds when you want to place your feet high and you have enough space. It’s a usual top-out technique used at the end of the route.
Side pull
You can use a side pull on any sideways-pull oriented holds. In order to make a good side pull you should shift your body weight by pulling or simply by applying a counter force.
The side pulls are often used while cracks climbing.
Palming
Palming is the hand version of smearing. Palming means pushing against the rock with an open palm. This technique also requires bigger hand holds where you’ll have enough room to place an open hand and use force.
Layback
The layback or the position of opposition is a strenuous technique which requires a shuffling rhythm – hand-hand, foot-foot. To do a layback you must push with your feet against the wall and at the same time pull with your hands downwards. Of course, the hands and elbows must stay straight.
While being in a layback position is not advisable to place gear or stay too long in this position. You can place the gear on the harness in a stemming position. Laybacks are mostly used in cracks and flakes.
Overhangs
Overhanging cliff part has special difficulties and requires time and training. Two options are available when it comes to overhangs – to move fast or to move efficiently. In order to move efficiently, you should avoid over-gripping and stay relaxed. It’s important not to pump your muscles, but to stay relaxed and save your strength.
Ready to Choose a Route?
Climbing with a guide is certainly more secure than climbing on your own. But, if you follow the instructions from your teacher and train actively you would be able to climb on your own after a short period of time. Your first leads will be of course supervised – but, this is a normal safety procedure.
While learning how to climb, you’ll apply almost every one of the above-mentioned techniques and you’ll acquire your own climbing style. When you have already learned and trained these techniques along with different knot techniques, you would be able to become an independent climber – you would be able to choose your routes, lead and descend them.
Do you have any rock climbing techniques that you love? If that’s the case, please share with us – we’d love to hear more about your adventures!