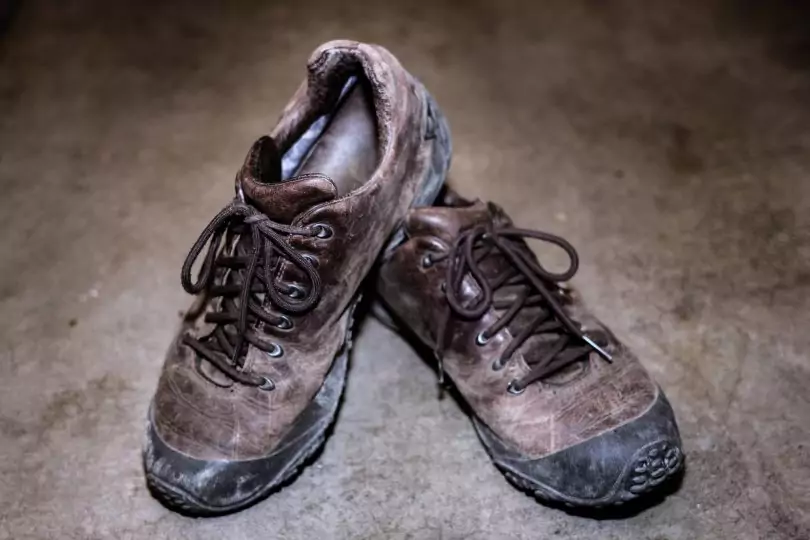
You went to the expense of purchasing a great pair of hiking boots. You spent hours working them in and paid with the pain of a few blisters on those first treks, but now they fit like gloves. You have just discovered they are damaged, but you do not want to buy a new pair. Most of the boot is just fine. So let’s have a look at how to repair leather hiking boots so that you don’t have to throw them away and spend more money on new ones.
Just what will be required to make an adequate leather boot repair will depend on just where the damage has occurred. We will go over a few repairs you can consider. Whether you wish to carry out the repair yourself or find a professional to carry out the job, will be up to you. However, you will have an understanding of what is involved.
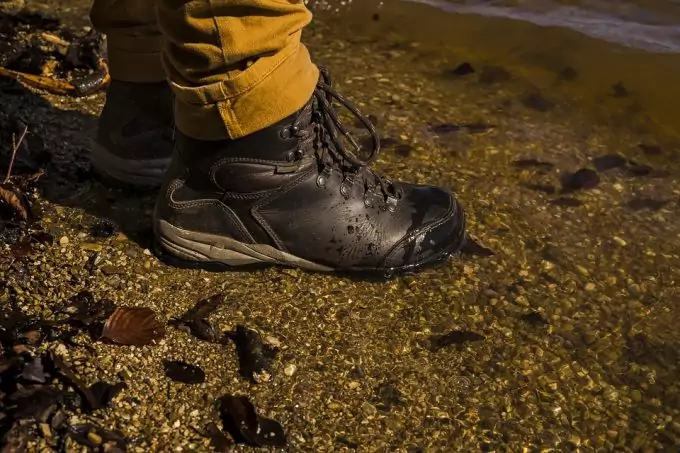
Appraise the state of your boots honestly to consider what actually needs repairing. You may as well do everything possible at once. Remember a “Stitch in time saves nine,” so even if it looks like it will need repairing in the near future, make the repair before anything gets worse.
Reasons to repair your leather boots
- Leather boots are expensive to replace
- The boots so well worn in they fit like a glove and you can’t bear the thought of parting with them
- The leather is still in reasonable shape and is worth repairing
- Leather comes from what was a living animal and deserves to be treated with respect and not thrown away lightly
Inspect the boot to see where it has been damaged. Check the other boot as well. In some instances of wear the other boot might need repairing at the same time, even if the wear and tear is not so obvious.
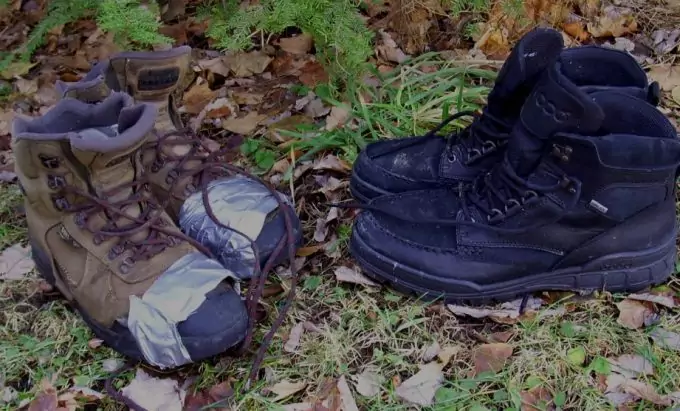
Take this opportunity to remove and check your laces for wear and tear. Replace them if there is any sign of damage as you don’t want to be caught out in the back country in miserable weather having to search your pack for spare laces. (Note to self – always pack spare laces)
Most common needed repairs:
- Sole repair
- Sole replacement
- Leather upper across the toe
- Stitching is broken
- Inner lining at the heel
Why Leather is a Special Material
Leather is a very special material that usually comes as a by-product of the meat industry. Leather usually used for hiking boots comes from specially chosen bovine hides from specific parts of the animal. It has many qualities that have not been duplicated, although scientists making synthetics are constantly trying.
The best boots uppers are made from a single cut piece of leather that is shaped and blocked in such a way that the only seam required is down the back of your leg. The fact there is only one line of stitching means that there is only line of tiny holes that water can easily penetrate. Any line of stitching is a weak point that might allow water in.
But as yet nothing beats leather for durability, flexibility, comfort and good looks in many situations for hiking. Synthetic boots may breathe better and be cooler in hot temperatures, but I know of none that will outlast a good pair of leather boots. Which makes caring for and repairing a good pair of comfortable leather boots, even more worthwhile.
They are also relatively waterproof and keeping up maintenance with good quality creams and oils keeps them that way. One downside though if they do get a good soaking like crossing a river they are heavy weight until they dry out. Read our article on DIY waterproofing your boots to protect them even more.
Loving Your Boots
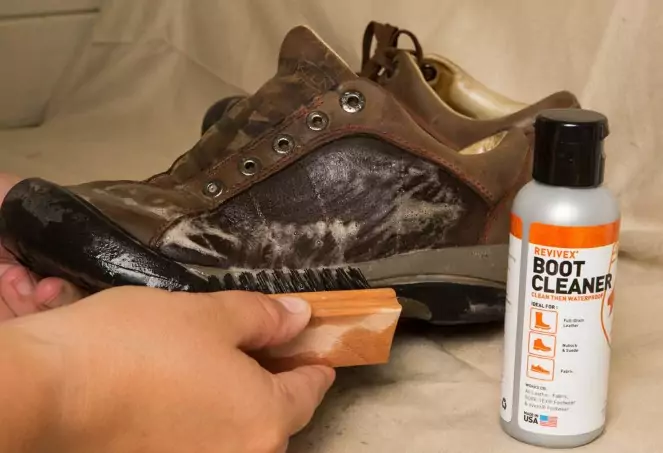
Sometimes the leather of the boot is fine it just needs a little tender loving care (TLC).
Because leather is actually in many ways still a living product it needs to be cleaned regularly and conditioned with oils and waxes to keep it supple and waterproofed.
The outline for leather care is clean, dry, then condition – rather like we should look after our own skin. You will need:
- A leather cleaner like saddle soap or glycerin soap
- A sponge or toweling cloth
- A leather conditioner – oil, cream or lotion. I have included instructions if you would like to make your own
The process is simple and you should do this regularly:
- Clean your boots thoroughly to remove old dirt and grime. Follow the instructions given, but a general rule to use water sparingly so wring out your cloth before lathering the soap, clean the leather in a circular motion then wipe it off.
- Allow the boots to dry completely in a warm shaded area, not direct sunshine or close to a heater as this can crack the leather. I also like to pack old newspaper to help keep the boot shape and aid drying.
- When all is thoroughly dry, condition the leather with a product you prefer or make your own
- Replace the laces and store in a dry place.
Our article on how to clean your boots is recommended for you – check it out.
Make your own Leather Care Beeswax Lotion
This lotion is very simple to make and will care for your leather hiking boot and other suitable leather products very well. The ingredients are simple – natural beeswax and a good oil of your choice. Many oils are suitable.
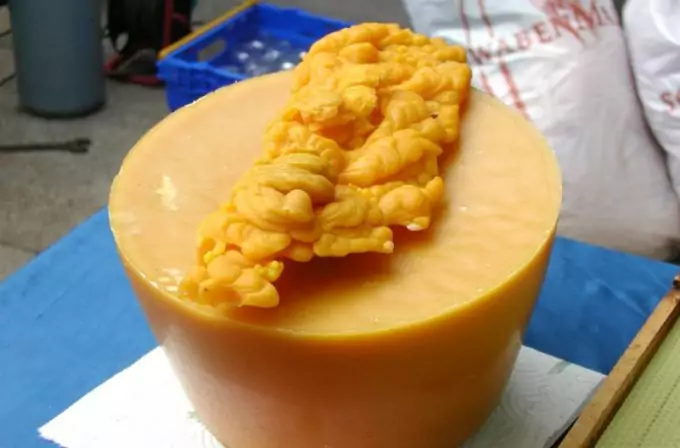
I’ve used vegetable oils like olive and linseed, mineral oils and neatsfoot, which is animal based. If you use vegetable based oils you could use it to polish wood and even help your own hands from chapping in the cold outdoors.
Gather together:
- Beeswax
- Oil of choice
- A clean, empty jar or container with a lid
Method:
- Take about an ounce of beeswax and cut into small pieces and place in the jar
- Add about ½ cup of oil
- Warm gently in a microwave or a double boiler over a low heat. Stir to melt the wax
- Never let the oil boil or it will damage properties of the oil and wax
- (If it was for furniture you could also add a few drops of essential oil like lavender or lemon for a fresh fragrance)
- The actual amounts required may vary according the oil. Once it has cooled down, if you find it too liquid add more beeswax. If it is too solid, add more oil and record the quantities for the next time you make it
Running Repairs on a Hike
A broken boot in the middle of nowhere can lead to disaster, so always carry an emergency kit that will at least help you hold the boot together until you get to safety. I think it wise to always carry a strong duct tape for many different uses while hiking and you can use it to make emergency repairs to your boots.
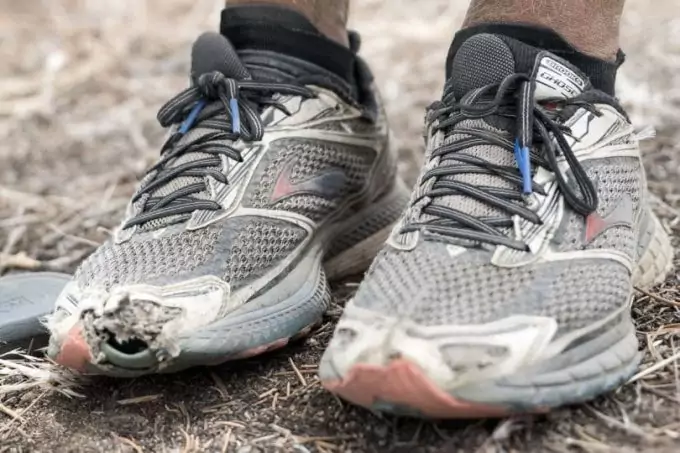
It will even wrap all around your boot if the sole starts to come off at the toe.
Repairing a Leather Hiking Boot Sole
Where the molded sole attaches to the leather. After a rough season hiking you may find the upper molding of the sole where it should be bonded to the leather has broken away slightly.
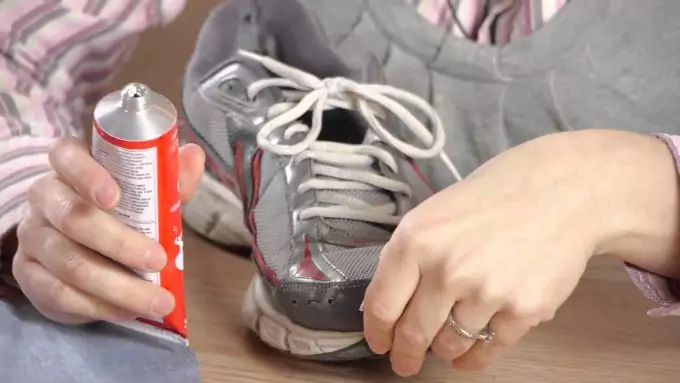
This has allowed dirt and grit and other debris to lodge between the sole and the leather.
You will need:
- Leather cleaner, saddle soap
- Urethane sealer
- Sharp knife or object to remove debris
- Skewer or strong toothpick to replace the glue in the opening
- Leather conditioner
Carrying out the sole repair:
- To begin the repair first give your boots a good clean with a saddle soap or leather cleaner to remove all the dust, grime and dirt from the boots in general.
- With a pointed knife or some sharp object carefully dig out all the debris in the narrow gap
- Allow the boot to dry completely
- Fill the space around the molded sole with urethane filler
- Paint the urethane over both sole and leather about ½ “ covering the leather
- Leave to dry completely
- Restore with leather wax and waterproof treatment
The sole itself is damaged. If the sole has had a rough season, but still has plenty of grip you might just repair a few nicks and cuts with some urethane.
Replacing a Whole Sole of a Leather Hiking Boot
If you have looked after the leather upper of your hiking boots so well you may find that the sole of the boots is wearing down and not providing enough grip while you are walking, especially over rocks and slippery surfaces. You may want to replace the entire sole.
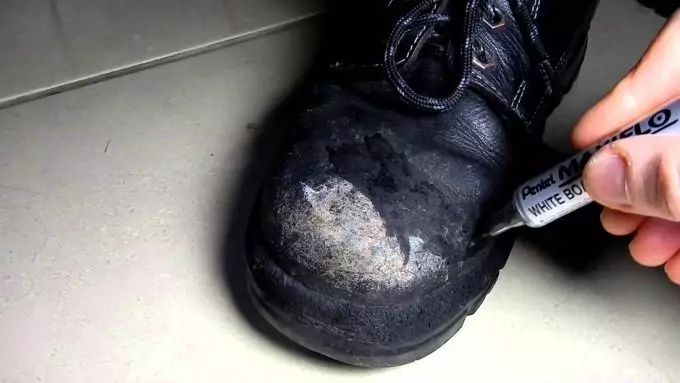
To do this properly, you may need access to electric sanders and other equipment which may only a professional cobbler may have but I will explain the process anyway.
To repair a flat soled boot you will need:
- A sharp Stanley knife/cutter
- Replacement soles for the size of your boot
- Adhesive glue that is strong and flexible
- Hammer
- Place to secure the boot while working on it
- A fixed electric sander
How to do it:
- First, carefully cut away the entire old sole from each boot. Take care not to damage the upper but it won’t matter if some old sole remains of the boot.
- Grind away what is left of the old sole of the boot, to make the surface flat and ready for the new sole
- Rough up the new sole with sand paper to give the adhesive better chance of gripping
- Prepare the new sole with adhesive and the boot upper. Make sure the whole surface of both is covered in a thin even layer
- Wait until the adhesive is ready – usually when non tacky to touch
- Hold the boot upper firmly and place the new sole in place. Line everything up before touching as it cannot be moved once there is contact
- Hammer the sole completely to make sure there is firm contact all over
- Wait some hours for the adhesive to consolidate
- Grind the edge of the new sole to fit the edge of the upper. A grinder makes a much neater job than a knife, but if a knife is all you have you can use it.
You can follow a similar process with a separate sole and heel replacement. Remember, if you are adding height to the sole you also have to add some height to the heel. Just make sure you mark the sole first where and how it should line up to fit the arch and toe area. For more DIY sole repair, see our previous article on this must-read piece.
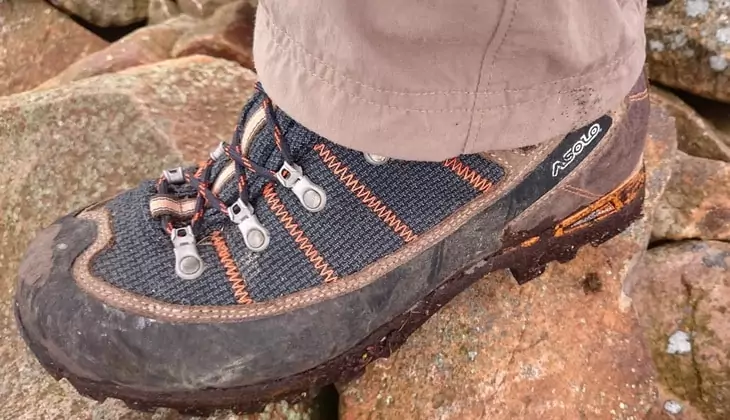
When it comes to repairing a molded sole, the process is more difficult because of the way the molded sides adhere to the boot. There are specialized repair companies that can do this and I would recommend you search for one in your area. However, if you really do want to try yourself you will need to order the exact size and style for your boot. The process will be similar to above, but more complicated to remove the side molding and prepare the boot to attach the new sole.
Repairing a Leather Hiking Boot Upper
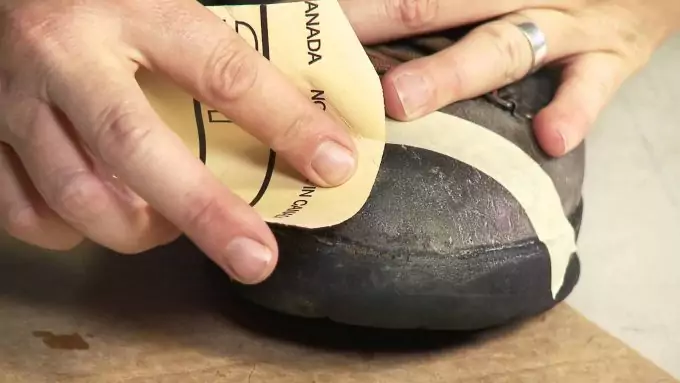
Because the boot is constantly flexing and extending as you walk, one area that may need replacing is the area just below the lacing where the base of your toes bends.
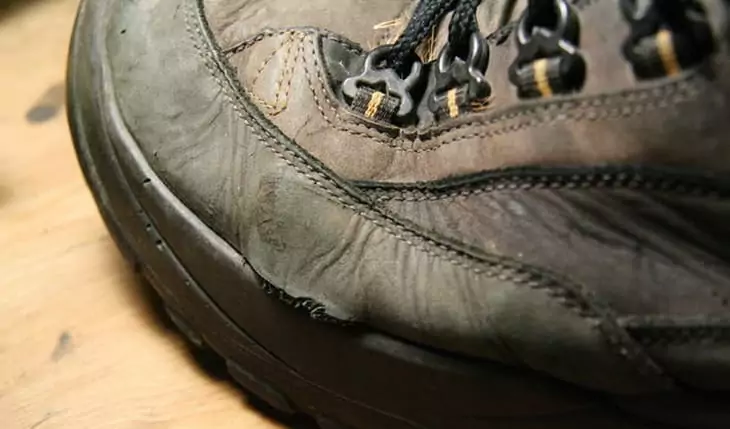
Image Credit: instructables.com
The constant wrinkling can break through the leather.
You will need:
- Supple leather of the same color as your boot – or maybe not if you want to make a statement
- Fine grade sand paper
- A good leather glue
- Leather cleaner that will clean and remove oils
- Leather nourisher for after the repair
Carrying out the Upper Repair:
- Remove the laces from your boot
- Clean the boots all over taking extra care around the area where the repair needs to be made
- Dry the boots thoroughly
- Optional, but I would pack the boots with old newspaper to force the surface wrinkles to be as flat as possible so the adhesive has a better chance of bonding.
- Cut a wide strip of leather that will go from one side across the top to the other and shape to fit the edges exactly
- Sand over the area on the boot where the repair has to stick
- Apply the adhesive to both the boot and the repair leather making sure all the surface is covered with an even thin layer
- When both are non tacky to touch place the repair over the boot and press firmly all over. Do this for some minutes to ensure the bond is close
- Wait some hours to ensure a good bond has formed
- Cover the whole boot with some form of nourishing substance. You can buy a product or make your own
- Replace the laces and wear as new!
Stitching Repairs
When it comes to stitching repairs this might take more professional help depending on where the breaks are. If you decide to repair the boots yourself you will need some sort of needles made specifically for piercing leather. Where possible use the holes that have already been made for the damaged thread. Remember holes are where water can penetrate.
A Speedy Stitcher sewing awl is a handy tool to have when you have to repair any leather or canvas. The shape of the awl helps you push the needle through and you can thread the lower thread easily through. There are instructions with the awl rather me trying to explain exactly how to use it here.
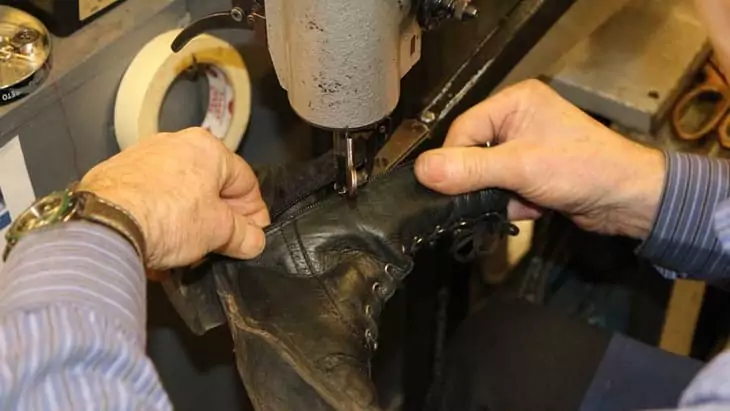
Image Credit: currysshoerepairs.co.uk
Always use a quality waxed thread. Waxed thread runs through the leather easier and it will also be waterproof and preserved against deterioration. If you have just taken hours to repair your boots you don’t want to have to repeat the process again because of inferior quality thread.
If the broken stitching is on an outside of the boot, it may just be better to use a good adhesive to stick the loose leather down. If you try to sew through the boot you will be exposing the inner layers to the possibility of getting wet.
Inner Lining Heel Repair
This repair requires some sewing skills and may not be super successful, but is worth a try to keep your favorite boots going for longer.
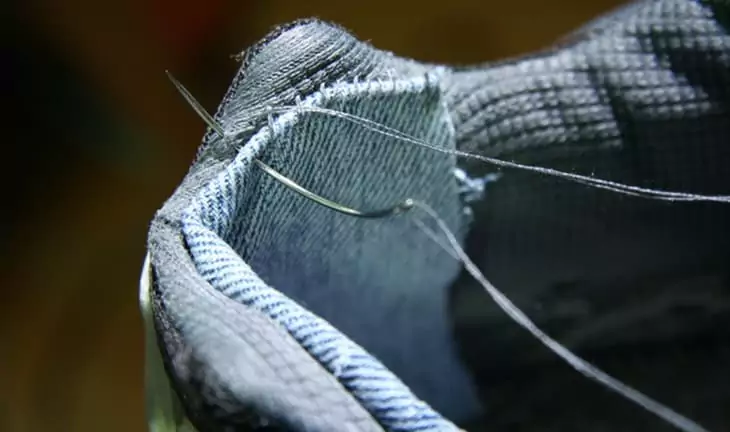
Image Credit: survivalkit.com
You will need:
- A suitable tough, but comfortable fabric
- Flexible material adhesive
- Sharp scissors
- Sewing machine with overlock or zigzag stitch
How to do it:
- If the foam packing has gone you might b able to replace some and glue it in place. Feet are sensitive, so it has to feel smooth and not thick in the heel area or you will just get blisters where you didn’t get blisters before.
- When it comes to the fabric choose something with a relatively smooth surface and that is tough enough to stand constant abrasion from your heel as you walk. A drill like denim might work or a similar synthetic mix.
- Cut a rectangle of fabric that will extend around the sides to about your ankle – no further or the extra layer may give you blisters on your ankle, and will go from the sole to the top of your boot inner.
- Overlock or zigzag the edge and top of the fabric. Do not fold this edge as again any extra layer will likely cause blisters.
- Remove the sole from the boot, if you haven’t already
- Fit the extra lining in and estimate how much of the fabric has to turn around the heel at the bottom if when the lining is fitted about ½” to the sole. You want to remove any bunching or wrinkles so you need to “V” shaped nicks about ½” into the lower edge fabric all the away around the heel area. This allows the fabric to fit with doubling up.
- Glue the fabric lining in place. Stitch around the top if you can, otherwise it will most likely pull off over time as you push your foot in.
- Replace the sole.
Enjoy your Hiking in Confidence
So there you have a few ideas for repairing your leather hiking boots. The best advice I can give is keep on top maintenance and care for your boots from day one. Leather really is worth looking after and should last as long as your whole life. It is usually the other materials that wear out first, the soles, the stitching, and the lining.
For some stylish hiking boots, see our previous post on this topic.
If you have any other tips to share, please feel free to share them in the comments section below. Happy hiking y’all!





I recommend that you repair your shoes as soon as you see a detached place, to prevent it from becoming even more detached. Waiting for so long to repair the shoe often makes the shoe weaker and more expensive to repair the shoe. Then we all know that large repairs do not sit pretty on the shoe itself, and of course we also know how expensive getting a new hiking shoe can be.
Thanks for sharing!
I could say that people should not be so quick to get rid of their hiking shoes. I personally keep all the hiking shoes that I have had since I began hiking as trophies because each one of them has a story to tell. However, I also keep them around so that if it ever happens that the shoe that I am using gets damaged badly and I am not in a position to buy one, I can use some of the pieces of my old shoes such as the sole to repair it.
Fascinating!