If you care about eating right, then you’ve got to admit – camping trips can be a bit of a challenge as far as healthy foods are concerned, as fresh food and vegetables often weigh much more than you’re willing to carry on your back. However, there’s a good solution to this problem – and it’s called your very own DIY food dehydrator.
As we all know, it’s best to capture all the goodness of produce when it is at its best. Apart from many other food preservation techniques, dehydrating it is one of our favourites. It has many benefits and is not as complicated or difficult as you might think. What’s even more, it’ll allow you to carry whatever fruit or vegetables you want at a fraction of the weight.
In this article, you will find out why even use a food dehydrator, what are the benefits and how does it work. You will learn some tricks to dry food on your own and also build a simple food dehydrator that can run at very little cost. Sit back, relax and enjoy the wonderful world you will start learning about now!
Why Should you Dehydrate Food?
Dehydration is just one of the many ways you can preserve food for either long winter months or just days when your favourite snack is not in season and thus readily available. On top of that, dehydrated food is great to take camping and hiking!
If dehydrated properly, the food preserves most of its nutritional value and has a concentrated flavor. You remove around 75% of the moisture with dehydration, so you only need to take care of remaining 25%, making sure it doesn’t rot, get mouldy and get bad.
With proper storage, you don’t have to worry about that. So, if you like your fruits and tomatoes stronger in flavour and available whenever you want, food dehydration might be a hobby to pick up!
Who Should Consider Food Dehydration?
Here are a few profiles that might enjoy most benefits from dehydrating food and doing their own homemade food dehydrator.
- A hobby gardener
- Camping enthusiast
- Food market lover
- CSA box subscriber
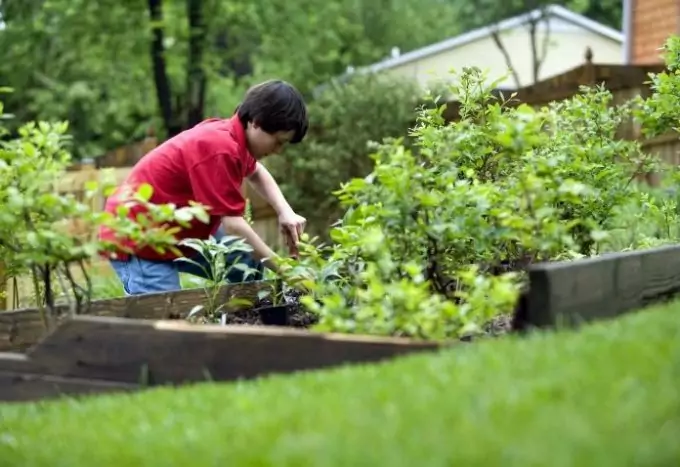
If you are a hobby gardener who likes to produce it’s own veggies and fruits, if you love going to the food market – you need to try your hand at food dehydration.
If you simply love camping but don’t love the dehydrated and ready meals available in the outdoor store, you might want to think about preparing your own dehydrated snacks as well. Lastly, if you are supporting your local CSA farmer and are always just shy of finishing the whole box, this is the way to preserve the wonderful produce your farmer worked so hard for.
What is a Food Dehydrator?
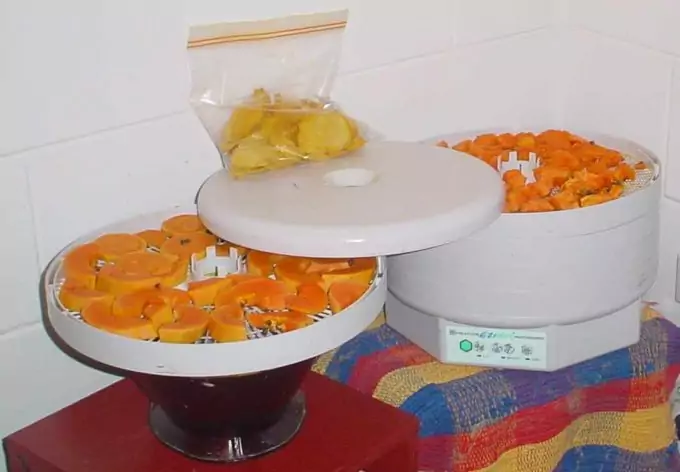
A food dehydrator is a tool that uses a source of heat to remove moisture from some types of produce that can be dehydrated at home. Fruits and vegetables have quite a high percentage of moisture, between 80 to 95%. Moisture inhibits the growth of bacteria, so in order to preserve food; you need to remove a large amount of it.
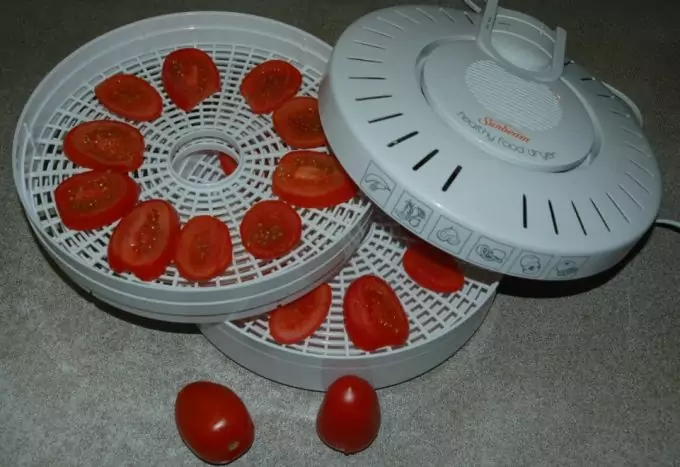
You have many types of electric food dehydrators available at all home good store, but there are other ways of dehydrating food by yourself at much lower cost.
Why Use a Food Dehydrator?
Here are just a few of the benefits when it comes to dehydrating food.
- Add value to your food
- Keep costs down
- Knowing what you eat
- Produce less waste
The answer to that is quite simple. Use it to store food at it’s best for days when it’s not available, use it to enhance flavours of foods, to save space on food storage.
One of the biggest benefits is knowing how your food was processed. Dehydration on the industrial scale often uses additives to keep the colour of produce vibrant, preservatives to avoid spoilage etc. By doing it yourself you can be sure your food doesn’t include things you want to avoid.
You can also cut down costs by doing this yourself. Dry fruits are often quite expensive, especially if you want to get high-quality products from controlled production. By buying directly from the farmer and then drying it yourself, you are still providing yourself and your family with tasty snacks but for a fraction of the price.
This way, you can buy more food when it is in high season and the tastiest. You are contributing to a healthier environment by cutting down on waste – plastic packaging, ripe foods that would otherwise be thrown away etc.
Types of Dehydrators
Apart from electrical ones, there are several other types of dehydrators. The oldest way of drying food is straight in the sun; it is called air-drying. It is still useful today to dry things like herbs. The solar drying captures the power of the sun to achieve higher temperatures than the outside air and consequently dries the food faster.
You can either make a simple one that traps the air and heats it by hitting a dark surface or construct a part that will trap and heat the air and then also push it in the chamber where you want to dry produce. You need to control the temperature and airflow but other than that, it is a pretty simple way to do this.
The general rule is, if you have summers warm enough to grow vegetables and fruits, it is warm enough to dry them as well (some exceptions apply though). You can also dry food using your over. It is not really a dehydrator but can be used as one if you have it in the kitchen anyway.
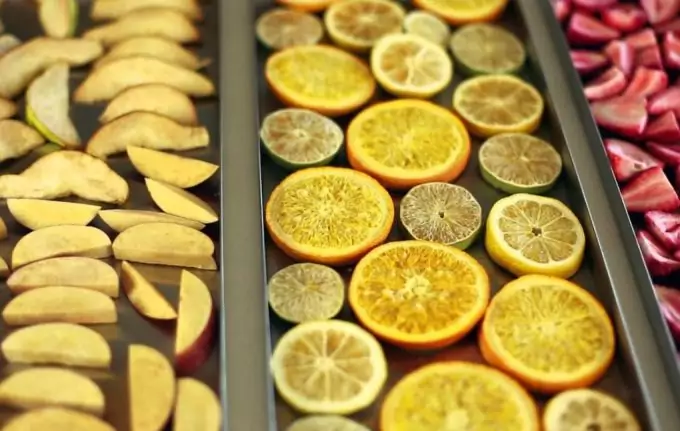
What Type of Fruit & Veggies to Dehydrate?
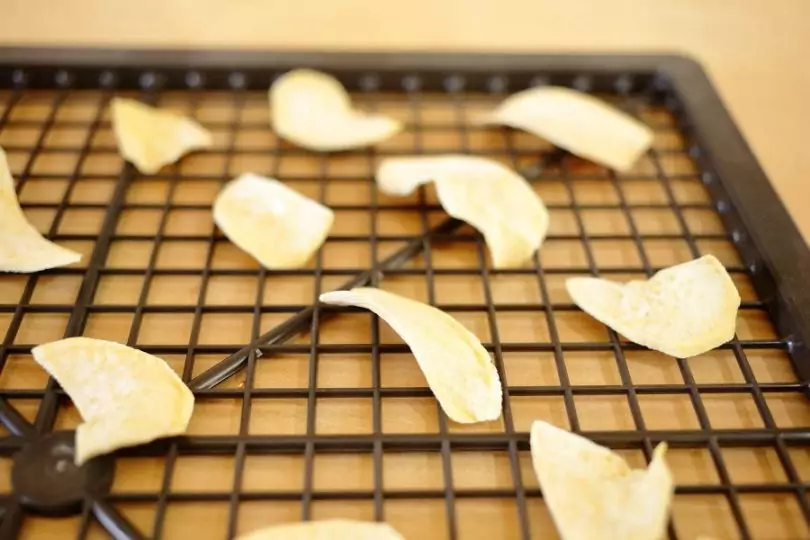
Any produce you will dry, you need to make sure it is perfectly ripe, without any blemishes or spots (if there are some, cut them away), washed and dried with a hand towel. If you are new to drying food we suggest you start with easier ones, like apples and pears.
Apart from that, you can dry a variety of different fruits and vegetables such as apricots, plums and all the other stone fruits, blueberries, grapes, cranberries, pineapples and kiwis, figs. Of the vegetables most suitable to dry we suggest you try beets, green beans, mushrooms, carrots, celery, parsnips – basically anything you can buy in form of vegetable chips you can dry yourself.
Let’s not forget about the Italian classics – tomatoes, onion and garlic can all be dried as well. If the produce you want to dry is denser and has a lower moisture content, cut it into thinner slices.
You can also dry herbs – all soft ones like basil, parsley, cilantro, tarragon, mint, lemon balm, and thicker ones like oregano, marjoram, sage, bay leaves, thyme and rosemary.
The Oven as Dehydrator
If you don’t have a dehydrator, you can easily use your own oven. Here’s what you will need:
- A standard kitchen oven
- Drying racks
- Food grade mesh
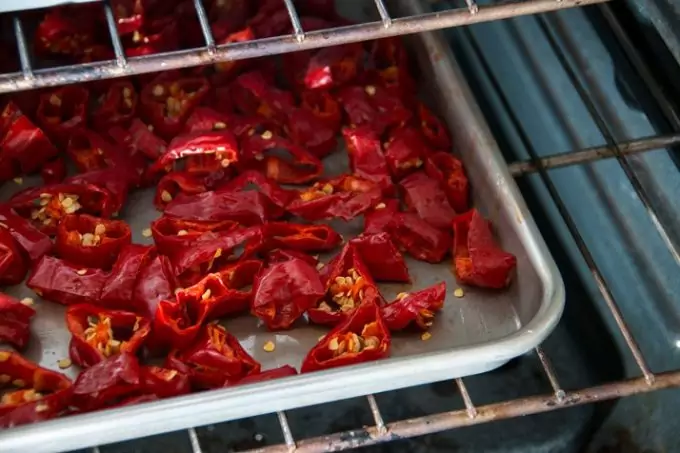
Why is your trusty oven such a good food dehydrator? You can control the temperature and airflow, very it is convenient and right there, in your kitchen. Most of the above-mentioned produce (apart from herbs) dries best at low temperatures – around 50°C. Get more drying racks and line them with food grade plastic or metal mesh.
Load the racks into the warm oven, keep the doors open a bit and forget about it for a couple of hours. Come back to check and adjust if needed. Make sure those pieces of fruit that you are trying to dry and not packed together too tight, or the air won’t flow nicely.
If you have never done this before we suggest you buy some dried apples to see the consistency and have a comparison and benchmark for your home project. For more exact instruction on what size pieces to dry, we suggest you check the instruction on websites, dedicated to this topic specifically.
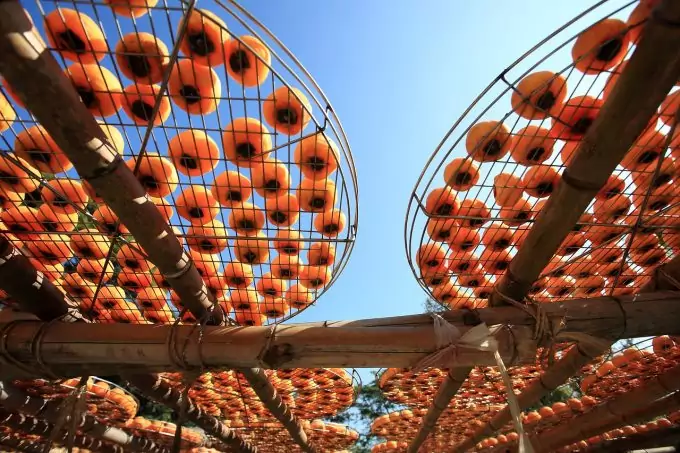
Dehydrate Using the Power of the Sun
You can easily use the sun to dehydrate food – granted, it’ll take you longer but the results might even be better than using a standardized dehydrator!
You will need:
- Brown paper bags
- String
The most old school you can get with this is to hang bushels of herbs and let them dehydrate outside. You need to make a bushel not more than 1 – 1.5 cm in diameter at the stem, wrap some string around and then protect it using a brown paper bag.

Cut a hole at the bottom of the bag, pull the string you used to wrap around the stems through and make sure not much herbs are looking out of the bag. The bag will protect the herbs from direct sun and dust. You can hang this outside on the clothesline, but you can also hang them in a warm room in your house and check regularly until the herbs are dried.
The Frames
You can also construct simple frames to lay herbs like parsley that have soft stems and leave that out on the sun. You need four pieces of wood that you will bind together to make a frame (use nails and a hammer or some other tools you are more familiar with).
You will need:
- 4 pieces of wood
- Food grade mesh
- A stapler
- Some nails
- A hammer
You will attach some food graded mesh on it (we like to use a stapler). On it, you can lay the herbs you want to dehydrate, cover it all with a clean kitchen cloth to protect from bugs and dust and lay them out on the sun.
You can also use a rack to dry clothes that is on a veranda that gets a lot of sun. Make sure to move the racks inside during the night or if there is even a slight chance of bad weather.
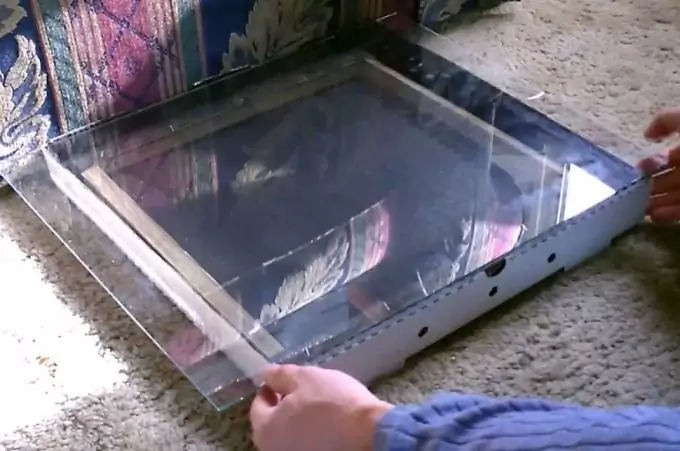
The Pizza Box Solar Dehydrator
If you are a bit handier but don’t have many tools available, you can make a simple pizza box solar dehydrator.
You will need:
- A dry and clean pizza box
- A piece of glass that is 4 cm wider than the pizza box
- 4 pieces of wood for the frame
- Some food grade mesh
- Black paint
- A knife
- A stapler
- A face mask
Below, you have all the steps lined up for you to follow:
- Cut off the cover of the pizza box.
- You are left with the bottom part of the box. Use the black paint to paint the inside. We suggest a black spray for easier application. Make sure to use a facemask while doing this and to perform this task outside or well-ventilated room.
- Bind together the 4 pieces of wood to make a frame. The frame should be 1cm smaller than the pizza box (for example: if the box is 20×20 cm, the frame should be 19×19 cm).
- Cover the frame with the mesh, leaving 1 cm to lay over the edge of the frame. Use a stapler to attach the mesh to the frame.
- Make sure the black paint is very well dried. Put the frame in the painted pizza box.
- Lay a piece of glass over the pizza box. 2 cm of it should look over the left and right side of the pizza box (looking from the top). It should cover the box perfectly on the other 2 sides.
- If you lift your pizza box dehydrator and lean it against a wall, the glass should sit neatly on the top edge of the box.
- If you are not sure about the size of the glass, take your box and go to the glasscutter – they will be able to cut you the exact size you need.
- Congratulations! Your pizza box food dehydrator is ready to be used! Find a sunny spot in your house, layer the frame with the produce you want to dehydrate, cover it with glass and lay it directly on the sun.
- Make sure to come back and control the temperature. If it gets too hot, you can cut away a little hole in the upper side of the box to allow the hot air to escape faster.
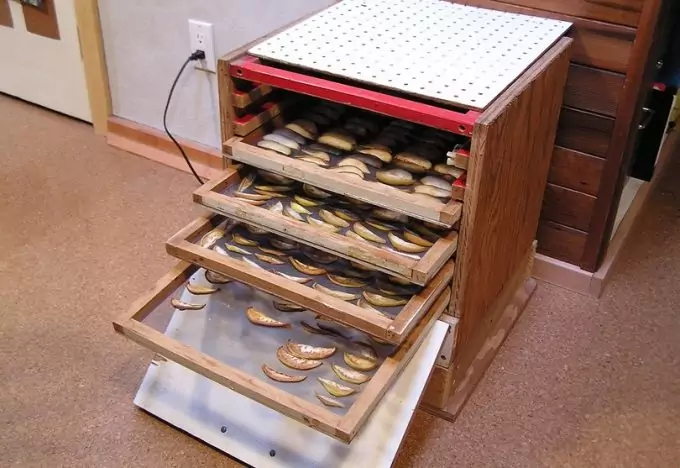
The Old Drawer Dehydrator
For this one, you will need to be quite handy and have some more tools available. You will take an old drawer that you don’t need, replace the bottom of individual drawers with mesh and use a fan to create a dehydrating box.
You will need:
- An old drawer
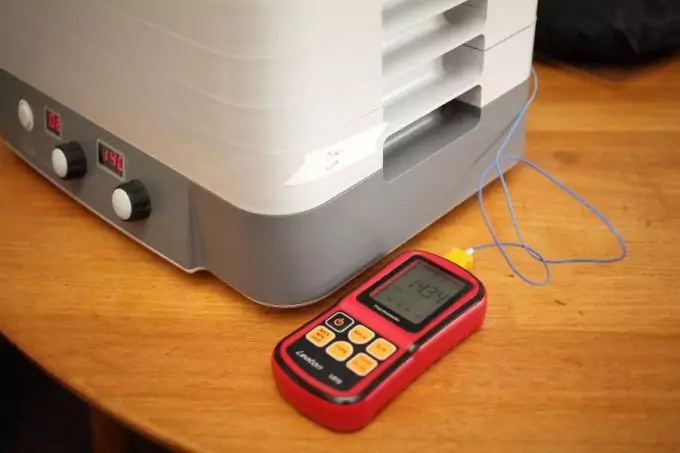
- A thermometer with a sensor to control the temperature
- Food grade mesh
- A thermometer
- Some tools: measuring tape, a stapler, a screwdriver, a marker, scissors, a hacksaw, wing nuts, washers, a threaded rod and a drill.
Here are the step-by-step instructions you can follow.
- Take out all the drawers.
- Cut away or remove the bottoms of the drawers. Turn the drawer upside down and attach the mesh at the sides of the drawer where the bottom was before.
- Remove the bottom piece of wood connecting the sides (usually comes under the bottom drawer).
- Find a spot just under the middle drawer where you can drill a hole (one on each side). You will put the rod through these 2 holes and secure it with wing nuts and washers from the outside. The rod will keep the drawer stable since you took away that bottom piece of wood.
- Mark the spot on the inside left side panel where the hole can be. Using measuring tape, determine the position and on the left panel and mark it on the right side panel as well.
- Using the drill, drill the hole where you marked it.
- Put the threaded rod through both holes and secure it from the outside.
- Put all the drawers back in the drawer.
- Lay a small heater under the bottom drawer.
- If you are using a thermometer, leave the sensor in the middle drawer (we prefer to use a wire sensor that is connected to a digital thermometer that we put on the top of the drawer).
- You can control the airflow by slightly opening the top drawer.
Tips and tricks
There are many amazing people out there dehydrating their favourite fruits and veggies. Sit at the computer and do some more research. There is a lot of info out there how to properly prepare your favourite produce to dry.
Apart from simple tricks like cutting them all the same thickness, there are plenty more hacks to make sure whatever you want to dry will turn out beautifully.
If you are a regular at the farmers market or a CSA box subscriber, talk to the farmers who are growing your food. They will be able to give you more information about the specific produce, how to use if best once it is dried, how to store it properly etc.
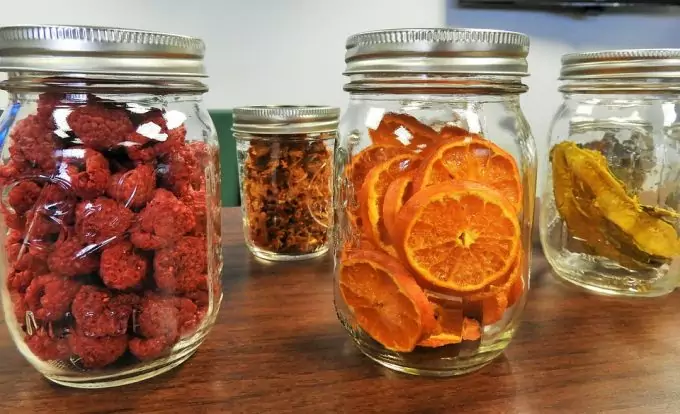
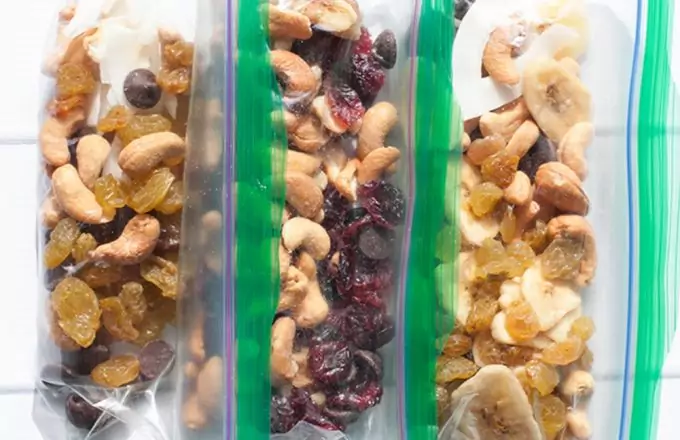
Make sure you have extra brown paper bags, textile (preferably cotton) bags and glass jars always around. You will need these not only to help you dry herbs but also to store your delicacies properly. We are big fans of glass jars for everything – dried herbs, apples and tomatoes. You can see what is inside and the food is protected from bugs and other critters at the same time.
Wrapping up
Food dehydration is such a wide topic, there are books written about it! In this article, we wanted to give you a short introduction to the topic and give you some ideas how can you start doing this on your own. It really isn’t very complicated and people around the world have been doing it for hundreds of years.
Depending on the climate you live in, you can choose the type of food dehydration that is the most reliable and reasonable. If you have hot and dry summers, the sun is your friend – take advantage of it.
If your summer has surprising afternoon showers – skip the disappointment and build yourself an electrical heater powered dehydrator drawer that can operate in your garage whenever you want.
If you live in a small apartment in the city but you have an oven – try that first and see how it goes. As I said – women in my family have been doing it forever, so if they can, you can too! We believe you now have enough knowledge to give it a go! Good luck!