How many times did a bad tent ruin a pretty good camping trip? If you’re tired of commercially available tents that just don’t cut it for you or you simply wish to test your DIY skills, then making your own tent could be a good place to start. Larning how to build a tent isn’t as difficult as it may sound – and it’s definitely very much possible!
Building your own tent is a great idea if you’re looking to save a few bucks on the side or simply make a tent to fit your exact needs then visit here. You could easily make lighter summer tents that won’t kill your back while you’re climbing that mountain. On top of that, you could add waterproof qualities some of the commercially bought tents are lacking without spending a fortune.
That is why we’ve decided to go along and make this article for you. After carefully doing our homework, we made an easy and comprehensive guide for you. In order to encourage you to try your DIY skills, we’re offering you a step-by-step basic guide that’s simple to do. Keep reading on to learn more!
Planning Before Doing
It you’re going to do this, you should do it right. DIY is all about starting from scratch and when you’re starting a project, meticulous planning is a must. Before you get started, you have to consider a few things about your tent.

Don’t forget – having a solid plan will make things flow better. Besides, it’s never fun if you remember in the middle of your project that you’re missing a peg or enough cover for the roof!
Size
Size is the first thing on everyone’s minds. How big do you want your tent to be? This is most likely the first time you make a tent, you may want to take it easy on the size.
It’s wise to begin with a small tent for two or three people. Also, remember, the bigger the tent, the heavier it will be. That brings us to the next thing to consider: the weight.
Weight
Weight matters since well, you do have to carry it on your back! Are you walking a great distance before setting up your camp? If so, are you willing to carry some heavy tent in your pack?
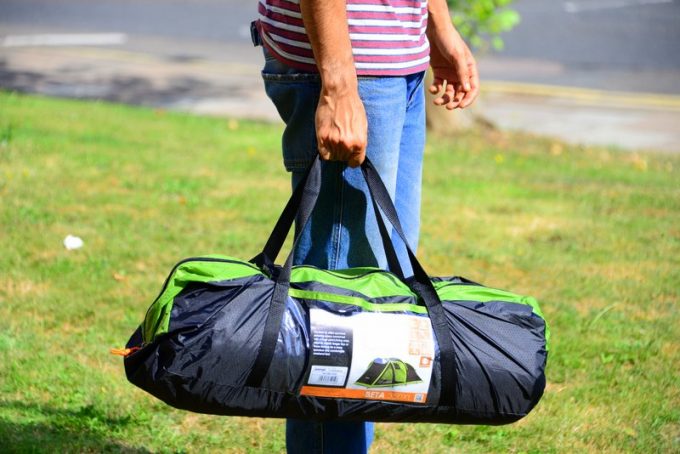
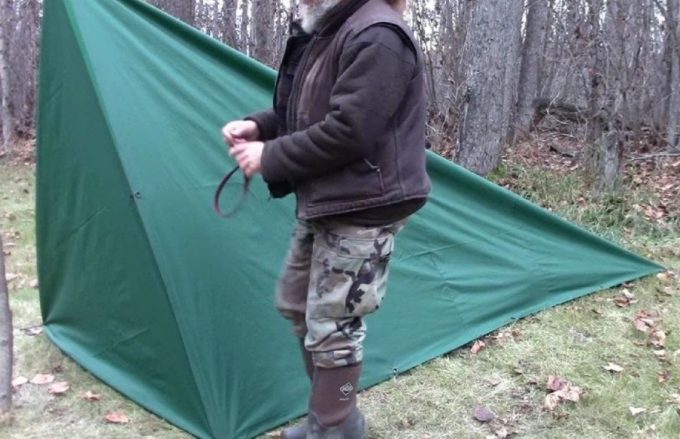
Image credit: bruisedpassports.com
The materials you pick to build your own tent make a huge difference in the final product. There’s a lot more in stake than just weight when you think about the fabric you’ll use to build your tent.
Season
When will you go camping? If it’s during the spring/summer season, you can get a breathable tent with suitable materials and windows for the heat to circulate freely. Otherwise, you might end up going through some uncomfortable hot nights.
On the other hand, if you’re most likely to camp during the fall/winter season, you’ll be facing rain or snow and temperatures will drop below zero, you could opt for fabrics that offer you a bit more insulation.
Materials
Alright, let’s speak about materials to make a tent already. Nylon, polyester, cotton or canvas? Bet you never considered this to be an important variable in a tent. Well, it’s also relevant. It’s a matter of putting into consideration what the advantages and disadvantages each material offers you. Then, you make a decision based on what’s best for you.
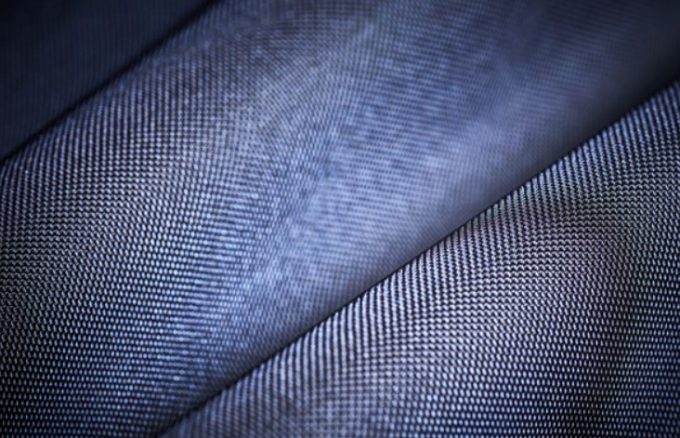
Most commercial tents are made of synthetic fabrics. The cheapest materials are nylon and polyester. They’re also lighter than cotton and canvas, have more durability and resistance, and dry way faster than cotton or canvas. But nylon and polyester have downsides too.
For example, the bright colors used in these fabrics tend to wear out because of exposure to the sun. Since these materials are not naturally breathable, condensation can appear inside the tent.
Last but not least, consider these fabrics are not extraordinarily good insulators, consequently, they may not be the best option to take with you to a camping trip up the mountain.

Cotton and canvas are better insulators and have more breathability. This results in a better atmosphere within the tent. Cotton and canvas won’t be as light or as packable as synthetic fabrics. Also, tents made of these materials require more maintenance.
Basic Components of a Tent
Now, moving on to other equally relevant aspects. How much do you know about the components of a tent? It’s a good idea to have at the very least, a general idea of some of the non-fabric components of your tent. This way, you’ll see how to make a list of items you need to build your own tent.
Poles
Poles are the skeleton of the tent. They give structure and resistance to a tent or shelter. Aluminum or most aluminum alloys are the best materials for poles by far. Aluminum poles are resistant to corrosion and rigid, yet light and portable.
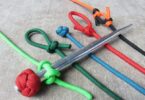
Guy ropes
They’re usually made of nylon or other synthetic durable material. ‘Guys’ need to be synthetic, otherwise, they’ll shrink or slacken as they get wet or dry.
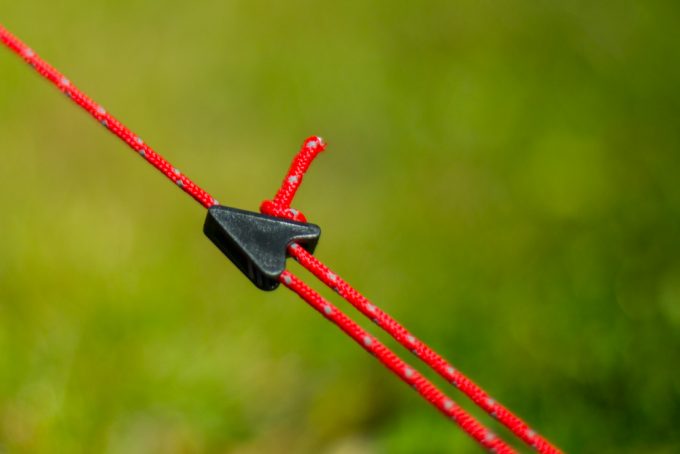
Normally, guy ropes go along the seams of the tent and they help give stability to the tent. These ropes also connect the tent to the ground and they must have the right tension. Not too tight, not too loose.
Pegs
Pegs are necessary to tense ropes and fix your tent to the ground. Pegs come in various sizes, shapes and materials. You can buy the ones that serve your purposes in the best possible way.
Parts of a Tent
A fully put up tent has three main parts: the footprint, the tent body and the rainfly. It goes without saying the tent body itself is the most essential part. Let’s say you could have a tent without a footprint or a rainfly but those two make up for durability and protection against the elements. Let’s have a quick look at them. For additional information, you can visit this site.
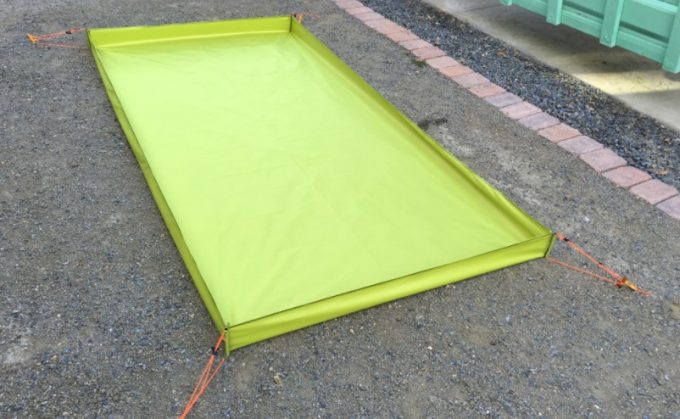
The Footprint (a.k.a. groundhog)
Before putting up a tent, it’s advisable to lay a footprint on the ground.
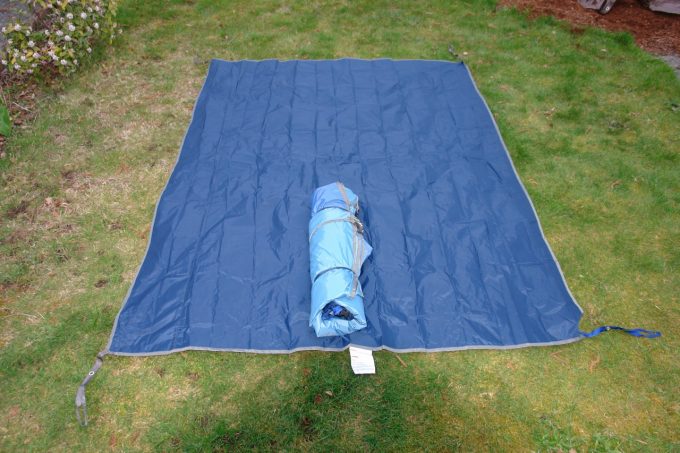
A footprint is basically a ground cloth meant to reduce or prevent the floor of your tent to get damaged or worn after each use.
The Tent Body
The part of a built tent that usually has doors and windows secured with zippers and made of mesh to keep bugs out and promote ventilation. The tent body also has a bathtub floor to prevent water from getting inside the tent.
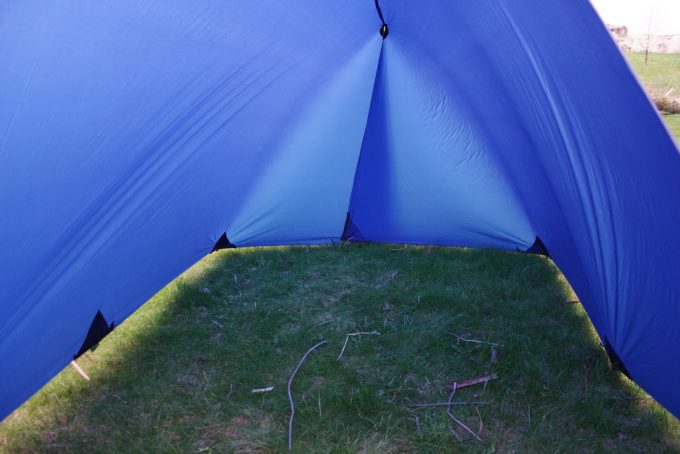
The Rainfly
The rainfly is the most external layer of a tent. It must be made of a water repellent windproof material. For it to protect the tent body, it needs to be pitched to the floor tightly.
Supplies To Build Your Own Tent
Now we can actually get to it. We need to find supplies. Bear in mind you have to pick materials that provide the necessary durability and performance you need in a tent. Here’s a comprehensive list of the things you need for all the parts of your tent.
- Waterproof and durable fabrics!
Ripstop Nylon is a safe bet to make the bathtub floor of your tent. A 200D is a light but still sturdy fabric. A 300D Ripstop is heavier, but even better if you intend to save weight by not having to use a footprint. Consider adding about 5 extra inches to the floor measurement you have in mind.
Any light Polyester with a silicone or a DWR treatment will do for the roof and doors. Durable mesh for doors and windows.
- YKK zippers or waterproof zippers
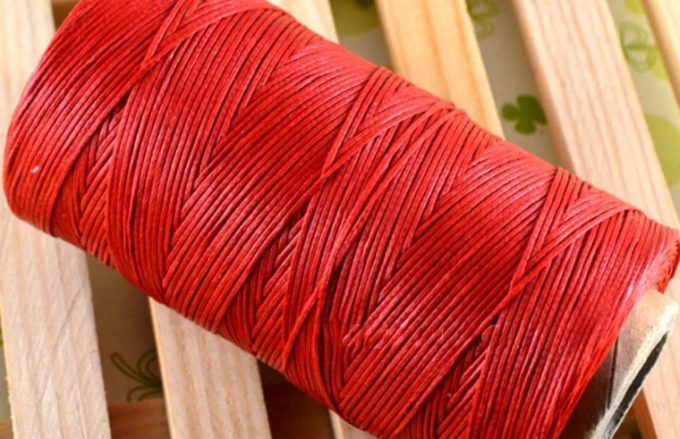
- 70/10 needles & all-purpose nylon thread
These fabrics are extremely hard to sew. You need resistant needles to do it and a heavy-duty thread.
- Painters tape
In order to keep your fabrics from slipping and your seams in place.
- A sewing machine
- Sharp fabric scissors
- Measuring tape or meter ruler
- Waterproof markers
- Liquid seam sealer
- Plastic cord locks
- Nylon webbing
- Cords, pegs & poles
And everything else you think might help you out on your DIY quest!
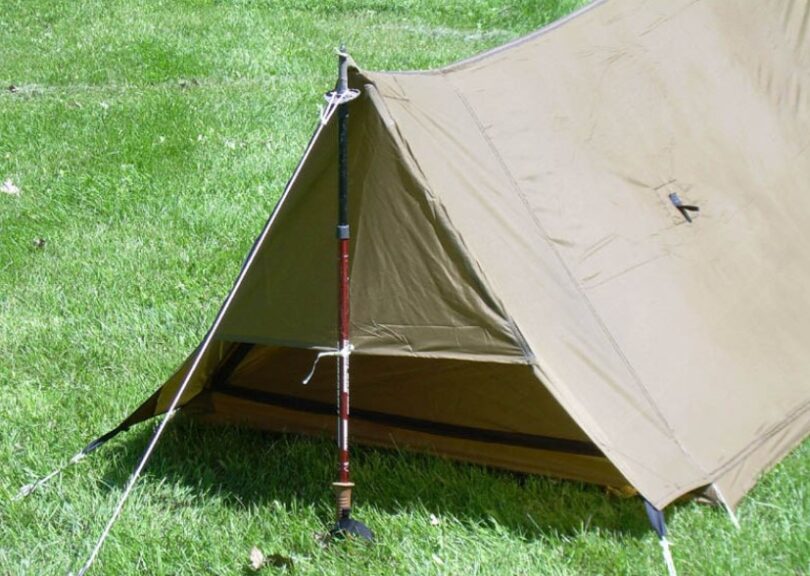
Building Your Own Tent
You’re all set to start building your own tent now. This is the stage in which your imagination takes over the project. There are countless possibilities according to the parameters you established before. You know: the number of people your tent will shelter, the size, the weight, etc.
There are tons of blueprints online that you can download for free. You’ll find precise measurements on them and once you have those, you can decide how much fabric to buy for the project. We strongly advise you to build a fairly simple tent, if you’re not too experienced in DIY projects.
Instructions To Build Your Own Tent
The only previous requirement for you to make this tent is for you to adapt it to your desired measurements of length, width and height. The floor of this 2-people tent we’ll give you instructions to build is 8.5 feet long and 45 inches wide. You’ll have to determine the exact amount of fabric you need according to the height you want the tent to be.
Make The Floor Of The Tent
You’ll lay on the ground enough fabric to make the bathtub floor, which is the measurements given above plus 10 inches on each side.
Your measurements for this piece are 112 inches long and 55 inches wide.
- Take one of the corners. From the tip of the fabric towards one of the sides, measure 5 inches using the meter ruler and mark the spot. From the same tip, measure five inches towards one the other sides of the fabric and mark the spot. Draw a line from one of the marks downwards. Do the same with the other mark. Now you have two lines crossing and it looks like a square on the fabric.
- Put together the marks you drew first facing one another and secure it with painters tape. Now the corner looks like a triangle.
- From the marks towards the corner of the fabric measure 1 ½ inches and cut the outer side. Repeat the whole procedure with the other three corners.
- In the cut part, where the marks you made first meet, sew the fabric from the edge towards the center of the fabric and stop where the lines you made from the marks cross. Do the same with the other three corners.
- When you finish, turn the fabric inside out, so that the stitches you made face inwards. You have completed the bathtub floor of your tent.
Make The Walls/ Rooftop of the Tent
In here, it’s all about preference. Whether you want more or less ventilation or protection. What we mean, you’ll determine how much mesh and windows you want to use and the shape you want your door to have: a triangle shaped door or a rainbow shaped door.
- Once you determined the composition and proportions of your tent, you’ll proceed to secure the rooftop in its desired shape using cords and poles, and sew the edges of the bathtub floor together with the walls and rooftop.
- After sewing all the parts together, remember to seal all the seams with generous amounts of seam grip sealer. By doing this, you make your tent more water resistant and durable.
Remember you always need to leave the extra 1 ½ inches to saw the parts together. You must always assemble all the parts and sew them from inside the tent.
If you made it this far, congratulations, you have built your own tent! The tent you built is exactly what you needed. It has all the features you wanted it to have. You put a lot of effort in it to make it high quality and durable. Provided you didn’t use tremendous amounts of fabric, your tent is lightweight and very packable.
You probably have some fabric, cord and a plastic cord lock left from the building your own tent process. You can make a bag that fits your tent, guy cords and pegs, with the advantage that it will be durable, light and water repellent too. Voilá! You solved the problem of how to transport your tent safely when you go camping.
Tips to Keep in Mind
You didn’t work so hard on your tent as to not take care of it. Here are some general care and maintenance tips for your tent.
Try it in the Backyard First
If this is your first time building a tent, we strongly advise you to try it in your backyard before venturing out on your own outdoors.

You can fully set it up and see how the tent is holding itself together. Check whether some parts are wobbly and whether you need to tighten or re-sew parts of it.
Must-dos After Each Trip
Before taking down your tent, make sure you clean it both inside and outside. Removing dirt, stones and branches will help prevent your tent getting damaged. Needless to say that strong detergents, such as bleach, and hot water undermine the water resistant treatment of fabrics. Instead, try using wipes or soft detergents and a sponge that will go easy on the fabrics you used for your tent.
Pay attention to the way you fold your tent before storing it. You should fold it tight but not too tight. There needs to be room for a little air to circulate. This way, you can avoid that common stale odor to impregnate your tent.
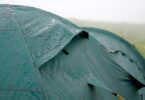
Water is not Your Friend
Give your tent some time to dry if it’s wet before putting it in its bag. If you do this, you can keep your tent from getting moldy.
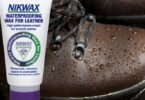
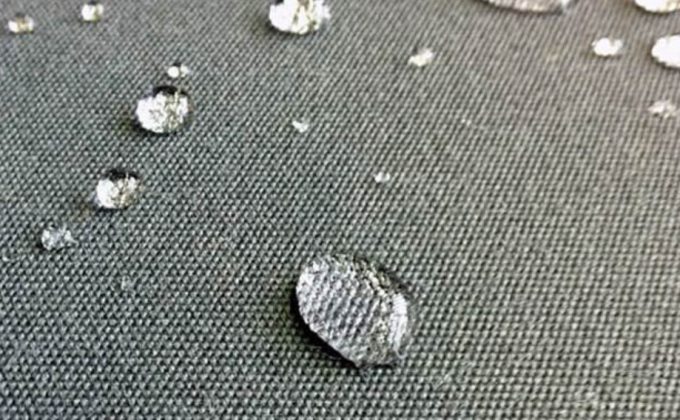
Every now and then, you’ll have to check how the waterproofing of your tent is doing. If water drops don’t slide as easily as they used to, then commercially available waterproofing is available to reinforce your DWR.
Pay Attention to the Floors
Tent floors can wear out pretty fast if campers go into the tent with their shoes on. Shoes carry mud, dirt and stones along with them inside the tent. Even if somebody dares to frown on you for asking them to take off their shoes before going into your tent, just do it.
Shoes off!
Also, you don’t want anyone to smoke or to have fire inside or anywhere near your tent. You can look for equipment (such as lamps) that operates on batteries. This kind of gear will prevent burning the fabric.
Ready to Conquer the Top?
There you go – easy and simple! We really hope this comprehensive guide to building your own tent, as well as to taking care of it, has helped you out and encouraged you to try it.
After all, making your own shelter in nature isn’t as impossible as it might seem. Feel free to experiment with components and parts as you see fit – DIYs and outdoors are all about having fun, so as long as a bad tent isn’t ruining your trip, you’re bound to have a blast building your own tent.
Have you ever built your own tent? How did that adventure go? Let us know in the comments below – we’d love to hear back from you!