
Food is an essential part of keeping your energy up during hiking or camping expeditions into the great outdoors. It becomes especially important to consume enough food when you are out in icy cold conditions as your body will burn extra energy trying to keep your body temperature warm. Your body temperature has very little room for fluctuation to maintain safe levels so your body will automatically allocate a lot of your calories to this crucial function. As such, knowing how to keep food warm during hiking is an absolute must for anyone planning on going exploring in sub-zero temperatures.
Eating enough food will not only help to keep you safe, but a hot meal can also be very satisfying when you’re surrounded by sleet. Now, whether it’s eggs frozen solid or wilted vegetables, food left to take care of itself in cold conditions will simply become inedible. This happens because most food contains some water content which quickly turns to ice when you venture below 0 degrees Celsius. As the water within your food freezes it hardens the overall food item into a rock-like substance.
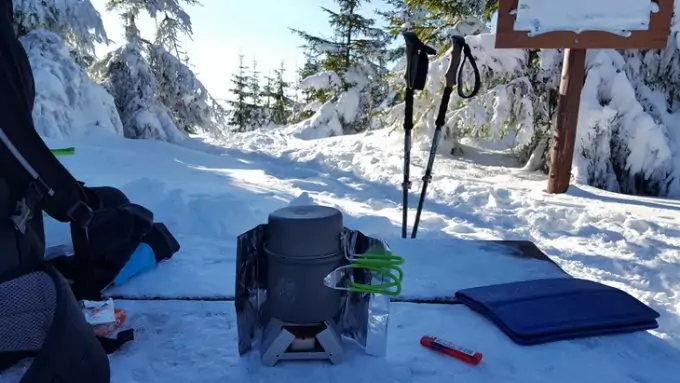
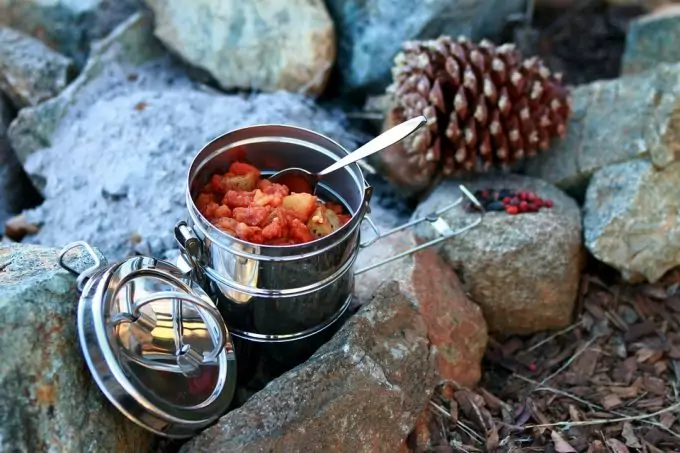
Image Credit: trailmaiden.com
Anyone who’s been hiking or camping in the great outdoors during cold winters, will know that this can be a real problem. So if you’re planning a hiking trip in sub-zero temperatures then you’re going to need to learn how to unfreeze your food to cook/eat it and also how to keep it warm/unfrozen until you’re finished consuming it.
There are a few different solutions to the age old problem of heating up frozen food, namely traditional fire pit cooking and also the more recent inventions of hot tenting and stove top cooking. We’ll go over the best in-snow practices for all of these methods and also show you how to enjoy your food whatever the temperature is outside.
Other than actually heating up the food in the first place, we’ll also cover how to keep your first day’s food warm so that it doesn’t require reheating, and also how to keep your food warm on the trail once you’ve cooked it. But before we get started on the nitty gritty how-to instructions, here’s a list of the best foods to take with you if you’re going on a winter hiking trip.
Best Foods to Take with You On Cold Weather Trips
Some foods on this list have been specially packaged by their manufacturers for easy transportation and cooking in cold hiking conditions. Other ones have merely got a lower water content than regular food or come highly recommended by experienced cold whether hikers.
Here they are:
- Fruitcake
- Baked bannock (this is less likely to freeze than bread)
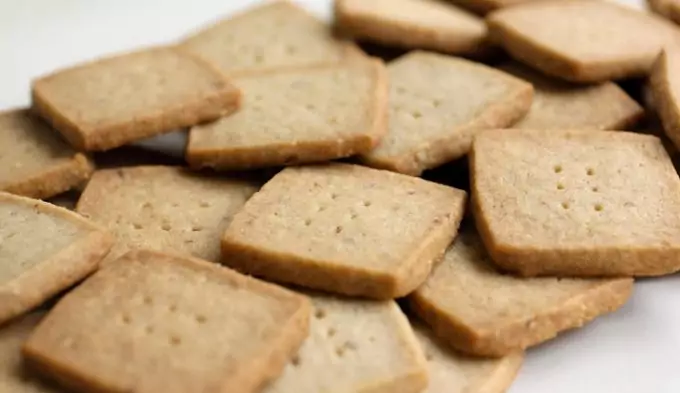
- Shortbread
- Cheese (pre-sliced and separated by cooking paper to avoid solidification)
- Dried meat (pre-sliced and separated as per cheese above)
- Bacon
- Stew
- Shepherd’s pie
- Chicken Fajitas
- Beef tacos
- Dehydrated food packets
In general, we’d recommend doing as much preparation as you can BEFORE heading out. There are several reasons for this. Firstly, slicing food while it’s at room temperature will be a lot easier than trying to cut it up while it’s super cold and hard and secondly, pre-cooking food reduces the amount of water content in your food (as this is released in steam while cooking) which will make it likely to freeze more slowly.

Image Credit: Europages.co.uk
As an alternative to making food yourself before heading off you can visit your local camping/hiking outdoor shop. These stores will usually stock a few pre-prepared food options – often times dehydrated. The easiest day to pack for will be your first day as this food doesn’t even need to be reheated or cooked while you’re on the trail – provided that you store it properly. For the best dehydrated food recipe, see our informative post.
How to Keep Your First Day’s Food Warm
There are lots of methods for reheating food, but ideally during your first day of hiking you won’t need to. Our recommended approach for preparing your first day’s food requires:
- Hot liquid thermos
- Insulated bag
- Wax paper
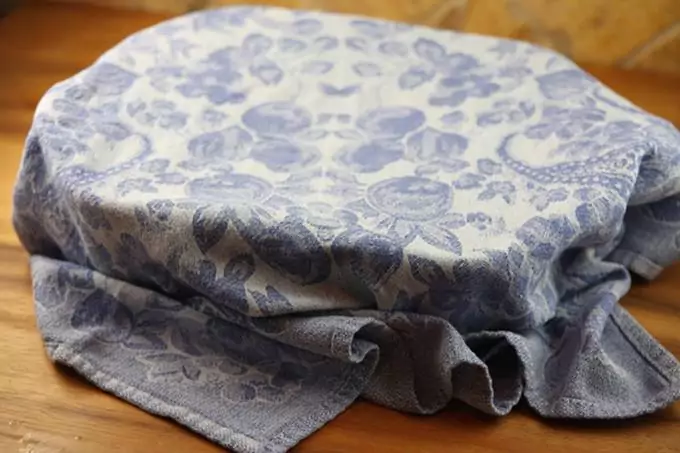
Once you have the above winter hiking essentials for your day’s lunch box composition, you can get started. The best thing to do is to fill your thermos with hot water, or premade tea, soup or hot chocolate. Make sure your thermos is of a good quality that is made to handle sub-zero temperatures.
Once you’ve made your thermos place it inside your insulated bag. Once again, be sure to go higher quality with your insulated bag to ensure it will be able to stand up to the harsh conditions. Having a double layer of insulation around your hot liquid (first the thermos, then the bag) will help to ensure that your tea, soup or hot chocolate is steaming hot for you when you want it. Our list of the top camping thermos for backpacking is a must-read, so do check it out.
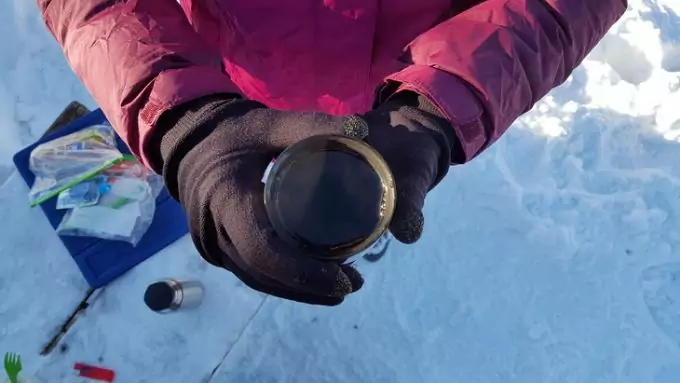
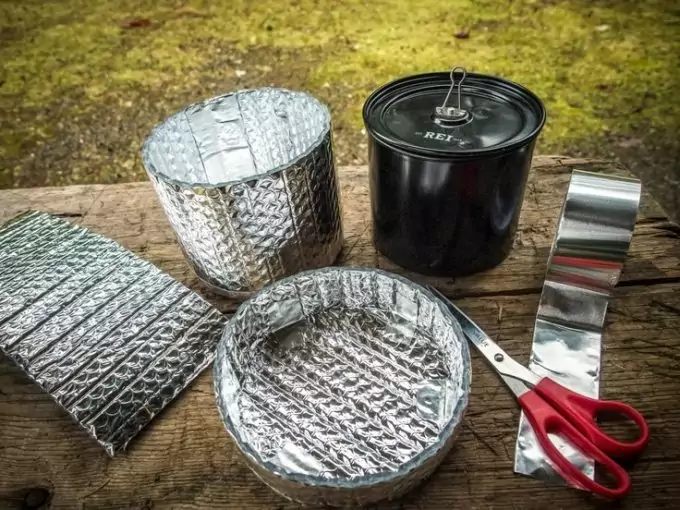
Image Credit: trailmaiden.com
There should be enough room left in your insulated bag for you to place homemade snacks like sandwiches and sliced meat and cheese into the bag as well. We recommend separating your snacks with wax cooking paper to ensure that they don’t stick together by the end of the day.
This approach will generally ensure at least your first day’s lunch is warm and ready for you without any fuss. But what about dinner that night? Or food every other day if you’re going on a multi-day trek? Well, we’ve narrowed down the best two ways to reheat food when you’re out hiking, the first is traditional campfire cooking which we’ll get into now.
How to Reheat Food Using a Campfire
I know what you’re thinking – cooking food over a campfire is easy. Well, let me tell you, even though we’ve been doing it since forever, it is a lot harder to cook food using a campfire in the snow. It doesn’t have to be an insurmountable challenge, though; you merely need to know HOW to do it. And that’s what we’ll get into now.
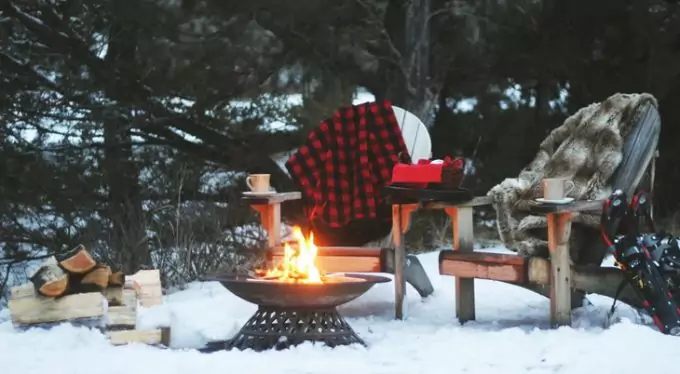
Image Credit: theranchatrockcreek.com
Take these steps next time you are using fire to warm up your food in the snow:
- If you do choose to use a campfire to heat your food, then your first port of call is finding a sheltered area where any wind or snow won’t drown out your fire. Often this place can be found under canopies. Fortunately, you are able to make your campfire close to trees in the snow as they’re not likely to catch fire by accident.
- Now that you have your camping spot you should dig a depression in the snow – preferably all the way through to the underlying ground or stone. A depression will not only mean your fire isn’t built on melting snow, but will also mean it is shaded from any wind that does happen to get into your area.
- The third step is placing your kindling into the depression. A layer of green sticks at the bottom is a good idea as this will help to prevent your fire from sinking down into the cold base below it.
- Place your fire kindling on top and get the fire started!
- Once your campfire is going you can chuck your pan over it and get that frozen curry, chickpea soup or stew cooking.
EXPERT TIP: Eat quickly! It’s a lot easier to clean your pot while it’s still warm than when the food has refrozed and solidified on it. Plus, staying still too long while cooking your phone may not be comfortable for your body, so down that food as fast as you can when you need to.
Cooking over a campfire may be the most traditional approach to warming up your food in the snow, but it’s also one of the most difficult. We’d recommend either hot tenting. Or stove top cooking as described below.
How to Warm Up Food Using a Camping Stove
The instructions for cooking using a camping stove are pretty short. These devices are made to be used in cold conditions, where making a campfire would be difficult.
That being said, there are a few things that will make using a camping stove to heat up your food in sub-zero temperatures a lot easier. These are:
- Placing an insulated pad beneath the stove to stop the snow from melting underneath it (thus stopped the stove from becoming unbalanced while you cook).
- Making good use of the stove’s heat reflector and windscreen in order to keep its flame alive.
- Holding the fuel canister inside your clothing – preferably under your armpit – for a few minutes before wanting to use it to ensure it works well.
You’ll find it’s similar to cooking in regular temperate conditions. Just remember to heat up that fuel canister with some body warmth awhile before you actually want to start cooking! The instructions for cooking using a camping stove are pretty short. These devices are made to be used in cold conditions, where making a campfire would be difficult. Check out our piece on the solo stove top review and see how easy it is to use to cook your food.
EXPERT TIP: Some alcohol stoves come with snow specific fuel pre-warmers. These are a lot easier to light in frigid temperatures and will help to ensure you don’t spend too much time in one spot waiting to get your camp stove going.
The last method remaining is probably the most comfortable, if the most expensive. Let’s take a look at hot tenting.
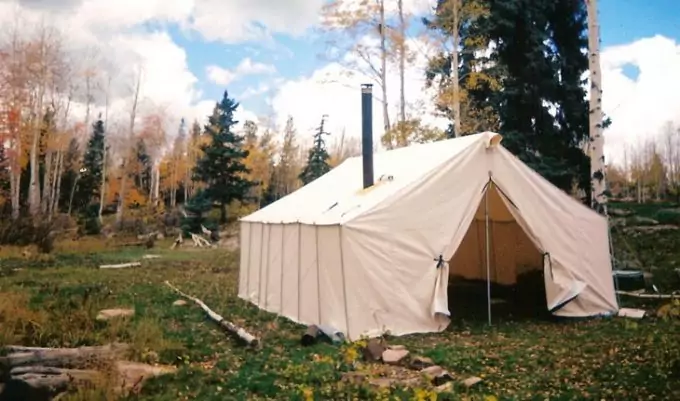
How to Use Hot Tenting to Get Hot Food
We’ll start by being clear about one thing: in order to do this, you will need a canvas prospector’s tent. These tents won’t catch on fire easily or let all the heat escape from them, but they do come at an extra price. Most of these tents come with a wood stove to heat food with on their inside’s. There is really no toastier and a more comfortable way to spend your winter evenings outdoors!
Hot tenting is best done when you’re planning on staying in a spot for more than one night and don’t need to hike too far on either side of it as carrying everything can get quite heavy. It’s certainly cozy, though, and we assure you sitting inside with your stove roaring and a pot simmering at 25 degrees while it’s freezing outside will feel amazing.
EXPERT TIP: Hot tenting may seem less ‘extreme’ than going it cold, but honestly, who are you trying to prove something to? Hot tenting is much safer than going ‘cold camping’ and can make for a very comfortable and even romantic trip out into the wild.
This is our favorite option but it really depends on whether the major part of your trip is hiking or staying put. If it’s hiking, then you’re probably more interested in learning how to keep food warm while you’re on the go. So let’s take a look at that.
How to Keep Your Food Warm While You’re On the Go
After you’ve cooked your food chances are you’ll want to get going again as soon as possible. It can get very cold stopping for any period of time while hiking in the snow, so as soon as your food is cooked we’re recommending getting back on your feet. This means that you’ll need to find a way to keep your food from freezing as you walk and eat it.
The easiest way to keep your food warm on the go is to get yourself an insulated pouch. You can then place your newly cooked food into the pouch and eat straight from that as you walk. This works especially well, for rehydrated and freeze-dried meals.
Whatever you do, please make sure that your spoon is heated up before using it. Getting your tongue stuck to metal cutlery is a real problem in the snow! To avoid this horrible dilemma just put your spoon under your clothing next to your body for a few minutes before using it. This should help to lift its temperature above frigid.
If you’re in super cold temperatures, then you’ll definitely want to close the lid on your insulated pouch of food in between bites to keep it from freezing. At the end of the day the faster you eat, the easier it will be when you’re consuming food in snowy conditions.
EXPERT TIP: There are certain foods that are better than others to eat on the go as they actually help to keep you warm (scientifically proven). These include pemmican, sardines and spicy foods.
Never Go Hungry in The Snow Again
When you’re hiking in cold conditions your body burns more calories than normal in order to keep its body temperature inside safe levels. This is a matter of serious safety and means that you need to know exactly how to make food when you’re out and about in the winter wilds.
Hopefully this article has clarified the best ways for you to both heat food and to keep it warm as you hike along. Remember that food isn’t the only thing you need to think about giving your body. Despite being surrounded by snow dehydration is a real problem for winter hikers, so ensure you learn how to stay hydrated in the snow as well.
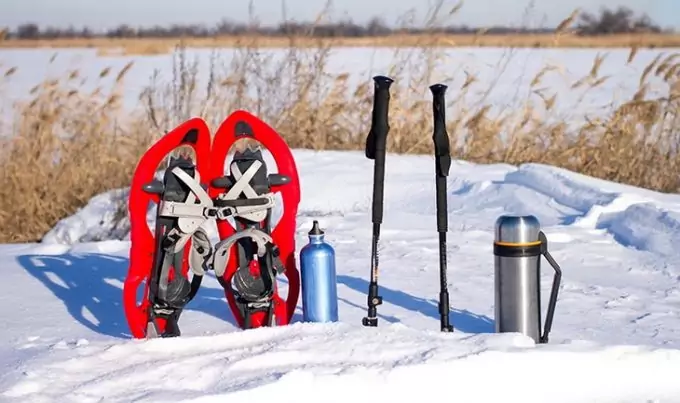
Image Credit: trail.recipes
Once you’ve got your food and water needs sorted you’re about ready to set off on your winter expedition! We wish you all the best with it and would love to hear about any prior winter hiking experiences you’ve had below.
For the best camping meal and how to prepare it, see our important article about it.
If you’ve previously experienced heating up food in cold conditions leave us a comment to tell us how it went and what worked for you.


Whether hiking or chilling in the house, eating cold food is never a good idea unless you want to let a heart burn keep you warm inside. I have used an insulated pouch on many occasions and it does the trick sometimes. However getting a canvas prospector’s tent sounds like an idea worth trying but before then, I think a stove should suffice.
Thanks for commenting!
It is good to know that there are pre-cooked foods that one can buy in a store and eat without reheating or cooking while I am on the trail and especially in extremely cold weather. Prior to learning about them, any time I went hiking during the winter period I conditioned my mind to think about eating only feel hungry after settling down in the camp site. Then I would heat any food that I had carried with me.
Thanks for sharing!