
Who needs a DIY sleeping bag when there are tons of ready to use models on the market that are simply an easier solution? But, feature this: you have been out all day on a hike and there’s nothing you wouldn’t give to have a few hours of interrupted and comfortable sleep. Unfortunately, your own sleeping bag is not all that comfy. You can’t even fit your long frame in the thing. You even dread the idea of camping. The experience is just not worth it. Well… tell you what; there’s a simple solution to your ‘sleeping bag problems’. You can even make more camping gears by reading our article on making your own camping essentials to save money.
Why don’t you just make your own sleeping bag? As we will demonstrate in this article, there is nothing complicated about making a sleeping bag. Sewing two-parts of the quilt together and inserting down in between the fabric is grade-school home science.
To ensure that your sleeping bag features the necessary quality, we have come up with a step-by-step guide on how to get the best material and how to sew a lightweight sleeping bag that’s suitable for camping. Ask yourself this: why would you be comfortable sleeping under a quilt at home, but a sleeping bag becomes very important when you go on a Campout? Once you determine the reason, making a sleeping bag becomes a very easy task.
Another thing that you will need to consider before you embark on making a sleeping bag is the season you are making it for. Why would you need an 800-gram sleeping bag while all you do is go to camp during the warmer months?
Factors to Consider Before Making a Sleeping Bag
Dead Space Inside the Sleeping Bag
Air is an important insulator. The air around your body, when it is not lost to the surrounding environment, will very quickly assume your body’s temperature.
When you make the sleeping bag, insulate the hot air from escaping through the bag’s material.
Keep the Head Warm First, the Rest of the Body is Easy
The head, through the brain, instructs your body to keep warm. Once the nerve center of your bodily functions is warm, the rest of the body will be warm too.
Cells burn food to generate energy. Some of this energy is in the form of heat. Some organs, such as the brain, burn more energy than the rest of the body. The heat is then transported to the rest of the body by the blood.
Your sleeping bag should be top-heavy.
The Hood
If you are making a sleeping bag for the winter, ensure that it has a hood.

This way, the wearer of the bag will have the hood over during cold nights thus ensuring that the exhaled warm air is kept inside the hood.
Waterproofing is a No-No For Summer Sleeping Bag
You will need to allow the moisture from your sweating to escape through the fabric.
If you water proof it, then you will have a very uncomfortable sleep.
Weight
Unless you are making a bag for the winter, you can do away with the hood to minimize on its weight.
Instead of the hood, you can use other forms of heat insulation.
Materials Used For Making Sleeping Bags
Durability, warmth and weight are the most important things to look out for when making a sleeping bag. The materials listed below are premised on the fact that you would want to make a durable and a lightweight sleeping bag to improve its usability when out on camping. See the difference on using duck down compared to goose down by clicking on our article.
| Material | Its Use |
| 700 loft down | Many a manufacturer goes for the 700 and 600 loft downs, but the best grade is 800. The down helps you determine the weight of the sleeping bag without compromising the warmth. |
| Lightweight Fabric | You have two options. You can go to online portals such as AliExpress and buy Asian fabrics that are cheap but are heavier than the state-of-the-art fabrics sold over the counter in fabric stores in the West.
Alternatively, you can visit the local fabric stores and select the fabric that best suits your needs. |
| Down Proofing Fabric | You will want to have a material that will help proof your down material from leaking out. |
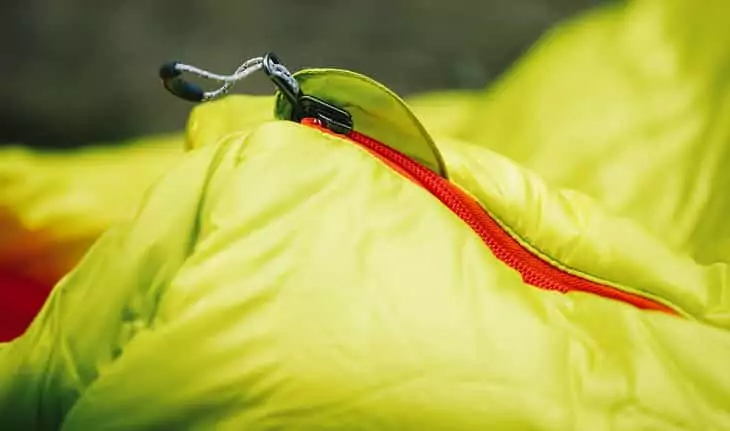
| ¾ Length Zip | You may decide to either have a zipped sleeping bag or one that does not have a zip at all. The advantage of making a zipped sleeping bag is that it can also serve as a quilt. |
| 10 – 50 mm thickness sewn-through shells | To limit the weight of the sleeping bag, your sewn-through walls ought to be between 10 to 15 mm for summer bags and 40 to 50 mm for winter sleeping bags.
Anything more than this will require a lot more down than is necessary to keep you warm. |
| Flat hood | The most common hood on sleeping bags is the narrow-shaped. It is argued that it is cozy on the head and thus allows you to keep warm in chilly weather.
What most people do not know is that when the hood is wrapped around your head, it gets greasy and sweaty. Instead, a flat hood allows the sweat to escape. It is also easier to make and attach to the sleeping bag. |
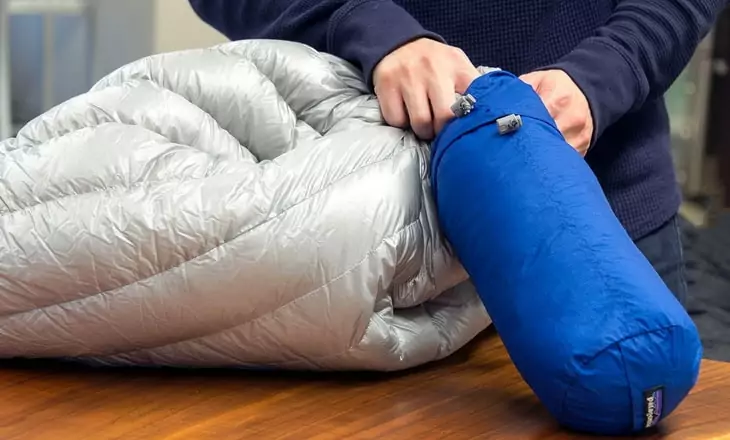
| Waterproofing | A mix of good quality down and light waterproofing nylon stuff sack will not only keep your sleeping bag dry when water gets into your pack but also keeps it lightweight.
You do not want to use the conventional stuff sacks that are very heavy and thus have to be tightly sewn to compress them. This in effect also destroys the down. |
| Smooth Inner Fabric | The smooth inner fabric is not only soothing to your skin, but also helps you to turn the sleeping bag inside out when cleaning it. If it is a zipped sleeping bag, the smooth fabric will also serve you very well as a quilt. |
| Outer Cover Fabric | The outer cover fabric should not be very smooth. It prevents your sleeping bag from sliding off the mat when you are tossing around at night. |
Popular Sleeping Bags Designs
There is a host of sleeping bags’ designs in the market today. Each one is suitable for a particular kind of weather. Below are varieties of designs that you may want to adopt for your DIY sleeping bag.
| Design | Best For |
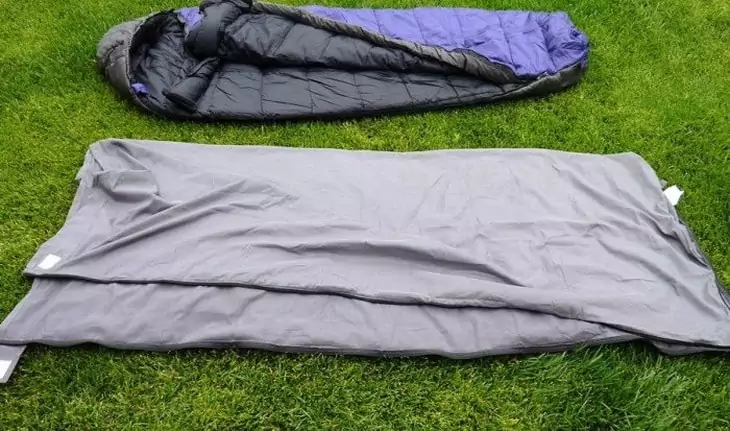
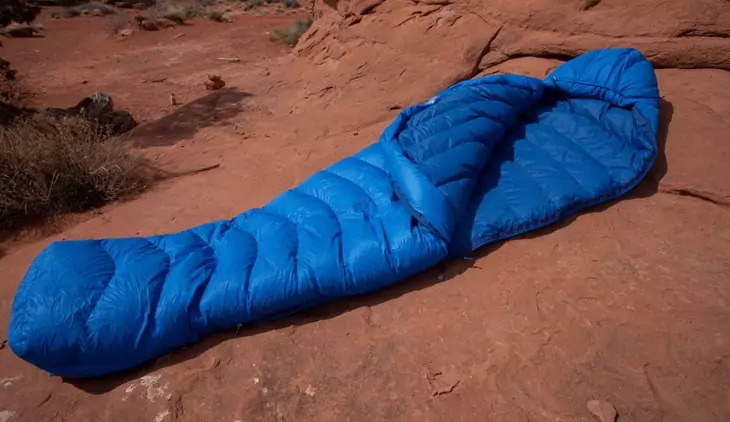
| Mummy Traditional Sleeping Bag | This is best used in very cold weather. It is cramped up to maximize on warmth. Unfortunately, it is not the most comfortable sleeping bag. |
| Tapered (semi-rectangular) Sleeping Bag | It is also great for winter conditions. It is best made with double-layer of clothing, usually cotton or wool. The tapering at one end is to accommodate the head during the chilly conditions |
| Rectangular Sleeping Bag | It is used for warm weather. The hood is flat to allow for air circulation during the warm nights. |
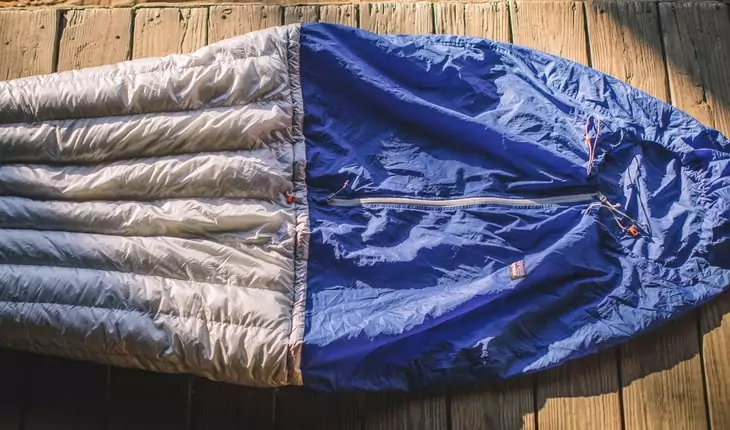
| Topside Sleeping Bag | This is best used during warm months. It offers reduced weight and packing volume since its downside is not covered. |
| Quilted Sleeping Bag | Quilted sleeping bag is best used indoors, e.g. at home where there is air conditioning. |
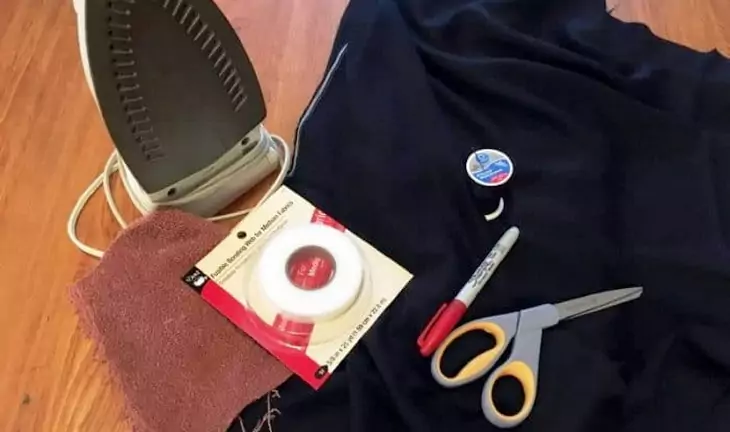
Tools You’ll Need To Make a Sleeping Bag
For every DIY project, you will need the proper tools to get the job done properly. In this case, you will need the following:
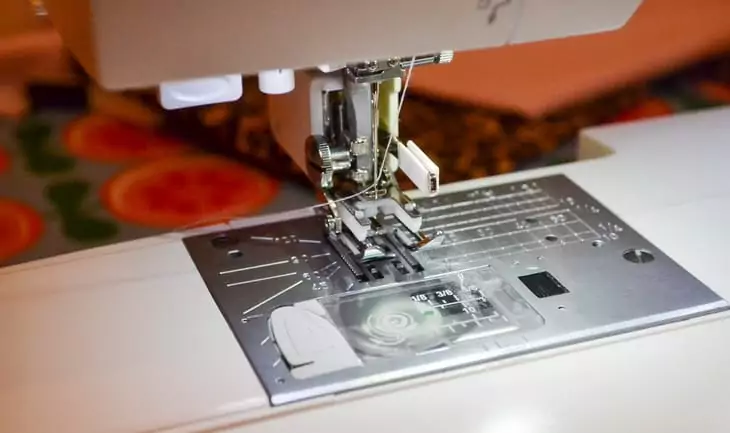
- Sewing machine: You don’t need to buy one. You can rent it or ask a friend to help you with theirs.
- Scissors: Among the popular brands used by tailors include; Fiskars Easy Action Bent Scissors, Gingher Knife Edge Dressmaker Shears, and Fiskars 8 Inch Softgrip Pinking Scissor etc.
- Marker Pen: You will use the pen to mark out the pattern.
- Chalk: You can use chalk instead of mark pen to trace out the pattern of the sleeping bag on the fabric.
- Needle + thread: These are for sewing your fabric together.
- Ruler: Use a ruler to mark where the seam will pass through to ensure that your stitches are straight.
- Crochet: Used for hand stitching.
Step-by-step Instructions on How To Make A Sleeping Bag
Method 1
- Cut the Fabric – You will need to determine the size you want for your sleeping bag. After this, you will use the chalk to mark where your scissors are going to cut.
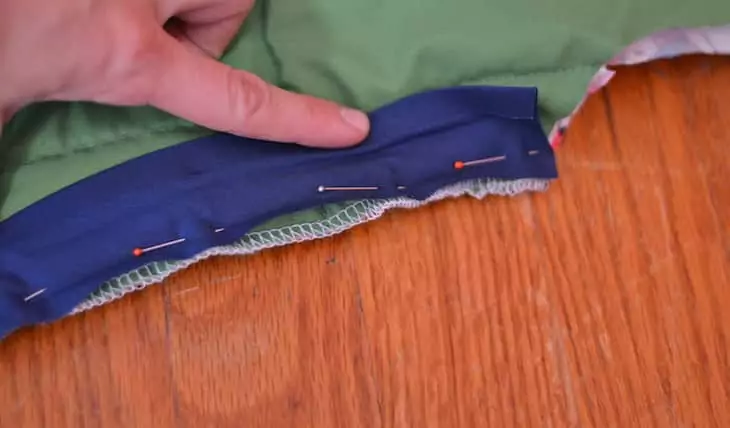
- Pinning Together – The next step will be to pin the cut fabric together. Here, you will need to place the patterned end facing inwards. This makes it easier to sew. Note that, for your sleeping bag to be easily turned inside out, you will leave about 3-foot opening.
- The Batting – Ensure you place the batting flat to reduce the lumpy look of the sleeping bag. The batting should be cut to equal the size of the sleeping bag and then slid slowly into the sleeping bag’s folds.
- The Seams – To ensure the seam runs are not crooked, use chalk and ruler. You will then pin the seams and sew it together. The seam in the middle of the sleeping bag gives your sleeping bag a point for folding the batting.
- Hand Stitching the Decorations – If you have any decorations that you want to put on your sleeping bag, you will need to hand stitch them on the front side of the sleeping bag.
- The Straps – When stitching the straps, you need to be careful not to interfere with the zipper’s threads. The best practice is to cut 2 long rectangular fabrics and then stitching them lengthwise as the right side face inwards. You will then turn the straps inside out and sew them to the bottom of the sleeping bag.
- Zipper – The best practice when installing a zipper is to fold the bag halfway and then placing the zipper at the right place. You will then unzip and stitch the zipper along the perimeter of the bag.
Method 2
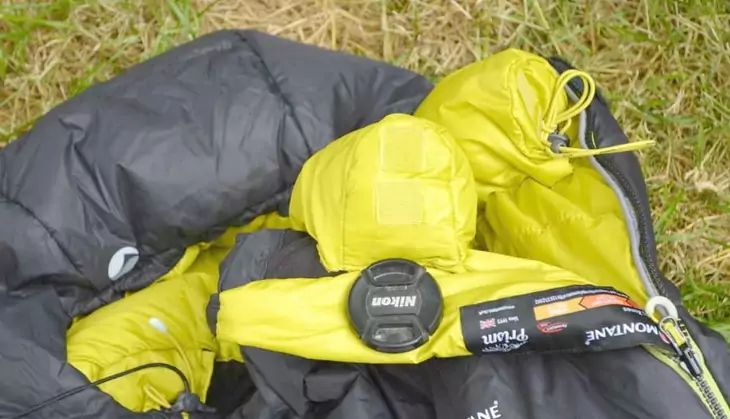
- Lay a paper on the ground. Spread an old sleeping bag on top of the paper. Trace the space that your older sleeping bag occupies using a marker pen. Note that the bag should be fully zipped.
- Do not forget to trace around the hood. If you want to change the shape of the hood, you will have to estimate that one.
- Estimate/calculate the area the bag will occupy when the fabric is zipped using the traced diagram.
- Double your estimate in the (3) above to know the amount of fabric you will need to buy for your sleeping bag.
- Cut out your paper pattern so that you can use it on some real fabric. After you purchase your fabric, lay it on the ground and place your paper pattern on top of the fabric. Using the marker, trace through the fabric to match your paper pattern. To avoid wastage of the fabric, make sure you place the paper pattern as near the edges of the fabric as much as possible.
- After tracing the paper pattern, it is time to cut through your fabric. Ensure that you cut as close to the marked pattern as possible.
- Sometimes you will need to create a pillow pocket for your sleeping bag. You will use your ruler to draw a rectangular shape at the top of the already cut sleeping bag fabric. Make sure it extends about 20 inches above your hood.
- Another thing you will need to take care of is the liner for your pillow pocket. It should be cut in such a way as to create an opening for your head.
- The next step is to stitch together your fabric. Fold it in half to expose the exterior of the fabric. You will then stitch together the bottom ¾ of the two pieces of fabric, leaving enough space for the zipper. Note that your stitching should be about 1 inch from the edge of the fabric.
- If you want, you can have snaps or ribbons stitched at the bottom of the bag on both sides. To secure the liner of the sleeping bag, have it attached with two equally spaced snaps. This allows for easy removal of the liner for cleaning.
- Turn the bag inside out. You will then need to place the liner on top of the bag to mark out the places where your snaps and ribbons for fastening the liner will go. Sew the snaps and ribbons in the bag. Ensure you hem the top of the liner. It should also not extend beyond your chin when you are using the bag.
- Finally, you will need to hem the liner in place for the pillow pocket and the sleeping bag hood. Note that the pillow pocket should be sewn on the bottom and one vertical side and on top and attached to the main sleeping bag. This will leave one side for stuffing the fleece and/or puffy jacket to create a pillow.
Final Thoughts
By making your own sleeping bag, you will not only be making a bag customized for your needs but also cut an unnecessary expense.
Besides, being able to stitch is an invaluable skill to possess not just for making a sleeping bag, but for numerous other things you can make on your own.
Not crafty enough? No worries. See our article on the best affordable sleeping bags to take camping.
We hope that you found out article useful and that you will share your thoughts on this topic, or if you already made a sleeping bag, please share with us how that went and let us know if we forgot to mention something important. Also, feel free to share this article on social media so that your friends can learn this valuable skill.


Making your own sleeping bag sounds like so much fun considering only you know what you want the most as you sleep outdoors. My girlfriend and I will try making one for ourselves, using our exact body specifications (height, width), color, design and material preferences. Then that way, we will not have to whine about having bought a sleeping bag that it too tight or too hot. Besides, completing the task sounds like it could be quite satisfying.
We couldn’t agree more!
It looks like such a long process but the end result must be quite fulfilling because everything about the sleeping bag will be made according to one’s preference. I, however, think that one needs to try making one quite a number of times before making the final one because the first few trials might not be the best.
Thanks for commenting!