
The kind of food you carry for your backpacking trip matters a lot. Most hikers and campers find it difficult to decide what type of food to bring with them to their outdoor tours. As humans, they are prone to choosing the tastiest and most nourishing, but when it’s time to hit the track, things become messy.
To avoid these kinds of problems, it’s important to have an idea of how to create a DIY backpacking food, so it becomes easier to have meals within the shortest time possible. Most people make poor decisions as far as this issue of meals is concerned, and this significantly affects their adventurous events.

When you are planning your backpacking tour, you need to know that what you carry for a one-day trip could greatly differ with the food you would take to your backpacking tour. Various factors would play a part in the choice of food you select such as taste, weight, durability, and nutritional value. It may seem overwhelming to plan and prepare a homemade backpacking food, but once you have an idea of how to go about it, you won’t have to spend a lot of time looking for what is best for you.
METHODS FOR ULTRALIGHT BACKPACKING FOODS
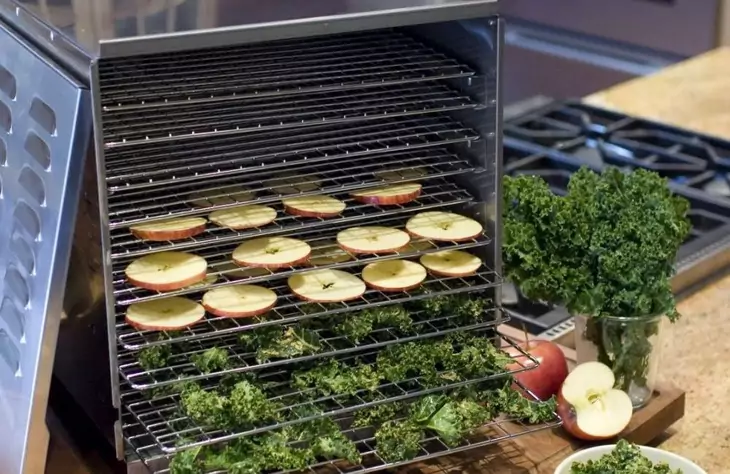
- If you want to minimize the weight of your food, use a dehydrator to get rid of moisture. Using an inexpensive equipment with stacking plastic will go a long way in removing water from your food. Here’s our article on the best food dehydrator to give you more options, so check it out.
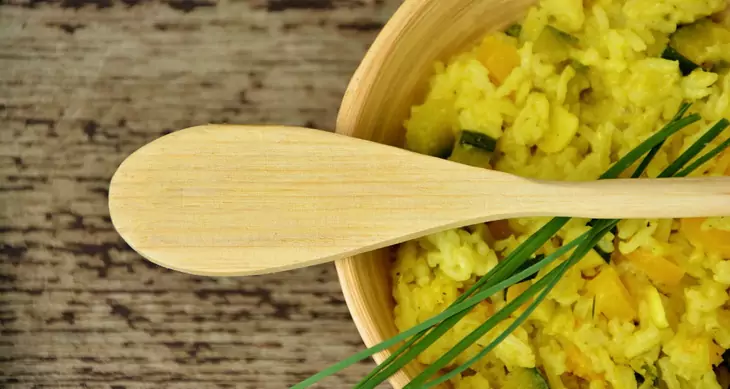
- Choose easy and comfort recipes such as stews, sauces, and casseroles which are thick and contain great flavors. Rice, noodles, sauces, mashed potatoes or polenta, and condiments you would serve with a dish may be obtained small packets to compliment your dish. Meals that depend on certain texture, structure or large pieces don’t adapt well to a dehydrator.
- You do not need to spend so much time cooking yourself. Double your recipe for the favorite meal and place half of it in your dehydrator overnight or before heading to work in the morning and the food will be ready for the trail come the weekend. Alternatively, you can buy a pre-made meal from a deli at the local grocery, prepare it as per the instructions given on the package, and convert the food to a backpacking meal using these principles. Make sure that what you have is a recipe you would love to consume.
- Pack your recipes along with nutritious and colorful veggies. However, limit the fiber as this is weight without calorie.
- Make sure the flavors in your homemade backpacking food are varied as this will keep your meal interesting throughout the trip.
- Once you have prepared your recipe in the kitchen, puree or chop the food to consistent sizes. The smaller the portions cut, the faster the pieces will rehydrate at the camp. At first, the chopped version may look somewhat strange, but the taste of the meal will be familiar and fabulous.
- You should learn what products rehydrate faster and which ones take the time to rehydrate. It will be very frustrating having to wait thirty minutes for the meal to rehydrate so as the meal can soften when on the trail. Some grains, vegetables, tofu and beans often take some time to rehydrate. Therefore, you can replace these products with the freeze dried versions since these foods rehydrate faster.
- Be careful with fatty meals as food that contains fatty surface go rancid quickly. Rinse the fat from the meat using hot water before you can rehydrate. Limit the amount of fat when cooking and carry butter or a bottle of olive oil to add at the camp.
- The closer you are able to get the dehydrated sauces into powder consistency, the faster your homemade backpacking food will be ready when on the outdoors. Pulse the food in a blender or processor once the moisture has been extracted from it. You will notice that the coarser components won’t be easily broken but the sauce ones will.
- Measure your food into servings before you can put it in a dehydrator. Add some volume of water so as to recreate the initial serving volume.
- When placing the food in the dehydrator, spread it uniformly and thinly over the trays. For runny sauces and drier recipes, use a fruit leather tray and a mesh tray respectively. Food dries quickly when placed on mesh trays.
- Do not compromise the drying time. Food can never get over-dried, so make sure you do it overnight or even longer.
- At the camp, use hot water or create a lightweight insulated ‘cozy’ for nestling the pot. The hotter the food products remain during re-hydration, the quicker it’ll be ready for consumption.
For more tricks and tips in how to safely dehydrate food, click on the link to see our must-read article.
CHOOSING YOUR HOMEMADE BACKPACKING FOOD
The time has come for you to take a chance into the unknown and begin preparing your own camping meals. By using certain ingredients and cups of boiling water, you’ll be in a position to create an actual meal in the wilderness with as many calories as you desire. Here’s how to go about it.
The Base
Let’s begin with the carbohydrates. Select one which is not fussy and pack light. Basically, the carbohydrate will be over a hundred calories per ounce and will be able to rehydrate without having to boil water for over a minute so you can save on fuel. Here are some examples:
- Rice noodles – This choice is perfect when you are in need of texture
- Couscous – This is a favorite way to begin a backpacking meal. During a hot period, couscous cooks by adding cold water and leaving it out in the sun covered for about a half an hour.
- Potato flakes – The Idahoan potatoes are a perfect staple for the backcountry meals. Begin with the plain flakes and add your flavoring.
- Macaroni – Pasta shapes which are small and thin will cook excellently by adding boiling water and covering for about ten minutes with the heat turned off.
- Instant rice – While it’s possible to rehydrate instant rice using cold water, heating up the water to a simmer would yield much better results.

The Flavor
After that, you’ll need to consider how to season the base. This can be done with:
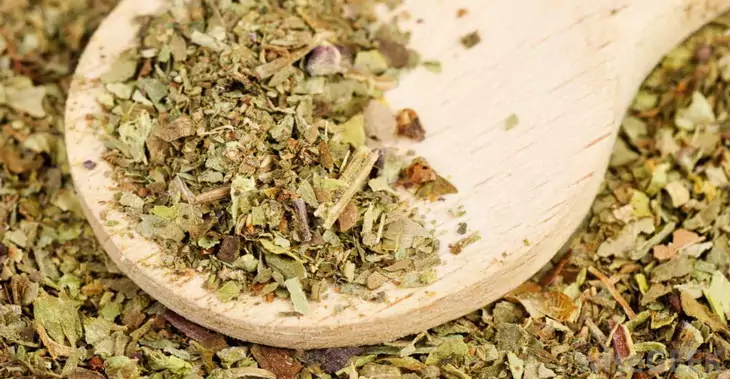
- Spices – Make sure you take a look at your spice cabinet. Some dried mustard perquisites your couscous. You can add dried basil to pasta. Chipotle can be used to add flavor to your instant rice. You should try a few experiments to determine what is suitable for your case.
- Seasoning mixes – Seasoning packets often come in different flavors including chow mein, fried rice, and chili. The Asian grocery store would be the most ideal place to look for these products. Here, you can find great backpacking meal additions such as instant chicken and powdered coconut milk.
- Curry paste – You can add this product to your instant rice during your back country ventures, but you’ll need to gauge your comfort level as this may not be suitable for your case.
The Nutrition
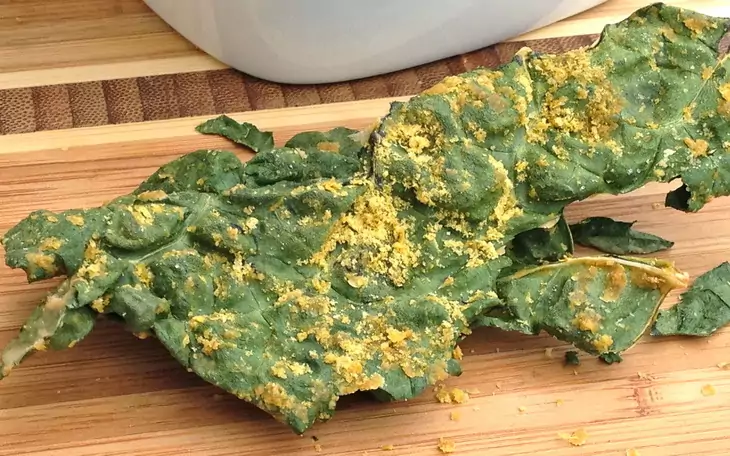
Adding nutrition to your back country meal is probably the hardest thing you can do. Vegetables can be heavy, so you’ll need to think carefully and choose products that have a moisture weight reduced. Aim for fifty calories per ounce, which include staples such as dried onion and dried tomatoes, which can be found in any grocery shop. Trader Joe’s is an excellent source of dried veggies, including dried beans, dried coconut, and dried kales.
If you are more than willing to splurge, there are online companies which sell backpacker-friendly vegetables from dehydrated sweet potatoes to freeze-dried spinach.
The Calories
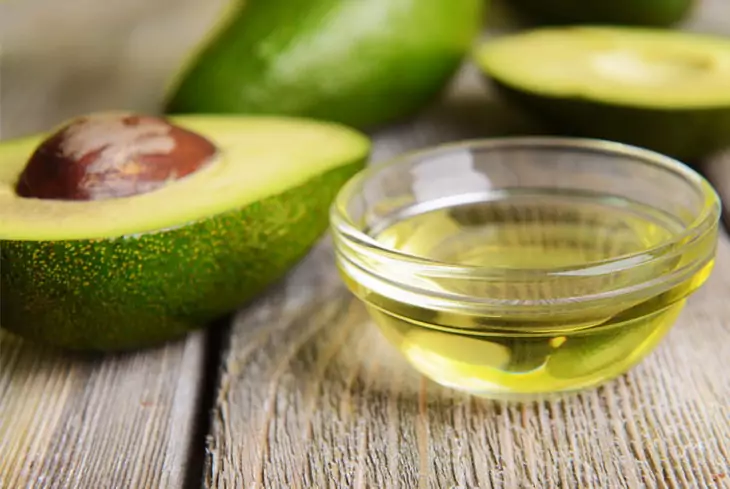
When selecting fat for your backpacking meals, you can never go wrong when it comes to calories. Most fats are upwards a hundred and sixty calories per ounce, so do not hesitate when searching for your hearty meal. You can opt for olive oil, which is easy to carry in a lightweight disposable bottle.
However, there are other options to pick including avocado oil, peanut oil, safflower oil, among others. Remember to keep the oil separate until the food has cooked since water and oil do not mix.
At this point, some splurging can create a huge difference. Powdered butter can boost your back country meal made with potato flakes. Cheddar cheese and powdered Parmesan can make your pasta worthy of a back country.
The Protein
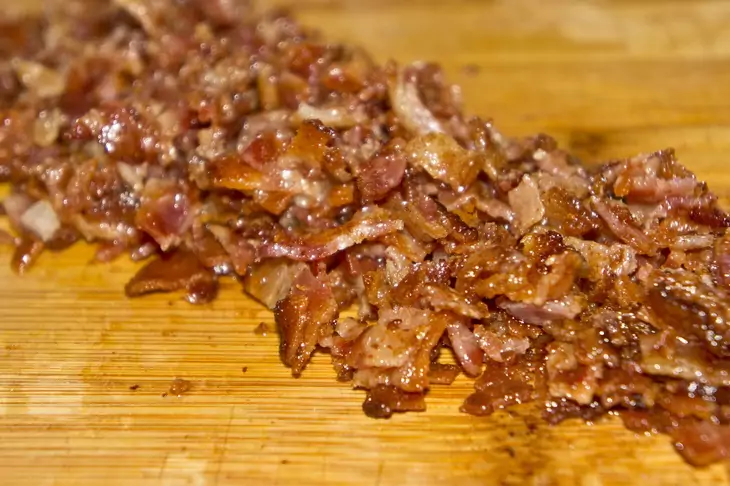
If you have been snacking on beef jerky, almonds, and peanut butter throughout the day, it may not be necessary to include proteins into the end-of-day meal. Nonetheless, if you are thinking of incorporating it into your recipe, there are some options you can consider. At the grocery shop, you can find dehydrated refried beans and bacon bits. If you are brave enough, you can opt for a freeze-dried ground beef.
There are numerous ways of combining the above ingredients to create an easy, fast, and delicious meal. Make sure you do some experiments at home before heading to the back country. That way, you’ll have an idea of how best to prepare your homemade backpacking food without difficulties.
BACKPACKING SNACKS TO CONSIDER
You are on the trail, and you get hit by the snack attack. Now you know you need something fast to quench that desire. Snacks are great to have every time you are in the back country. It is important to prepare some at home before leaving for the back country. Here’s what you’ll need to consider.
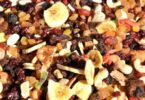
- Fig bars are tasty and affordable. You can also decide to buy something like ProBar Mel and ClifBar Orginal. If you are an experienced backpacker, you may need to consider purchasing a dehydrator to make fruit rolls, dried veggies, and fruits. Salami, dried fruits, cheese, and fruit leather – whatever you prefer, make sure there’s a perfect mix of salty and sweet.
- Homemade Granola Bars are snacks you can easily make at home. Pack this product in reusable zip lock and snack time baggies. You can include carob chips, chocolate, almonds, pistachios, pumpkin seeds, walnuts, cashews, coconut butter, dried fruit, or any other thing that would be ideal for hiking.
- You can never go wrong with fresh fruit. Make sure to stock up on fresh fruits such as bananas, grapes, apples, and oranges beforehand. The juice from these fruits will be tantalizing during and after a long hike.
- The Raspberry Fig Fruit Leather recipe is easy to make, and the outcome is so delicious. This is a perfect snack when hiking or when hanging around the campsite.
You can even make your own DIY trail mix, see our article to find out how.
WHAT ARE THE BENEFITS OF PREPARING BACKPACKING FOOD?
If you will be spending a tremendous amount of time in the outdoors, it is beneficial and cost-effective to prepare your back country meals as highlighted above. Nonetheless, if you plan is to go on a short-period hike, you may want to bring a pre-cooked meal or prefer eating out. Preparing a homemade backpacking food is preferable as opposed to camp cooking. Here is why:
- If you happen to forget your fuel canister, hose, or any other critical component, it will be impossible to have a meal, and this ruins your entire experience
- Cleaning dishes after cooking and eating can be time-consuming and overwhelming
- If you are purchasing kitchen equipment for camping for a few trips, cooking at the campsite is definitely not a cost-effective measure
- If you have no experience in camp cooking, the outcome of your meal will vary greatly
So what are the alternatives?
- Prepare a homemade backpacking meal and take with you on your outdoor trip
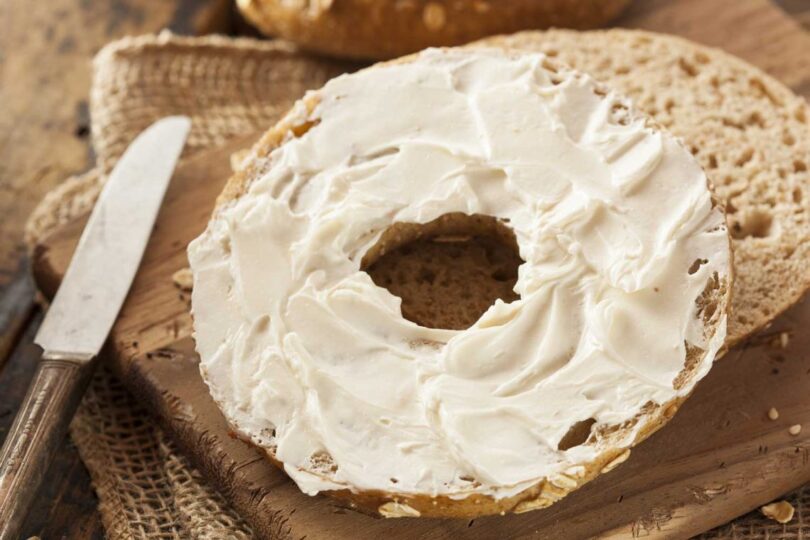
- Carry the just-add-water product (dehydrated meals). These may include items such as dried beans, oatmeal, coffee, tea, and cream cheese. You can also carry pre-made sandwiches for lunch, and other pre-made food for dinner. For instance, if you pre-cook steak or chicken, you can prepare burritos by reheating everything.
BEST BACKPACKING MEALS FOR YOUR OUTDOOR SURVIVAL
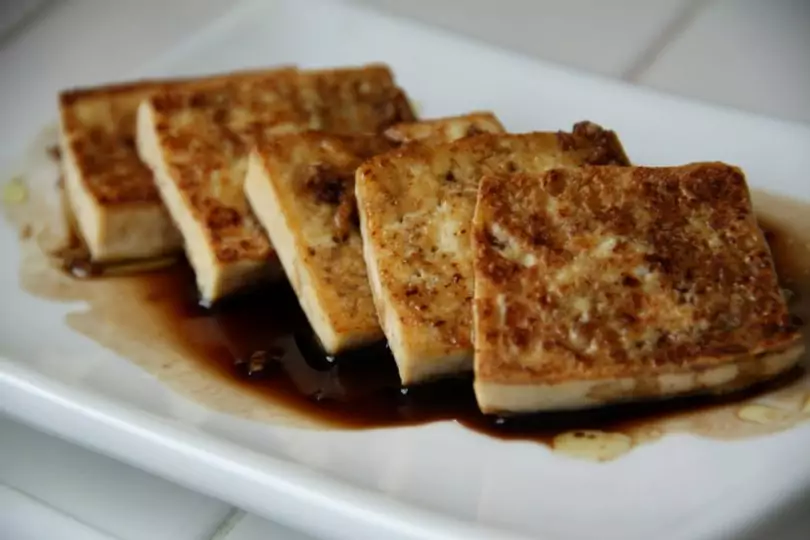
Marinated tofu
It usually takes some time to make the tofu before you can hit the trail, but you will fall in love with its taste. Here is how to go about the process: cut the tofu into small blocks for quick and easy marination. One block of tofu should create about eight smaller blocks.
After that, put the block on a towel or a heavy fabric and cover the tofu with it. Put something heavy on the blocks of tofu, so the water and juice content is extracted. It will not be perfect, but it would be ideal that way. Drain the water.
In the meantime, place the following ingredients in a bowl for the marinade:
- Two teaspoons of olive oil
- Lime juice
- A half chopped jalapeno
- A quarter onion (chopped into smaller cubes)
- A half teaspoon each of salt and pepper
- One tablespoon tequila (optional)
Mix the ingredients well to create a homogenous mixture. Now, place the blocks of tofu in the marinade.
When you are in a hurry and making this food right before you can start your trip, give it about fifteen minutes to soak. However, for the best outcome, leave the mixture for fifteen minutes before transferring it to a freezer until the day you are to begin your trip.
The good thing about tofu is that it can unfreeze relatively quicker compared to meat. Once the food is unfrozen, you can prepare it whoever way you find suitable. You can cook it in oil or eat it as it is with some fresh veggies.
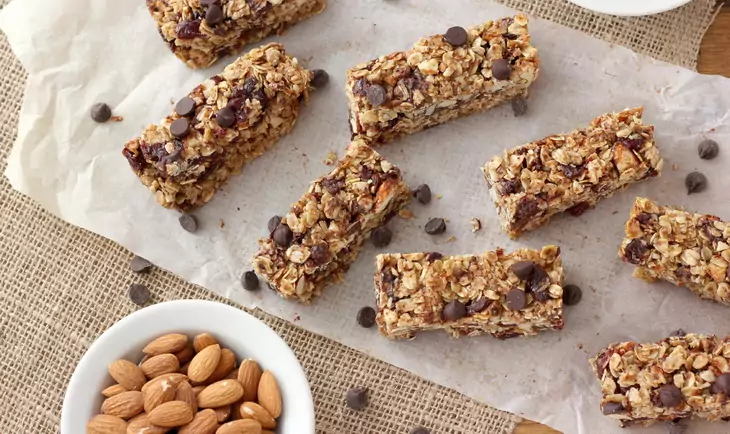
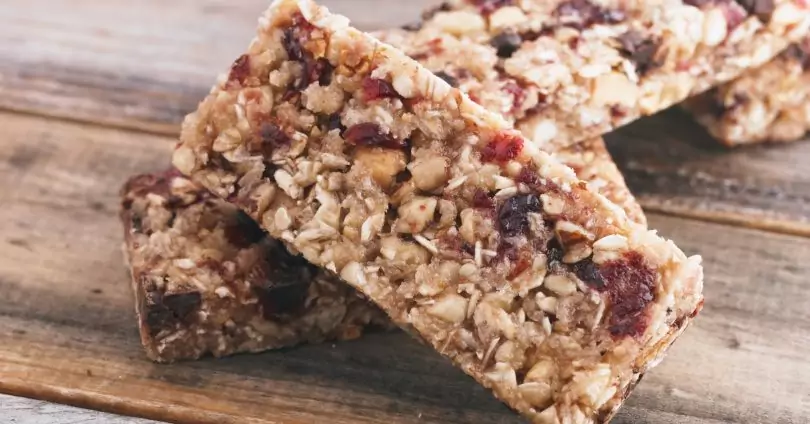
Granola bars
If you are a person who loves granola bars and nuts, you can be delighted that there are better ways of making these food products without the weird preservatives and additives. If you’re are a conscious individual, then this recipe will work for you.
Prepare the following:
- A quarter tablespoon sea salt
- One and a half cups of rolled oats and same amount of crispy rice cereal
- A third of a cup of dried blueberries
- A half cup of shredded coconut
- A quarter nut butter (almond is suitable)
- A half syrup (can, brown rice, maple, etc.)
- A half cup of chopped almond
- A half a teaspoon of vanilla extract or one teaspoon vanilla sugar
Begin by turning your oven to preheat to three-hundred and fifty degrees Fahrenheit. After that, put on the baking sheet shredded coconut and almond bits to bake until brown areas are formed.
After that, prepare a baking pan and line the pan with two overlapping baking sheets such that all the sides and bottom of the pan are covered. Mix the rolled oats, rice cereals, blueberries, salts, almond, and coconut in a bowl. These need to be uniformly mixed. They will later be put in a baking pan.
In the pan or skillet, place butter and a syrup of your choice. Cook the mixture, so they blend perfectly to create a homogenous mixture. Signs of bubbles indicate your mixture is ready. Add the vanilla extract and stir everything. Remove the pan/skillet from the heat source and give it time to cool slightly.
From here, go back to your oats mixture. Add butter mixture and syrup to the rice cereals and oats and stir well to allow the butter and syrup to dissolve. Pour the mixture into a baking pan and press it with slightly wet hands to make the mixture hard and tight. Ensure the surface is uniform without strange protrusions. When that is done, place the component in a freezer for about fifteen minutes.
After that, take the pan out of the freezer. Using a baking sheet, remove the mixture block and put it on a table. Cut the component into twelve or fewer bars. When you want to store them, it’s advisable to wrap the bars individually in their own wrap. Store the products in a fridge to ensure they do not perish easily. Only remove them from the refrigerator when it’s time to go camping or hiking.
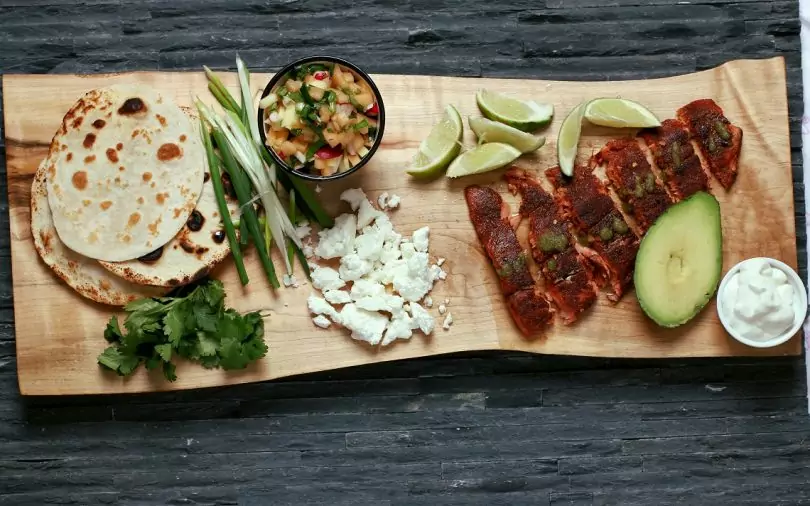
Trout taco recipe
If you are a person who loves to fish when hiking or camping, then this recipe is meant for you. You can prepare trout taco by either bringing an already caught fish or catching one on your own. To make this meal, here’s what you’ll need:
- Lemon drops
- Olive oil (to taste)
- Trout (a single fish yield a portion)
- A teaspoon of rosemary, pepper, and oregano
- A corn tortilla
- A teaspoon salt
- Sauce
Prepare your fish by ensuring it’s clean. After you have removed its insides, season the fish using a mixture of pepper, lemon, oregano, and rosemary, plus salt. Cover it using olive oil. This can be smeared mostly on the skin area. Add some oil to the skillet to preheat it before you can fry your fish. Fry the fish until it turns brown.
There are other alternatives to the skillet. In case you don’t have it, you can opt for a heavy-duty foil. Wrap your fish in the foil and then place on the charcoal base fire. Alternatively, you insert a stick and put your fish above the flames. However, you need to be carefully so as not to over burn the fish or it may end up turning black and inedible.
Finally, after the fish is cooked and ready, remove the meat from its skeleton and put these pieces on the tortilla wrap. Roll the fish inside the wrap, and you have yourself a homemade backpacking food. You can decide to add other components to your tacos such as ketchup or any other sauce. You can try a Carrot Cayenne Sauce or guacamole.
IN CONCLUSION
As mentioned earlier, homemade backpacking food can be quite boring, but this does not necessarily have to be the case. If you try and use your imagination to combine the ingredients and recipes outlined in this article, you can end up with a tasty meal. As long as you follow the idea that a meal should have protein, carbohydrates, fats, and salt, and add flavor to it (such as peanut butter, olive oil, and spices), you don’t have to worry about not having the best meal when you are in the backcountry.
For some days you don’t want to cook, here’s some tips on preparing no-cook meals for camping – it’s a must-read!
So, have you ever made a backpacking meal before? What ingredients did you use? Please let us know by posting your views below.


For me, backpacking food is just trail mix and some pitas. But now, I have so many more ideas! What’s a great meal to bring backpacking? That marinated tofu sounds delicious, have you tried it yourself?
The marinated tofu is amazing and definitely worth a try if you are interested! Some great meals to make would be stews or burritos for example, or anything that has a lot of protein, which you will need while backpacking. There really are too many to list!
I feel like trying all these at once. I have tried so many backpacking food and I can add these to my next tour. Seems like these can be easily carry. Is it?
Yes! For sure.