Hiking takes us to different environments. Some quite easy to trek while others are hard and leave our feet sore. What all these environments have in common is the presence of animals. One way or another, as we hike, we encounter different kinds of animals that we need to protect ourselves from. More important than protecting our other belongings, is keeping our food safe. And this is precisely why we need to know how to hang a bear bag.
How else are we to survive on a trail without any food? Hunger has dire effects on our bodies- you can faint due to general body weakness or worse, have to cut your trek short simply because you can’t go any further. You need to hang your bag away from the ground since it contains all your essential items, to keep them away from animals.
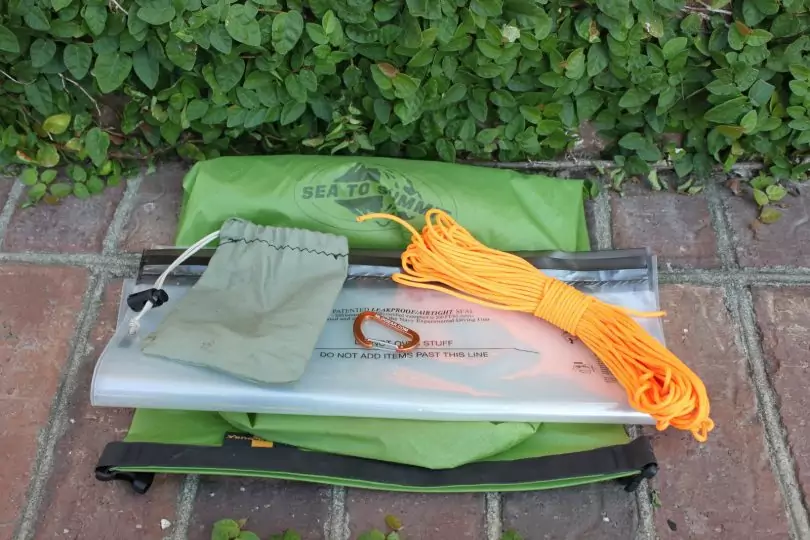
What exactly is a bear bag
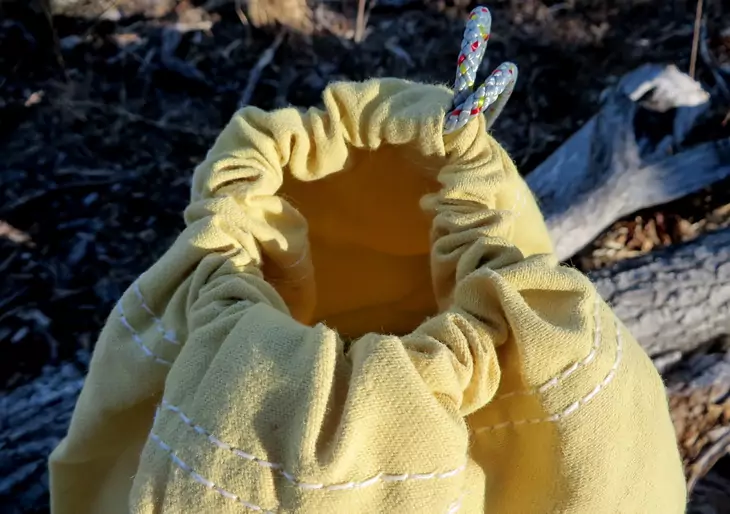
A bear bag is a type of bag that you can store your food and other supplies to keep them away from bears and other animals like raccoons, rabbits, and foxes, that will definitely be attracted to the scent. You can opt to keep the food in your backpack, but when going for long hikes, you need more food which would not otherwise fit in your canister. The bag needs to be made out of protective material to prevent it from getting torn easily, and to keep bugs and birds from getting into your food. It should also be strong enough to hold all your items well.
Usually, hikers go for a waterproof drawstring bag with a strap at the bottom. The straps make it easy for you to hang the bag upside down on a tree and even if it rains, the droplets will not soak the bag. Not having a bear bag should not worry, you ever for a moment. You can improvise and use a heavy duty shopping bag instead. As long as it’s waterproof and sturdy, it should do just fine.
In some states, having a bear bag is a requirement of the law. This only means that the area is swamped with wild animals that will go to any lengths just to get to your food. It’s not called a bear bag to signify that you can only use the bag to keep bears at bay. Absolutely not! Even when you are not hiking across the bear territory, you should always have your bag with you. Keep in mind that there are other animals besides the bears in every trail.
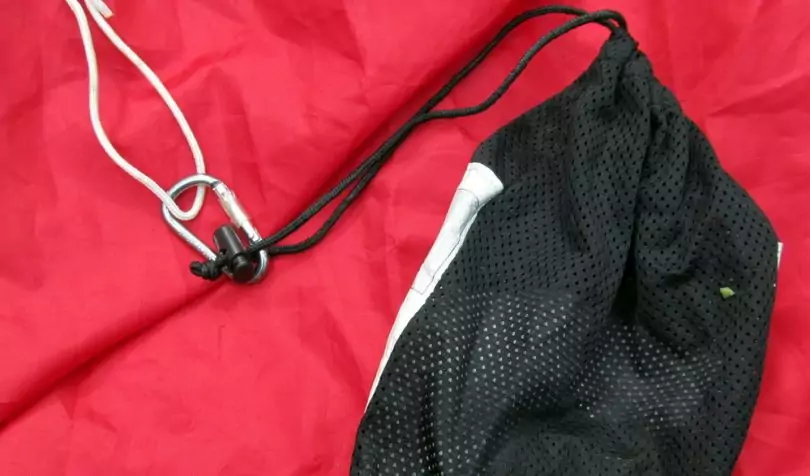
What to put in your bear bag
Anything scented that you have with you has to go in your bear bag. This is just not limited to food. Items such as perfumes, body creams, toothpaste, and soaps should be kept in the bag. It is a known fact that animals have a strong sense of smell, and therefore they will be hot on your trail the minute they spot the scent.
Other items such as utensils and cooking pots can be left in the cooking area. As long as they are clean and have no food in them, you have no reason to worry. Hanging the bag helps lessen the prospects of a wild animal snatching it and running away with it. That is why you are advised to hang the bag using a rope on tall trees.

However, you should not hang your bag on your campsite. It should be a little further down the trail where animals won’t sense the scents and come straight to your campsite. This could pose a threat to your safety, and the last thing you want is to be battling wild animals at night.
How about the Bear- Muda triangle?
You might have come across this term severally and wondered exactly what it was. Well, in simple terms, it’s used to explain how you should set up your camping site to keep bears away.
Your sleeping area should be at least 200 meters from the tree with your bear bag. This tree should also be 200 feet from your cooking area, which should, in turn, lie 200 feet from your sleeping area. If you envision this, it creates a triangle.
Every hiker should be aware of this triangle, and whenever you are out there camping after a long day on the trail, the only thing on your mind should maintain this setting. It’s a tiny price to pay for a good night’s sleep without always worrying about a bear attack.
Even in the case where the bear senses the food, it will only go towards the direction of the tree which leaves your sleeping area out of sight.
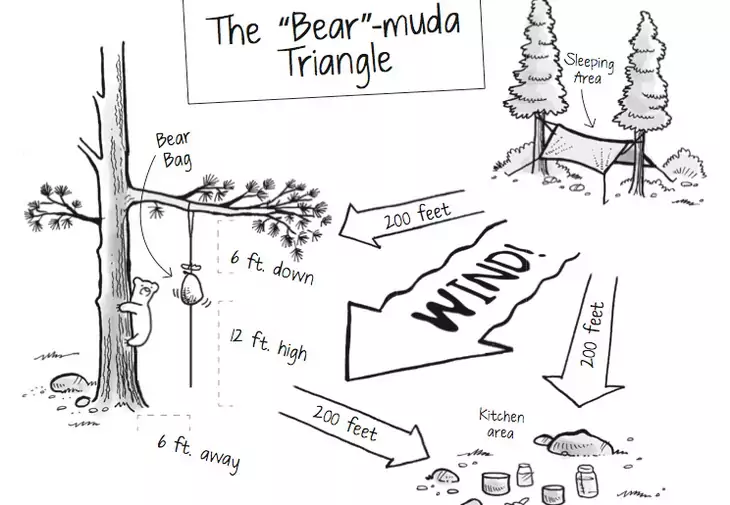
Image Credit: theultimatehang.com
Is it easy hanging the bear bag?
It’s not exactly easy to hang a bear bag. We know you might be wondering just hard it can get. Let’s get practical for a minute. You are in a new territory, most probably a campsite and you have your bear bag with you, laden with food. You need to get it as high as you can from the ground such that animals will have a hard time trying to get to it.
The only tree around is surrounded by poison ivy or nettle, which you are allergic to. If it’s not that, then it’s the tree’s height; it’s so tall that you cannot possibly manage to get a rope up there. Either that or you have a very poor aim and getting the rope to hang on the tree seems rather impossible.
And it gets worse. When you finally manage to get the rope on the tree, it keeps getting tangled in the branches. Trying to untangle the rope only gets you hit on the head several times and you start getting frustrated.
You have not gotten angry at nature like when trying to do all that but its pitch dark. If you are a hiker, you know how most times it gets dark before you are at your campsite. And you have to hang your bag, come what may.
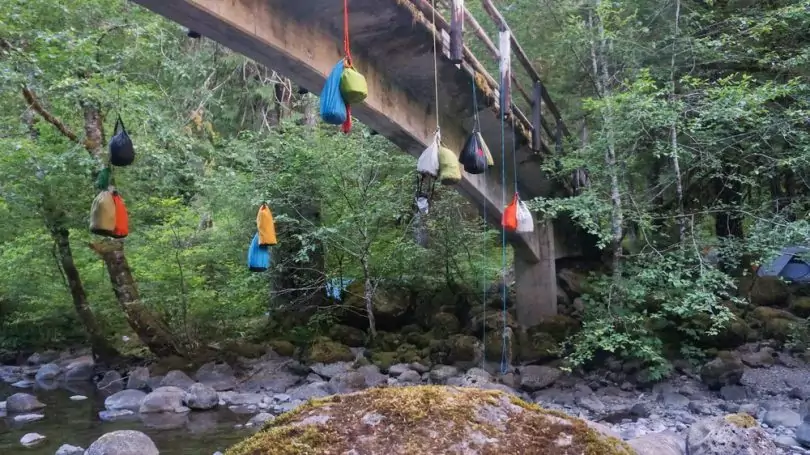
Those are some of the scenarios you may encounter when trying to hang your bear bag. So you should know it’s not as easy as people say it is, especially if it’s your first time. However, you get used to it with time and even without knowing it, you find yourself being able to hang one even with your eyes closed. It only requires that you keep practicing every chance you get.
Different ways you can hang your bear bag
There are always different ways to kill a rat. Think about hanging a bear bag as trying to kill a rat. There cannot possibly be only one way to do it. In fact, there are five methods you need to learn.
It’s very crucial that you get familiar with all the techniques so that when faced with the task, you will know what to do, depending on the situation at hand. Each of the methods we will discuss, has its advantages and disadvantages. At the end of the day, it’s entirely up to you to make the decision on which to go with.
Before we start, there are a few things you should note. You should always keep your bag at least 10 feet from the tree trunk and about 15 feet from the ground. Bear in mind that bears can climb trees and therefore, they can just grab the bag if not hung far enough.
If you are lucky enough, you might stumble on a park where bear poles are provided. These poles are Y-shaped on one end to make it easier for you to hang your food away from the ground, on nearby trees.
The rule of thumb is to always hang your bear bags on branches that are high off the ground, around 15 feet, with nothing beneath them. The branches should also be less than 4 inches in diameter, be 6 feet away from the tree trunk, and be sturdy enough to hold your bags. However, they should not be strong enough to support a bear’s weight.
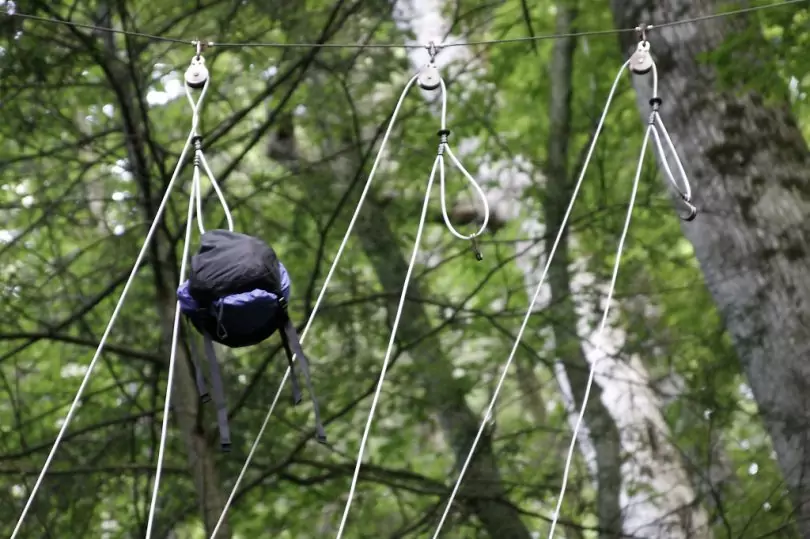
Pacific Crest Trail (Pct.) method
This is one of the most popular methods used by most hikers. The best part about it is there is no need for ropes to hang your bear bag. And that’s not all. It’s the only method that gives you quick access to the items you will regularly need like toiletries. This is achieved by placing such items in a smaller bag and clipping the bag on the loop. When in need, you will just pull down the rope, and your small bag will come down as the bear bag goes up. This technique also works well in deciduous forests which have overhanging branches.
One of its major flaws is that you will need to have a good throwing hand to have the bag sitting comfortably on the tree, which should be extra higher than average trees. You also need to be swift so that you can be able to tie the knot while you have the bag swinging in the air.
If your bag is a little heavy, tying the clove hitch around the toggle won’t be easy for you. As you might have guessed, this hardly works in forests without overhanging branches.
For this method, you will only need a rope, about 40 feet long, a carabiner and a stick, which should be 1 inch thick and 7 inches long. You can use an aluminum tent stake instead of the stick because the former is known to slide of the knot much faster.
Steps:
Start by throwing your rope over a tree branch which is around 20 feet above the ground and attach your carabiner on one end of the rope. You should then attach your bag to the carabiner.
Put the other end of your rope through the carabiner and use it to hoist your bag high in the air
Keep holding your bag in the air as you tie your stick to the end of the rope using a clove hitch
Release your rope at this point. The stick should go up, bringing the bag down. On meeting, the stick will hold the carabiner and subsequently prevent your bear bag from coming down any further
When you need to use your bag, just pull on the dangling end of the rope, which should lower the stick and enable you to retrieve your bag. Check out our article on the best uses of paracords for survival that can help you a lot.
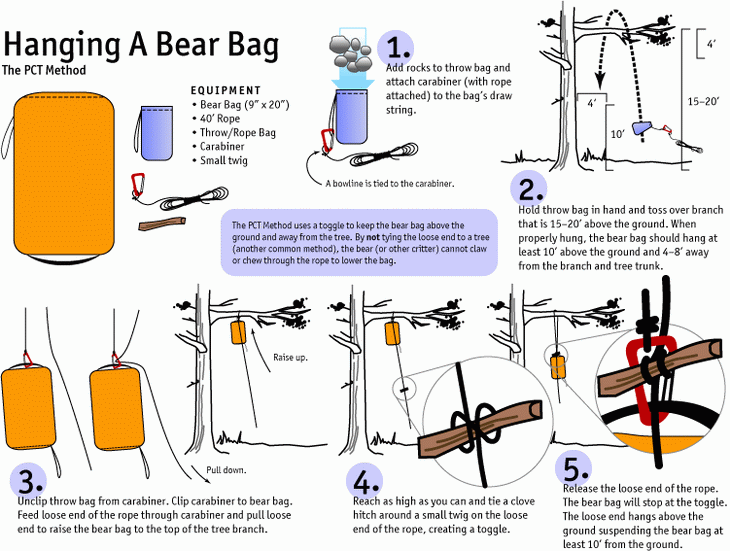
Image Credit: preppingdays.wordpress.com
The simplest method
When you need a simpler way which doesn’t sound as technical, you can go for this one. However, it’s not recommended in environments with bears because they will only chew on the rope and cut it, accessing your food.
You can use the method in other hiking sites, which only have other animals such as foxes. The best part? You will only need a 25-foot rope.
Steps:
Throw one end of your rope over a branch which should be about 15 feet above the ground. Choose trees with nothing below the branch, strong enough to hold your bear bag, but not sturdy enough to support a bear’s weight.
You can now hang your bag by tying it to one end of your rope.
After pulling the rope to lift the bag as high as you can, tie the other end to the trunk of the tree. Your bag should lie 6 feet away from the trunk.
To get your bag, simply untie the end of the rope tied to the tree trunk and release the rope gradually to prevent your bag from crashing to the ground.
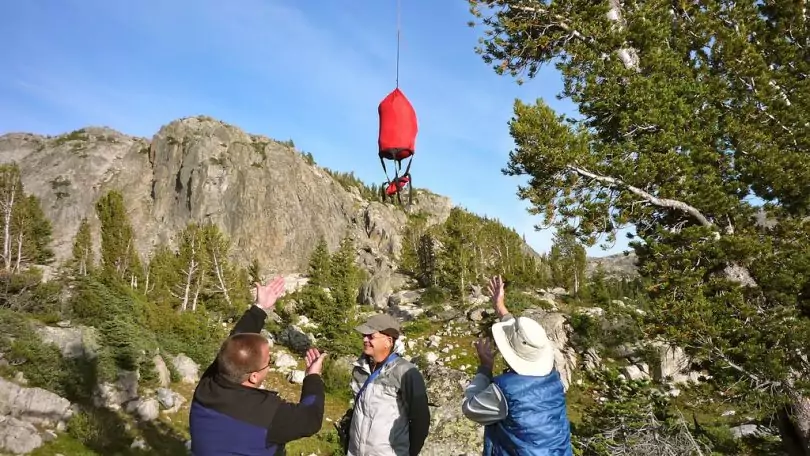
The counterbalance method
This is also commonly referred to as the double rope method. It comes in handy when you have a lot of food and other items with you, such that they can only fit in two separate bags.
The tricky bit is that you may have problems pulling this off on your own. You will also need more rope than usual because the height of the tree needs to be much more than the usual. Getting your bag from the tree proves to be quite a task as well.
For this to work, you need 40 foot rope, a long sturdy stick and 2 carabiners.
Steps:
Toss your rope around the branch of a tree which is 20 feet from the ground, and 10 feet from the tree trunk. The tree should have nothing beneath the branches. Ensure both ends of your rope touch the ground.
You will have divided your food into two bags, each of equal weight. Tie one bag to one end of the rope and hoist it up by pulling on the other end of the rope. A companion can come in handy at this point, to hold the rope so that the bag stays suspended.
Now tie the other bag as high as you can, to the remaining end of your rope. Use the extra rope to create a loop which will come in handy when retrieving your bag.
Let go of both ends of the rope and use your stick to push the second bear bag up such that both bags are now hanging at the same level, around 15 feet high.
Whenever you need your bag, just use your stick to tug at the loop and bring it down. This gives you one of the bags and subsequently lowers the remaining bag.
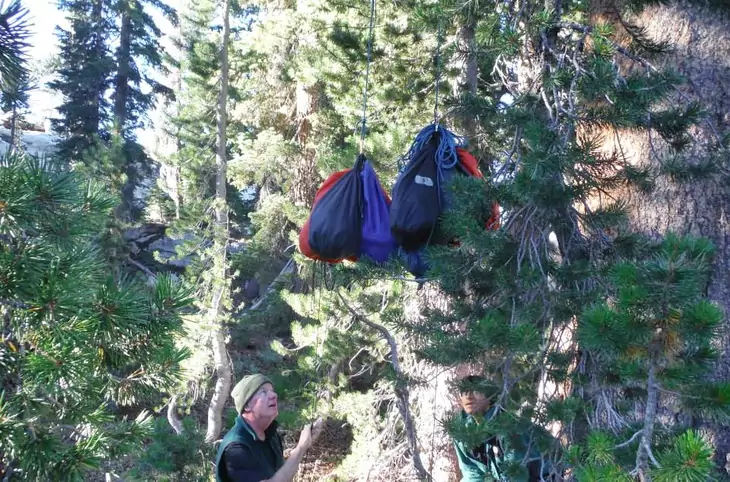
The Marrison haul method
The only difference between this approach and the simple way we have discussed is the use of two carabiners, for the former. The carabiners are secured to the tree by both ends of your rope.it definitely makes it easier to retrieve your bag.
However, just like in the simple method, a beat can chew through the rope. You should avoid using this method if you are camping in bear territories.
You only need a long rope, about 50 feet and 2 carabiners for this hanging technique.
Steps:
Toss one end of your rope over a branch of a tree. The branch should lie 15 feet away from the ground, and your rope should hang about 6 feet from the tree trunk.
Know how to make a ‘trucker’s hitch knot’? You will need to make one using the other end of your rope, 6 feet on the ground.
Attach one carabiner to the knot made and run the other end of your rope through the carabiner.
Attach the second carabiner in the knot and tie your food to the carabiner.
Take the first end of your rope and tie it to a nearby tree and the other end of the rope to the same tree.
If you need to access your bear bag, you will only need to untie and lower rope side B gradually.
For the best climbing safety gear that you can use for hauling your bear bags, see our post on this topic.
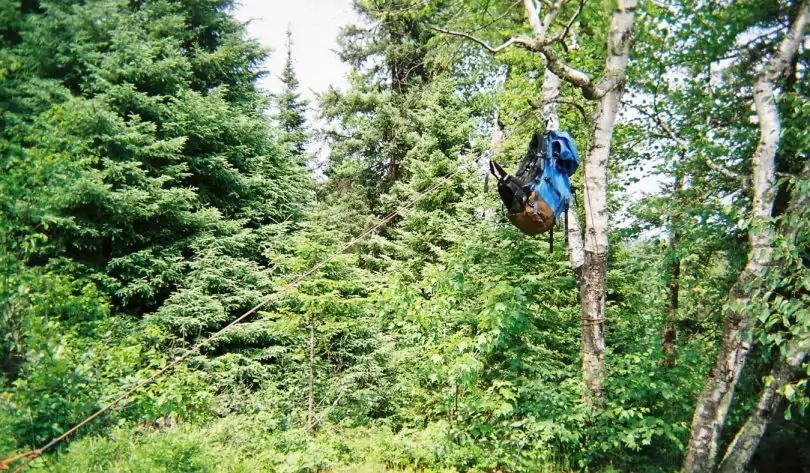
The Two-tree method
Most hikers like this technique because it doesn’t need you to throw the rope that high. It’s also much easier finding suitable trees as compared to other methods. However, you will need to toss your rope twice, which calls for a longer rope, approximately 50 feet and only 1 carabiner.
Steps:
Start by finding trees at least 20 feet away from each other. The branches should lie 15 feet away from the ground.
Toss one end of your rope over one branch and tie the end to the tree trunk. Do the same for the remaining end of your rope. Throw it over the second branch
Attach your bear bag to the rope between both trees using your carabiner. You should pull on the losing end of your rope to fully hoist your bag between the trees.
Tie this end to the second tree trunk. If you need to get your bag, just untie one end of your rope. It should lower your bag to the ground.
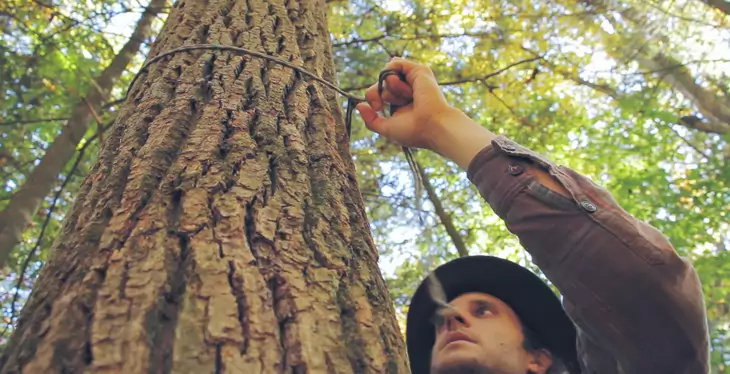
What happens if you’re on a treeless area?
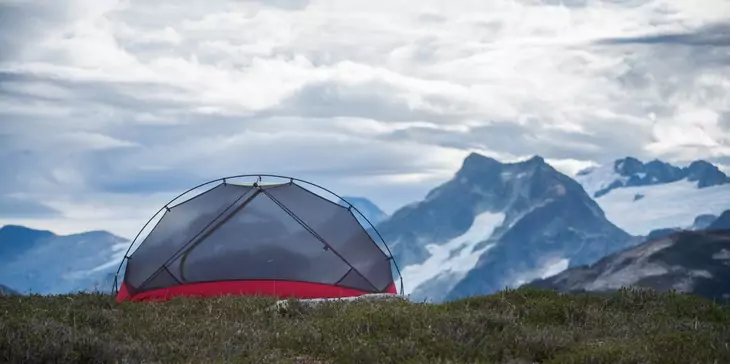
Just how do you handle camping in an area with no trees in sight and yet you have tons of food with you? If you suspect the area you will be hiking on has no trees, pack bear-proof plastic containers beforehand. You can leave these containers with your food on the ground, and not even bears will be able to get to it.
Always remember to store your food away from your sleeping areas, whether you will hang the bags on the trees or use containers. Read our important piece on the best bear containers to use to store your food in camp.
Other ways you can keep bears at bay besides hanging your bags away from your campsite is choosing to camp on uninteresting sites to bears. Moreover, you should clean all your utensils immediately after cooking to prevent the aroma from lingering and attracting bears. This goes hand in hand with keeping your camping site as clean as possible, at all times.
Wrapping It Up
If you were wondering how exactly to go about bear bags when hiking, we hope this post has answered all of your questions. Hiking is an outdoor experience that you should enjoy to the maximum without worrying about bear attacks or losing your food to the wild animals.
If you are keen enough and keep practicing, you will become excellent at building the various bear hangs. It’s not exactly rocket science. Strive to make the right food choices when hiking, to keep any animals at bay. You also should never forget to hang your food bag or assume that you are in a bear-free zone. Always bear in mind that other animals are roaming around that are just as dangerous.
Our article on safety tips to keep bears at bay when you go camping is an important read, so check it out before you embark on your next camping trip.
Feel free to comment and tell us what you thought about our post. Is it everything you hoped to hear? If we have not addressed an issue you think is pertinent to bear bags, kindly let us know. Finally, do not forget to share this with as many people as you can.



I haven’t use similar one before. After reading this I feel like I should try this. Can you suggest some products on Amazon?
You can try the Bear Outdoors one.
Great tips on animal safety, I hadn’t thought about foxes trying to steal my food before. I’ll definitely bring bear bags on all my treks now, not just bear areas. Anyone know if it’s better to use a certain kind of rope for hanging bags? Mine is getting worn and I should replace it soon.
Use a durable rope that will withstand the weight of whatever its holding. If the knots are fraying, look into some new rope, but nothing fancy.