Hiking can be loads of fun and at a basic level, you don’t need anything more than that legs and feet that you grew. But in practice, you will quickly find that some other pieces of equipment make for a better experience. Some, like a good pair of hiking boots, will help you out by adding to your comfort and protect you. Others can make things easier, like a pack to carry water and snacks.
Let’s take a look at packs a little closer. There is a huge range of them out there, from the tiny that carry a little bit of water and a food bar to massive expedition packs that meant to live out of for weeks, at a time. But none of them are truly made for you until you craft your own DIY hiking backpack.
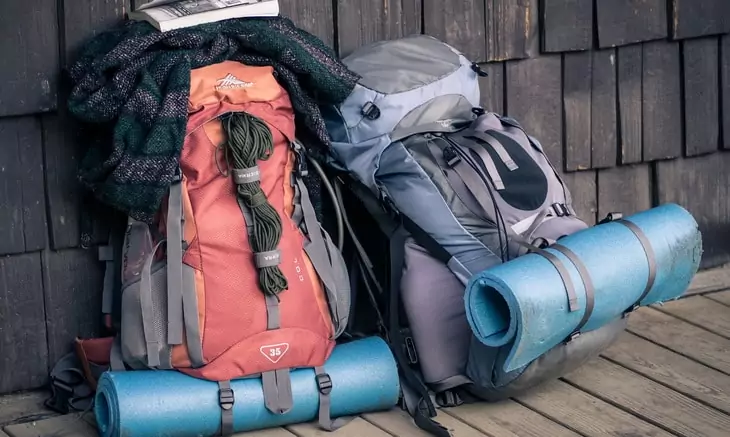
But why would you want to make your own backpack? If you look at other packs there are a lot of cool features, but you rarely find one pack that has all the features you want, in the colors you would select and is fitted just right for you. As such you have to pick from the available options. When you craft your own you can make a pouch bigger or smaller, move it as needed and pick a color scheme that you really want.
Skills and Tools Needed
The first thing that you’ll want to consider is ‘do you have the skills to craft your own homemade backpack. You will want to have some experience sewing. Since you’ll want this to be able to carry some weight and be able to withstand some knocking around the forest. You don’t want it to come apart halfway through your hike. While you could craft a pack by hand stitching it might go quicker if you also have a sewing machine.
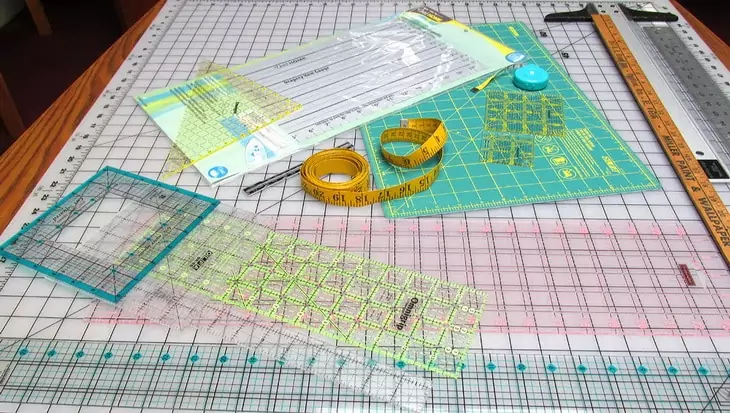
While some design background would be helpful, but since for the most part backpacks follow the same basic patterns you can base your plan off of others that you have or like. You’ll also want to make sure you have some measuring devices to ensure that any pockets or pouches that you want to add will hold whatever gear you are hoping to take with you. Accurate measurements will also help ensure that you make a pack that fits you well.
Consider Your Design
The first thing you should do is find a pack that you like most of the features of. This will give you a baseline to work from. You can always design from the ground up, but that approach will take a lot more time. Starting with a design that has been proven will move the process along quite a bit.
Once you have that springboard you’ll want to consider what changes you would like to make. Does the pack need to be larger, smaller? If you are looking to add pouches or pockets where would they be easy to access and what are you going to put in them. Additionally, do you want to add more padding?
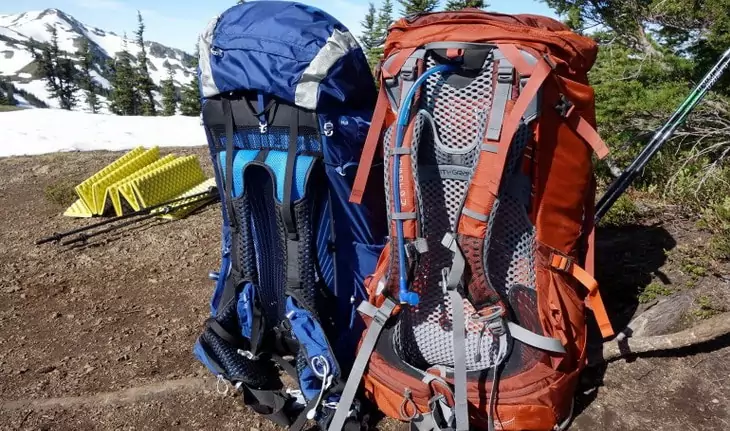
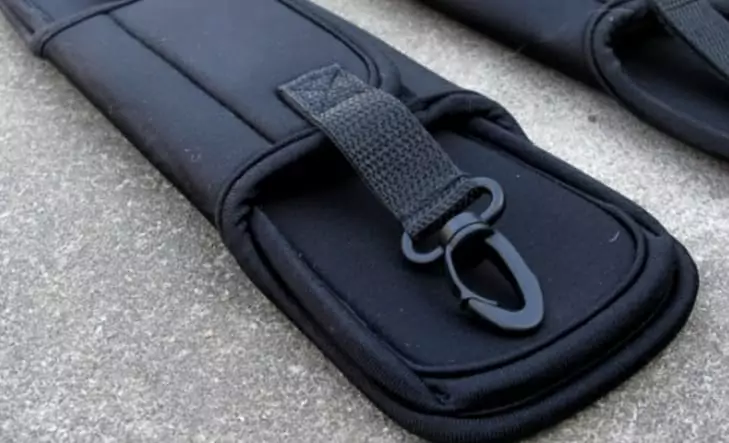
Now that you have an idea of the size and shape, consider how you will hold this pack. Do you want to have just shoulder straps? Do you feel better with a sternum strap keeping those shoulder straps from slipping down? Will you be carrying enough weight that you would feel better with a hip strap as well? And once you have an idea of these answers you’ll want to think about how much padding. If you are going with the DIY ultralight pack you might go with minimal padding to drop the weight even more, but if you are looking for a long-range hiking pack you might want additional padding on the straps and even on the back.
Material Consideration
The material that you end up picking to craft your pack from will have a huge impact on not only how it carries your gear, but also how it feels, looks and survives the wilds. You will want to take some time to consider all aspects of this choice very carefully.
While there are a lot of cool designs and color options in normal fabric, it might not be the best choice for a pack as it has no waterproof ability and is not highly sturdy. Materials like canvas can normally be found in a number of different colors, can be waterproofed and will stand up to some wear and tear. Their downside is that they can be heavy, so a pack made entirely from that would add a good bit of extra weight.
Once again, you should take a look at the pack that inspired you. What is that pack or any of the other packs that you like the look of made from? While you might not find that type of material in your local fabric store, look for something like Xpac, a little bit of searching online will yield some suppliers that are able to provide all manner of materials.
Remember though, since you are making your own, you have the freedom to mix and match as you see fit. As long as you will be happy with the way things look together, you can select one material for the back and bottom, something else for the straps and as many options as you want for the body of the pack.
How to Sew a Backpack
It is always good to work off some type of plan, especially for your first attempt. However, if you are going to work from the picture you sketched or from the thought that is swirling around in your mind’s eye there are a few pointers to be had. You’ll want to start by figuring out the pieces that you need and cut them out of your desired material. If you have no pattern to guide you cut them slightly larger than you need to give some overlapping space where you’ll stitch them together. As everything is cut out lay out all of your pieces to ensure that you have everything that you’ll need ready.
Now that it is time to begin assembling there are two main ways to go about the process. The first is to start from one point on the pack, say the bottom, and start by adding pieces to it. This will cause the pack to grow from the ground up. You’ll see progress looking more and more like a pack as you add additional pieces on. The downside is that some of the parts might be a little hard to add on in this method.
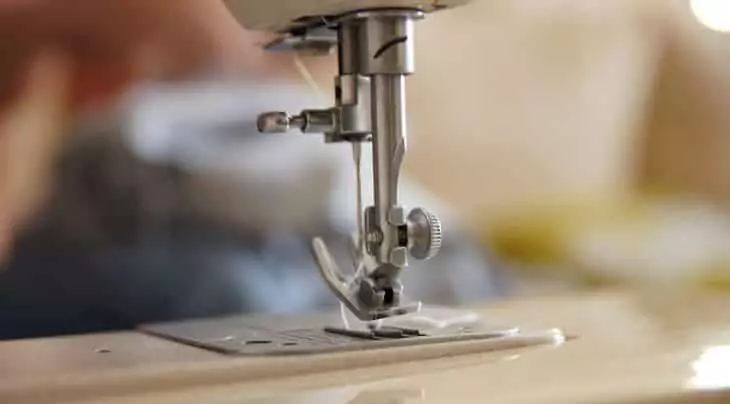
The second way to go about this is to build subassemblies. In this approach, you’ll construct sections of the pack and then put them all together. For example, you might form the bottom panel, then make each side panel with pockets and the front and the back then sew everything together. This way will be a bit more abstract when you start off, but as pieces go together like a puzzle it will suddenly look like a pack. This approach will definitely be the simpler when it comes to adding in the straps and belts that you want your pack to have.
The Result
With some effort, you can craft a pack that will have the features you desire and things placed exactly where you want them. Will your first crack at this process result in a pack for which people will chase you down the trail and offer to buy right off your back? No! But if you enjoy the process, you can make a business out of it. The founders of such companies as Osprey, Kelty, and Gregory all started off by making their own packs.
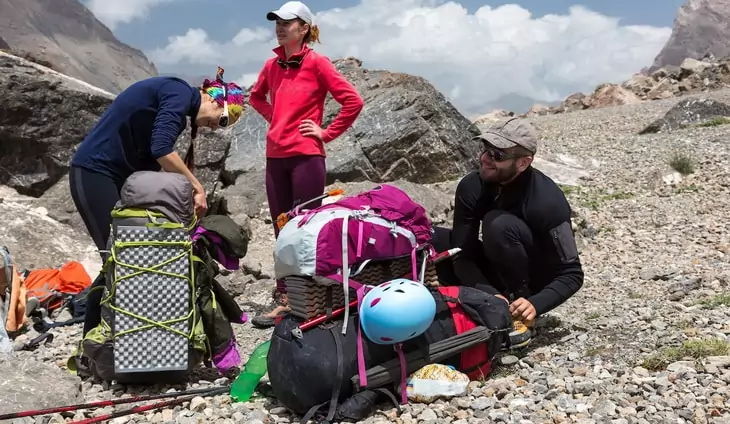
Even if you don’t launch a career in making packs or make a pack anyone else thinks is amazing, the real question is are you happy with the outcome. If you think it is comfortable, easy to use and does what you need, then the project has been a success. If so, congratulations, if not, even in failure you can learn quite a bit, like why pack manufacturers do things in certain ways. And hey, if you don’t like the one you made there is a wide market out there for packs. For the best brands of hiking backpacks, see our must-read article on the topic.
Tips and Tricks
As with everything, having a few pointers to help you get started can aid in bypassing some mistakes along the way.
Practice Sewing and Go Slowly
You don’t have a Ctrl+Z option to undo mistakes on a sewing machine. You can pull out the stitching and try it again, but every time you make a pass you are punching holes in your fabric. This is going to slowly make the fabric weaker and less water resistant.
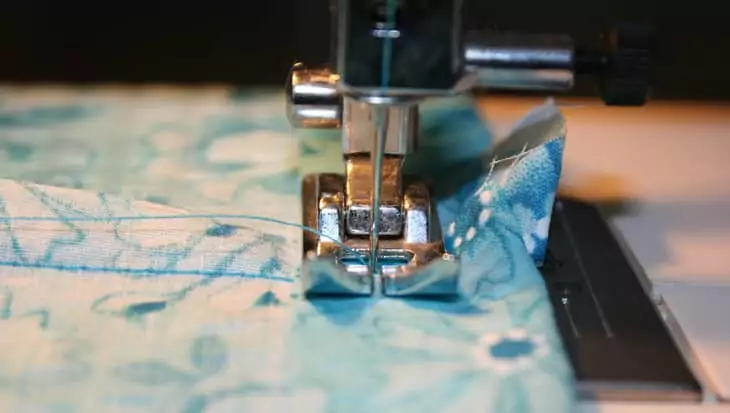
You’ll want to practice on some of the extra material first so you know how the machine you are using reacts when you put this type of material through.
Purchase Extra Materials
In any project, you should look at getting a little bit more material than you strictly need. Some places call this management reserve or just your fudge factor. It is good to have if you need to slightly change dimensions, redesign a piece or if you totally screw up on something.
While there is a range of how much extra you should have on hand, in general having 25% more material than you think you will need should be a good ballpark figure to start you out with.
Plans Make Things Simpler
Working off a plan helps you see how things will go together. You can craft your own set of plans, but if you do so spend some time looking at other packs and think about how each of your pieces will connect and hold together.
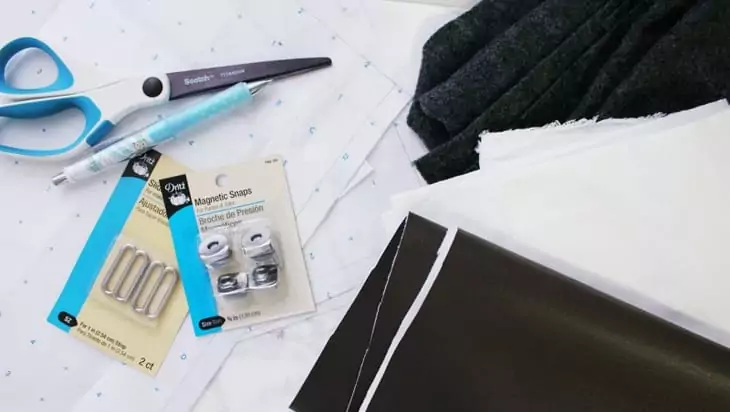
There are ready made plans available on the internet (some ready-made kits if you feel better starting there).
Minimize Your Sewing
First off, sewing takes the time to accomplish, but where ever you need to connect two pieces of fabric that have been cut you’ll have a weaker point than leaving the fabric intact. These are also places that can get caught and pull apart or just let water in through the stitching.
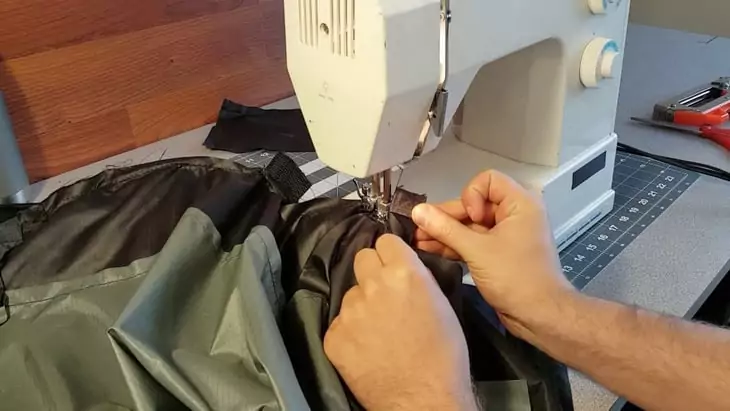
When looking at your plan try to see what you can do to have the least amount of sewing in your creation.
If Something is Off, Stop
Sometimes you just get that gut feeling, you know that something doesn’t seem quite right. If you get that feeling while working on your pack go ahead and stop. Take the time to double-check what you are doing and if it is what you should be doing. This is another point that having some plans or a drawing really comes in handy. The quicker you notice an error the easier it will be to address it.
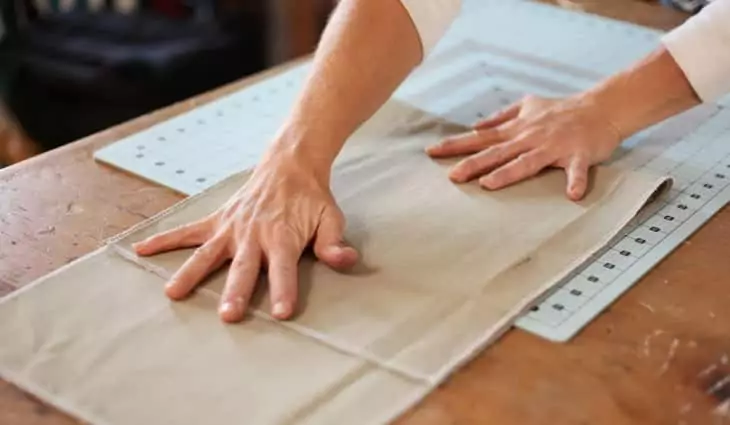
You don’t want to think something is wrong and ignore it, only to realize that when the pack is complete something is off.
Final Thoughts
Is making your own hiking backpack a way to save money on an important piece of gear? Maybe, you may be able to get all the pieces for less than what you would pay for the finished pack, but you’ll need to take into account the amount of time that you would take to make it. Is it a way to get a one of a kind customized pack? Absolutely!
Making your own pack gives you the creative input to place the pouches, pockets, and straps where you want them and size them according to what you think should go in them. You’ll be able to control the look, feel and quality of the piece. Find out how to pack a backpack by reading on our informative article. This doesn’t mean that it will be an easy afternoon project. However, if you know how to sew and have some experience crafting things, this shouldn’t be a difficult project to accomplish. As a plus, you probably have a few packs that you can take a look at for inspiration and design ideas.
You can still opt to get a ready-made backpack from your favorite brands – see our post on the best types of backpacks to suit your needs.
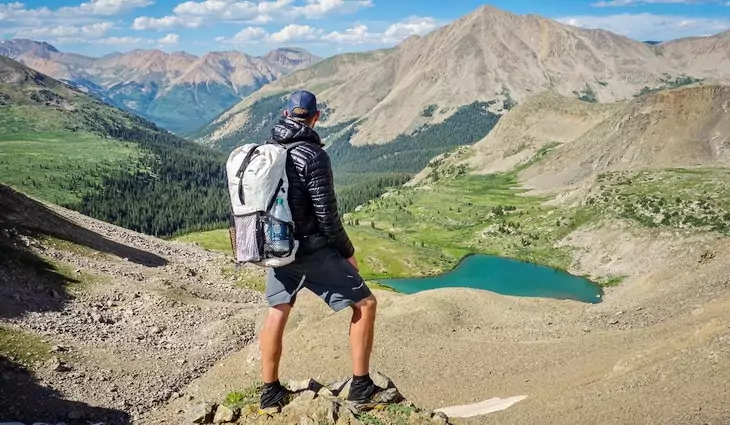
Lastly, we would love to hear from you. Have you ever made your own hiking pack? Do you have some extra tips or design tricks that you feel others should know? Let us see them in the comment section below.





It would be an amazing experience to make a hiking backpack from scratch, but I am pretty sure that it will take several attempts before making one that will not fall apart in the middle of your expedition. It will also take a lot of time and energy to make a decent backpack, and for that reason, I think it’s best to stick to buying a ready-made one, unless you wish to start a new brand of backpacks.
Absolutely!
I would like to make my own DIY backpack but the mere thought of starting terrifies me because some of the backpacks sold commercially are crafted beautifully from a wide range of quality materials and have excellent designs. It think it takes a lot of practice and creativity to make a backpack that can actually carry stuff for hours from scratch. But trying to make just a simple bag for simple outdoor activities such as jogging or going fishing is worth trying.
Good luck!