
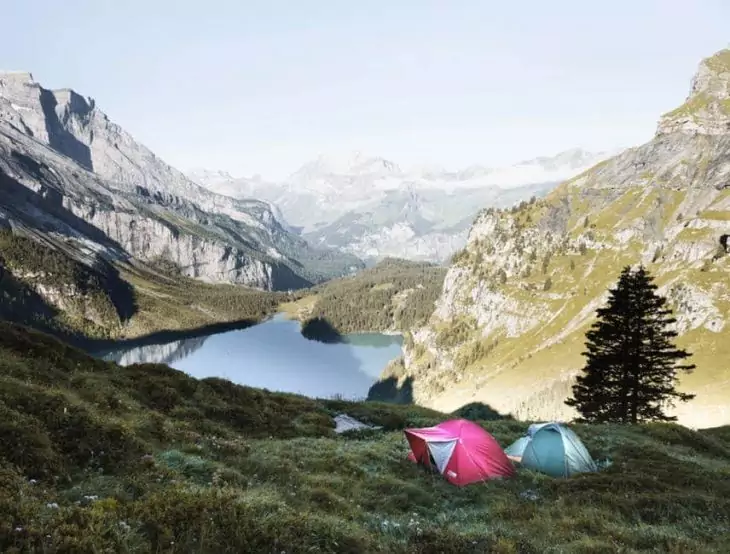
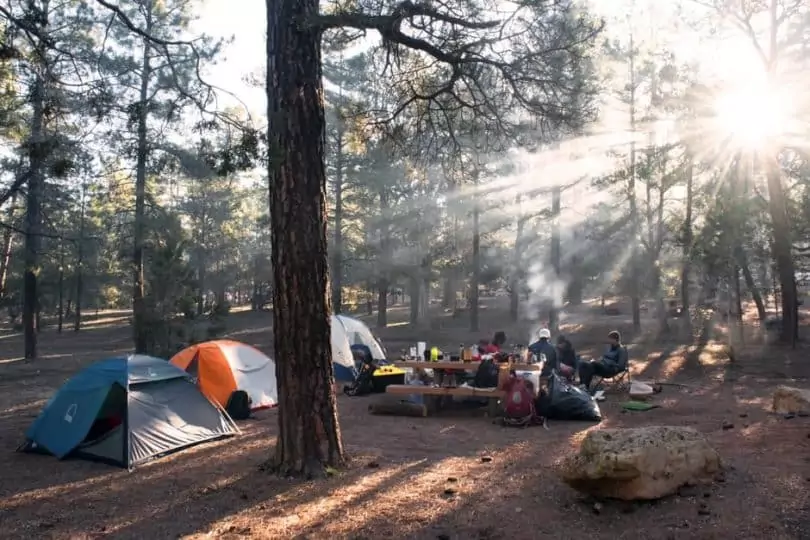
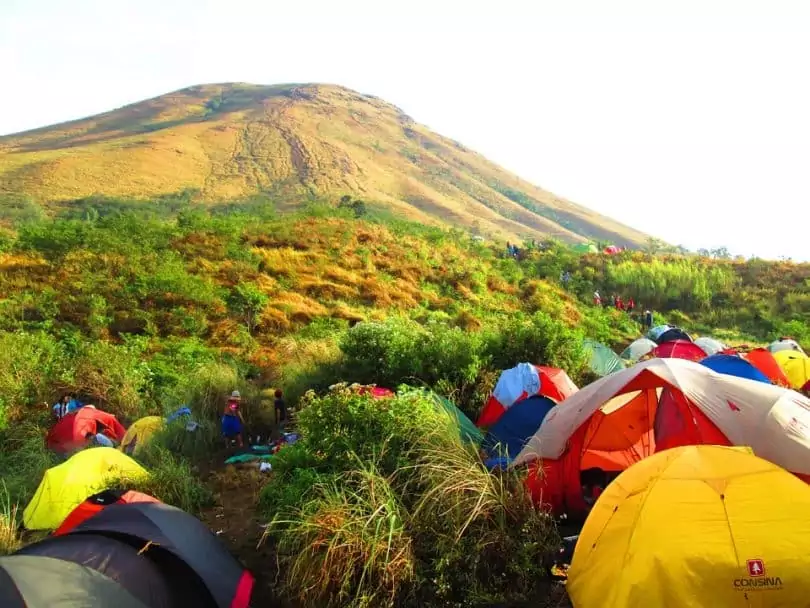
We all love camping, backpacking and other outside activities that require sleeping under the stars. However, in order to make our trip pleasant, we must consider the items that we are going to need and prepare ourselves from home.
For the true campers and backpackers, less means more. In this spirit, we are providing you tarp tent setup design suggestions that will ensure you have a nice time, regardless of the weather conditions.
But before that, read through the gear that you should wear in order to set up the tarp tent properly. After you choose the most suitable tarp tent setup design, make sure you have all the gear that you are going to require in the field. It is also recommended that you try setting the tent up at home first, so there are no surprises on the field.
The gear you are going to need
If you are going to set up a tarp tent properly, you are going to need the proper gear. It is always advised to set up the tarp tent at home, before going backpacking. Otherwise, you might end up without a gear part, and setting it up would be impossible.
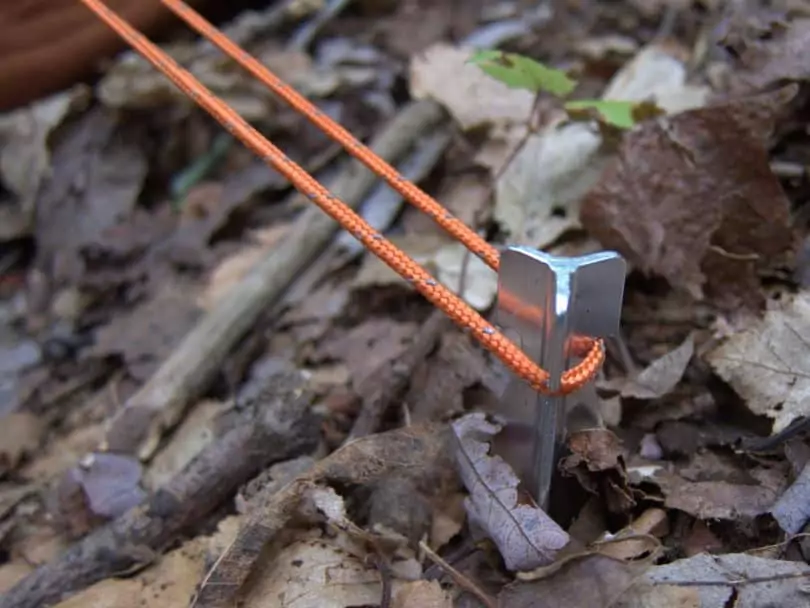
The most important thing you should double check if you have in your backpack are guy ropes. Even though when you buy a tarp tent, the ropes are usually included in the package, double check, just in case. It’s also prudent to pack extra ropes so make sure you have the top kinds of ropes for camping to be safe.
Another thing to remember to take with you are the stakes. Some tarp tents have plastic poles, others come with metal stakes. Metal stakes are more convenient if you are planning on camping in a closer location since they weigh as much as your whole other equipment. If you are planning on backpacking, but have metal stakes only, check in a local shop for plastic ones.
They usually come at a very low price. If, however, you are a survivalist, you could lose the stakes all together and use branches instead. Although they are not as straight, if there isn’t a strong wind, you should be fine with the branches substitution.
Another option is using your trekking poles as tarp tent stakes. They work exceptionally well in the snow. With the trekking poles, you will get a double use. And if you need an extra pole for your tarp tent, you could always find some dry branches, even if this wasn’t your initial plan. Be sure you have the best trekking poles for your needs by clicking on the link to our informative article.
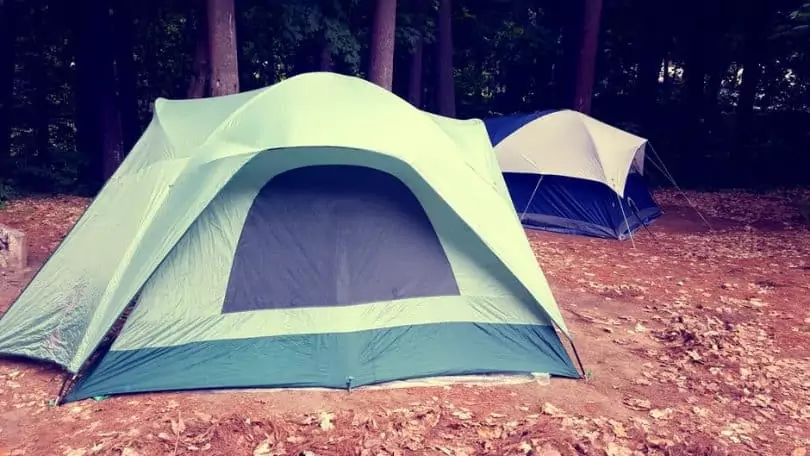
Convenient locations for setting up the tarp tent
The tarp tent setup location is very important, since the comfort of your stay will depend of this choice. If you choose a location with rocks, you will sleep uncomfortably. If you choose a windy location that is not protected by trees around your tent, there is a probability that the wind will destroy your shelter.
However, all these advices are just precautions, they aren’t a guarantee that this will happen. So if you choose a wide open location with a nice view and you know that there are no strong winds in the area, you will probably be safe.
Another important factor to consider when choosing the location for setting up the tarp tent is if there are natural slopes. Slopes provide your tarp tent a good protection from the rain, since all the water that will fall on the tent will go through the slopes, away from you. If you fail to do to so, you will end up sleeping in a small pond and all of your stuff will be wet. Another option you have if you fail to find slopes is digging trenches to keep the water away.
The location is also closely correlated with the design. If your main idea for the setting up of the tarp tent is for people to gather around and have fun on a large table, you should choose the appropriate design for this kind of gathering. Dining fly in this case would be the most convenient option.
Bellow, we have described some of the tarp tent setup designs which have been used the most.
Basic tarp tent design
A basic tarp tent design is probably most suitable for beginners who are not keen on setting up tents. This basic design represents a common A-frame which is pretty easy to set up. The thing you need is two trees at a relatively close distance of around 4 feats. The next step is tying a line with the ropes previously packed from one tree to the other.
The line should be tied as tight as you can and it shouldn’t sag at all. Once you secure the line, throw over the tarp so that the line is in the middle of the tarp. The corners should be reinforced with stakes on each corner in order to ensure that the tarp will stay on during bad weather conditions. The more stakes and straps you put on, the more secure your shelter would be.
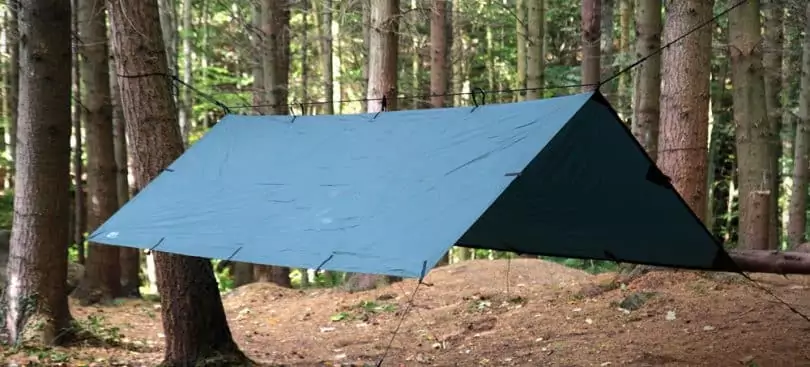
This is the easiest tarp tent design and it provides a good protection from rain, snow or wind. If there is a lot of snow, make sure the angle is sharper so that the snow runs off the tent.
The A frame type of design is also used when you need protection from the sun. You could set up a tarp tent in your backyard and relax under it. If you are making a shelter from the sun, you shouldn’t put the tarp in the middle of the line. Instead, you should place it almost completely on the one side, with a small part hanging from the other side.
This construction is also very convenient if there is wind only from one side since you are able to pull down the tarp to the ground and stay protected. If the other side is sunny, you will have the best relaxation ever. The downside to this design is that there is no floor, so you are not fully protected from the elements.
Cornet shelter design
The cornet design of setting up a tarp tent provides the user a relatively good protection, and setting up is considered pretty easy. It could be managed with only one tree. The cornet design is commonly used in hunting when hunters need to stay still for hours waiting for their prey to come. Meanwhile, they are completely protected from the elements, and the once open side gives them a large vision field which is enough for the purposes.
The setup process starts with tying the rope on a tree of your choice and the other side should be staked to the ground. Your legs would be placed on the staked end since there is less space on that side. Make sure you face the cornet with the staked end on the windy side. This way, you will stay protected from the weather and the shelter will have a point.
After staking the end, do so with the remaining ends of the tarp. When you stake them, make sure you stretch the tarp as much as you can, by hammering the stakes into the ground at a certain angle. When doing so, make sure the ground that you choose for setting up your shelter is not rocky because hammering the stakes into the ground will be much harder.
With this shelter design, you will also get a nice protection from the rain and snow if any since the sides of the tarp are sharp enough that the snow slides through them. The one downside, this design has, is that it is not very spacious. However, the fact that you only need one tree in order to make it happen sometimes makes up for this fact. It all depends on the area!
Box shelter
The box shelter is actually a half box shelter that provides the user three sides of protection. It has a cover which protects you from the rain, although it is not suitable for snow since there are no sharp sides. Its main downside is that it is rather difficult to erect this tarp design.
However, it is also the best design for some outdoor activities such as fishing or you could even use it at a beach as a sun protector for a larger group of people. The box design is not suitable for harsh conditions such as heavy rain or snow as previously mentioned. It does provide a good protection from the rain, though.
For this configuration you will need higher poles, longer ropes and more stakes. This means that it is not suitable for backpacking. In order to erect this design, you will need to set up the poles first. Set up three poles which are placed at a 90 degree angle at an equal distance.
This distance will be the side of your shelter box so keep this in mind before you measure. The fourth pole should be set further apart and out of the box, since this is only a supportive pole which wouldn’t carry the weight of the tarp. Once you have done this, proceed to the next step.
Your next step would be setting up rope lines from one metal pole to another. The ropes should end up hammered into the ground on both sides. Once you have set up the ropes, put the tarp on such a way that ends up covering only three sides of the box, one of them being the “roof” over your head. Once you place the tarp on, make sure you tighten all the ropes and stakes in order for the sides to be flat.
Additional notes: If you are planning on using this design in an area which has a rain possibility, make sure you apply to the following advice. Place the corner pole and the pole on the one side lower than the other two which would be parallel to the lower ones. This way, if there is a heavy rain, the water wouldn’t cause your shelter to collapse, but it will slide over it.
In order to place them lower, you could stake the poles to the ground a bit. This is only possible, though, if the ground is soft. If this is not possible, then place them at an angle opposite to the ropes. This would keep the whole configuration stable and it will succeed the result.
Diamond shelter
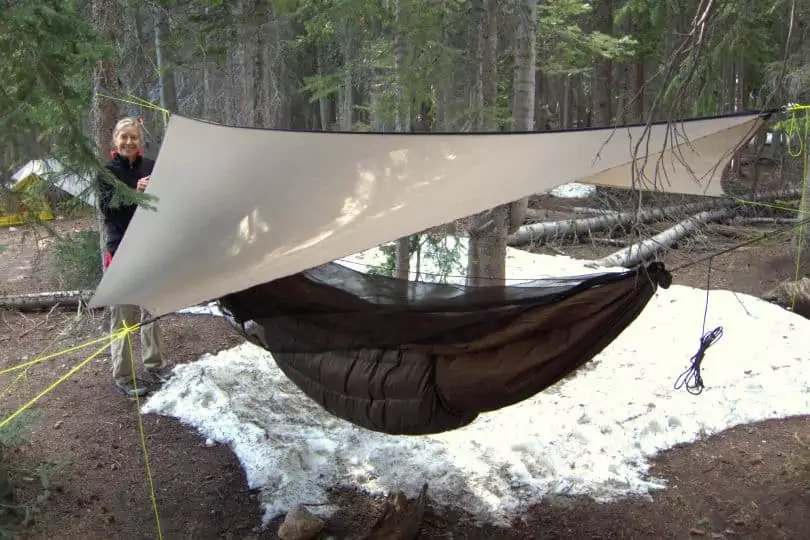
Hammocks are lately becoming very popular because of some of the advantages they have over the tents. If you share this belief, here is a suggestion on how to make a hammock shelter that will keep you dry far from the ground.
This shelter is also called diamond tart setup and it is mostly intended for hammocks since no floor is needed in order for it to work. In order to erect this design you are going to need two trees that are the same distance as the trees that the hammock uses.
Tie each side of the rope to each tree and tighten them god in order for the rope not to sag. Place the tarp over the rope in a diamond shape which means that the opposite corners of the tarp should hang from the rope and face the ground. After that, stake the ends into the ground in order to make it more secure and there you have it – a hammock shelter!
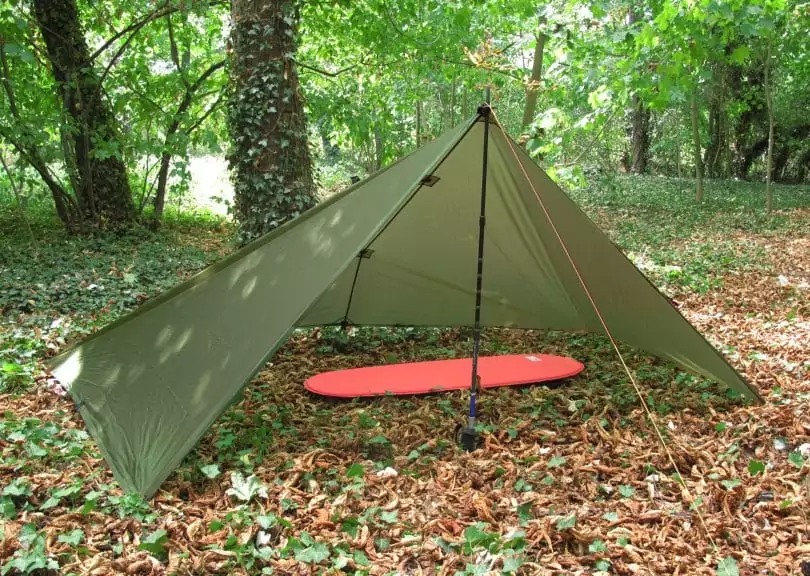
A roof shelter
The basic roof shelter doesn’t require many skills, although it takes some time to be done. However, it does require 4 poles, which mean that trekking poles are not going to do unless you are travelling with a company. For setting it up you would require only good tightening skills.
First, you need to put two poles in the ground well tightened, in case you want to hang some clothes on them. We all know how much hanging places are required when on camping. And even though there are trees, there are never close enough to us.
After that, tighten the rest two poles with two parallel edges of the tarp. After doing so, stake the same two poles into the ground and attach the rest two edges on the already staked poles. This is the easiest way of setting this design up with two people. If you are four, this design would be much easier to make and it would require much less time.
A similar to this design, but a bit more protective and with less ventilation is the flat roof leaning design. It is consisted of a roof over your head and one closed side that protects you from the wind. This design is also suitable for sun protection. The main advantage of it is that it requires only two poles, or two branches, depending on what you have decided to use and ropes.
First, you should find two trees on a distance that matches the length of your ropes. Then, place the tarp over the rope and one part of it should fall to the ground. The part that falls to the ground would be tightened by staking the edges to the ground. The length of the other part, however, should let you know how far you should place the poles from the rope.
Of course, they are placed on the edges of the tarp. The two poles are then stuck to the ground firmly. The next step is optional, but it is recommended if there is wind on site.
Tighten the poles with ropes that go from their top to the ground. Also make sure you place the poles at an angle that will make harder for the wind to crush them. In order to do so, you should first check the direction of the wind.

Ground tarp sheet
This is more of an option than a design because it doesn’t require erecting a tent. It simply works as isolation between your body and the ground. Although simple it is perfect for spring weather when the temperature is just right and the sun is warming your face. Just lie down and relax. Another of its uses includes using it as a ground cover inside of an A frame tent.
This is recommended for colder weather conditions, although, it also requires, you carrying the extra weight of an extra tarp. The only thing you need to do for setting it up, is staking it into the ground so that it doesn’t get blown away from the wind if there aren’t any objects on the tarp. It protects you from the dirt and mud and it is as simple as it gets to make!
Are you skillful building things? Why not check our piece on do it yourself tarp tents and be more cost effective?

Final thoughts on this topic!
A tarp tent will provide you enough coverage and protection in poor weather conditions, while allowing you to carry as lighter gear as possible. We have also suggested some camping tart tent designs that will protect you from the sun and will create a nice atmosphere for a whole group to hang out and share moments.
The most important thing that you should remember when choosing the most convenient tarp tent design for your trip are the weather conditions and the ventilation that you are going to require. If you think you are going to need more air circulation, choose a configuration with more open sides.
However, if the weather is bad, make sure you are as protected as you can. Of course, you must leave one side open. That said, in cold weather conditions, you should also pack a warmer sleeping bag because the tarp tent could only provide you as much protection from the elements.
For more guides and tips on tarp camping, see our article on the topic – check it out.
As always, make sure you leave us a comment in the comment section below, if you have any questions about any part of the tarp tent set up. We would be glad to answer.


Excellent explanation. Tarp tents seem like a great way to protect my tent, but isn’t the tent fly enough? And will the water flowing of the tarp make a puddle where it lands and therefore a puddle around my tent? Thanks for answering my question.
In most cases a tent fly will be enough but having a tarp will give you extra protection, especially in a downpour. The flowing water from the tarp will land on the ground and probably make a puddle, but you won’t have to worry necessarily as long as it doesn’t get in your tent. Having a ground cover and seamed seals on your tent will ensure you don’t get water inside.
As you mentioned we should consider all about facts on our interest. Don’t you think we should consider about the hardness of the soil before we build our tarp? If not there is possibility that the tarp will not hold on for a even not heavier wind.
The ground should definitely be hard before you set up the tarp, yes, or at least sturdy.